Sticky Navigation Bar

Showing posts with label cakes. Show all posts

Saturday, July 4, 2015

Happy 4th of July!

July 4th Miniatures

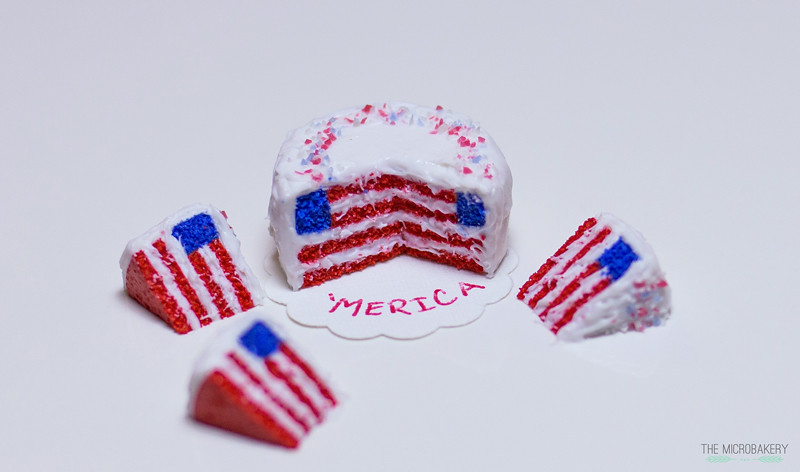
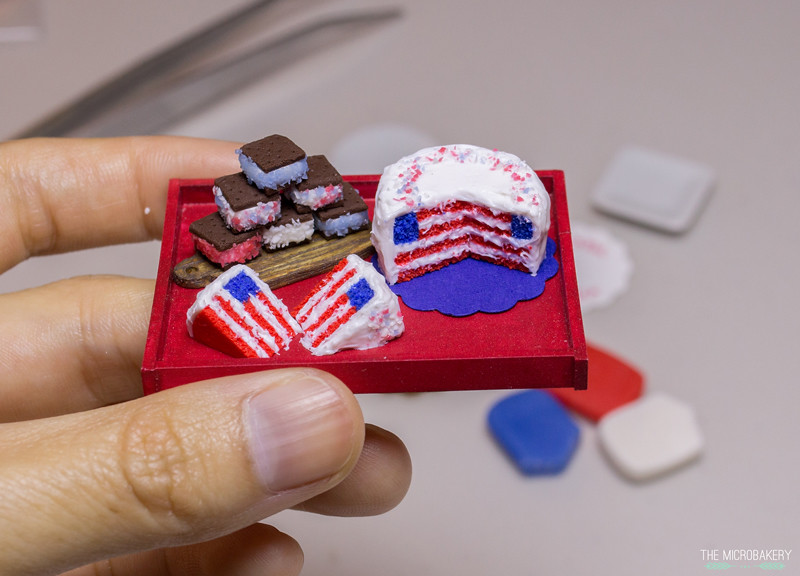
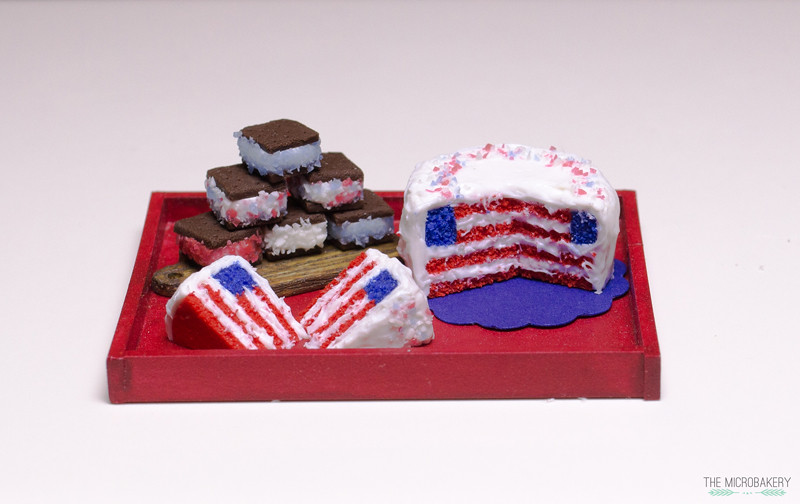
For those of you that live in the United States, Happy Independence Day!  I hope everybody has a wonderful weekend celebration filled with fun, laughter, food, and of course fireworks.  I've put together a few July 4th treats for you, enjoy :)
July 4th Miniatures

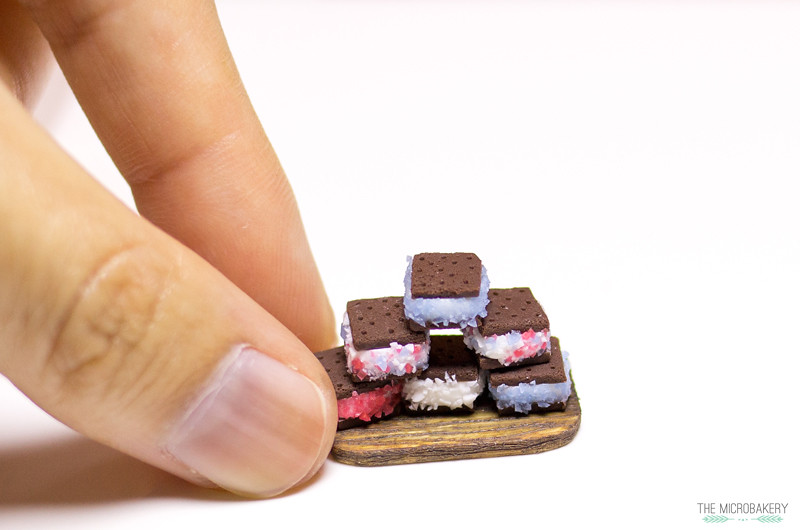
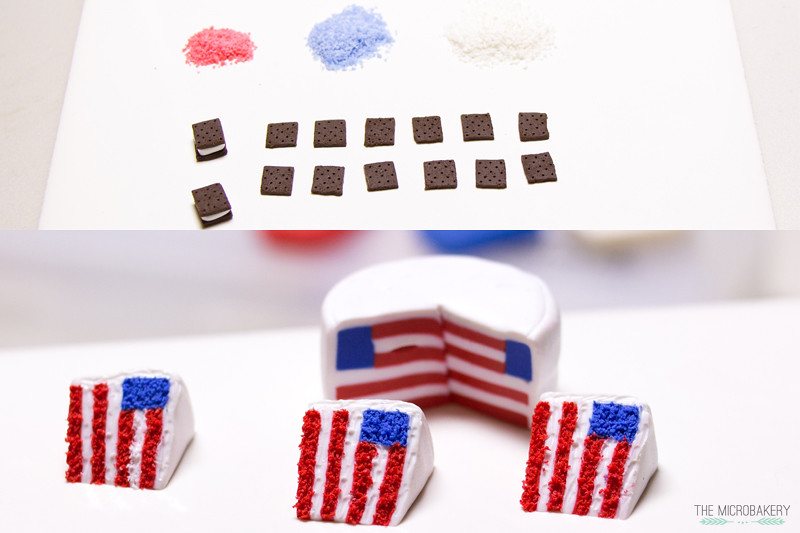
Here's a little sneak peak behind the scenes.  To make the sprinkles on the ice cream sandwiches I mixed (separately) a pinch of red, white, and blue with a lot of translucent clay.  Then I baked the clay hard; once it cooled I used a sharp razor blade and chopped away at it.

To make the sprinkles stick, brush on a light layer of translucent liquid sculpey around the ice cream and then dip the sandwich in the sprinkles.  Just give it a try and don't be afraid to try other techniques :D 
July 4th Miniatures

July 4th Miniatures
Or should I say, 'Murica? 

July 4th Miniatures

Sunday, May 3, 2015

Carrot Cake & Tutorial

The Micro Bakery polymer clay carrot cake1

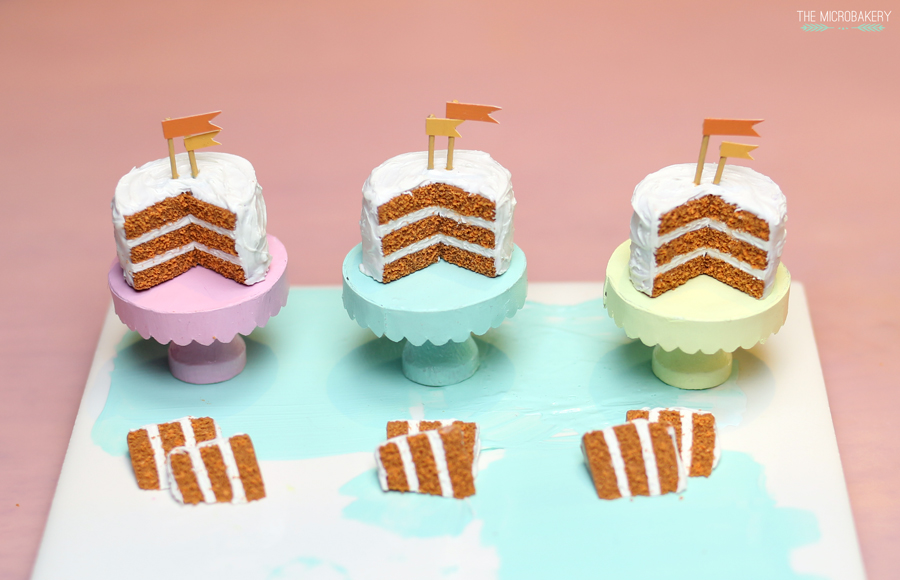
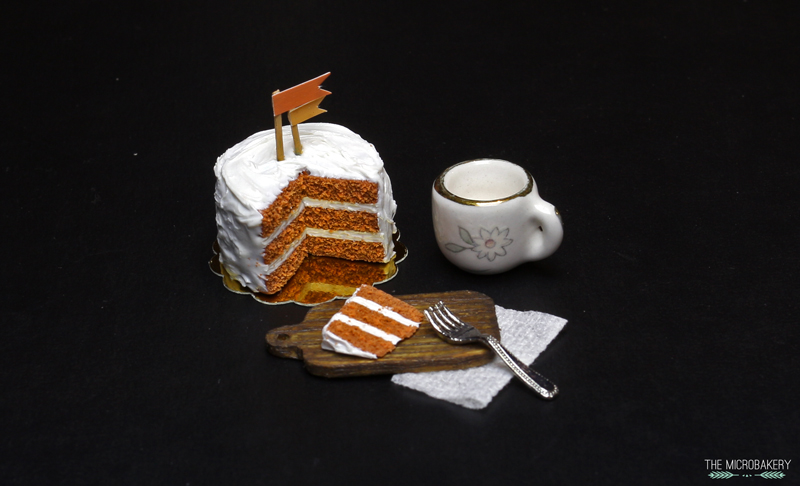
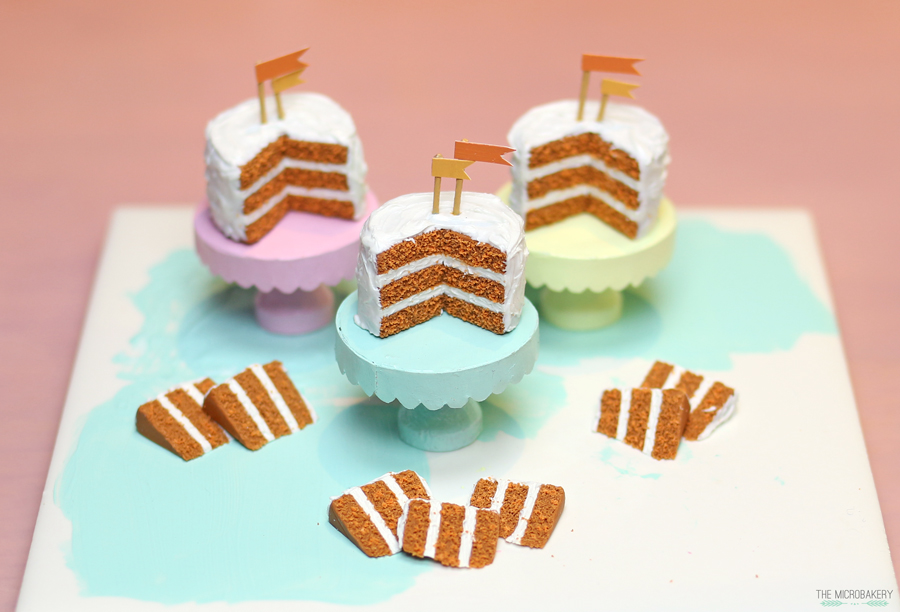
As usual, I was browsing the interwebs for some inspiration when I stumbled upon GimmeSomeOven's beautiful carrot cake, so I made a miniature version!  It's a bit hard to tell on these photos, but up close in person you can see little bits of orange clay in the cake that are supposed to be carrot shreds.  Two of these will be listed on my store as soon as I am able to find an appropriate box to ship this in.

The Micro Bakery polymer clay carrot cake2

The Micro Bakery polymer clay carrot cake3

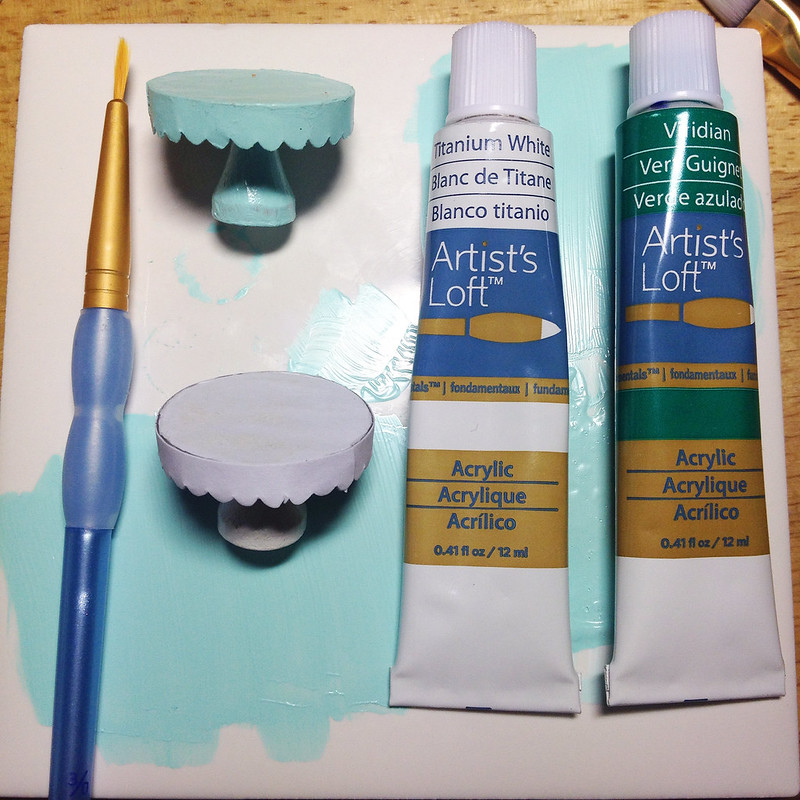
I made these simple cake stands from objects found around the house.  The flat top of the cake stand is made of clay with a sheet of paper glued to it so the paint would glide on smoothly and without streaks.  Then I cut out a scalloped edge and glued that to the side.  The base of the stand is a golf tee cut to a scale appropriate length and glued with a big dollop of glue.  Once everything was dry, I painted the whole thing with a few layers of thinned out acrylic paint.  You can either use water or isopropyl alcohol to thin out your paint.

Cake Stand WIP

The Micro Bakery polymer clay carrot cake4

For this miniature, I did something completely new and filmed the entire process!  Below I put together a tutorial for it and hope you enjoy it :D


Wednesday, March 25, 2015

Party Cakes!

Cakes1(W)

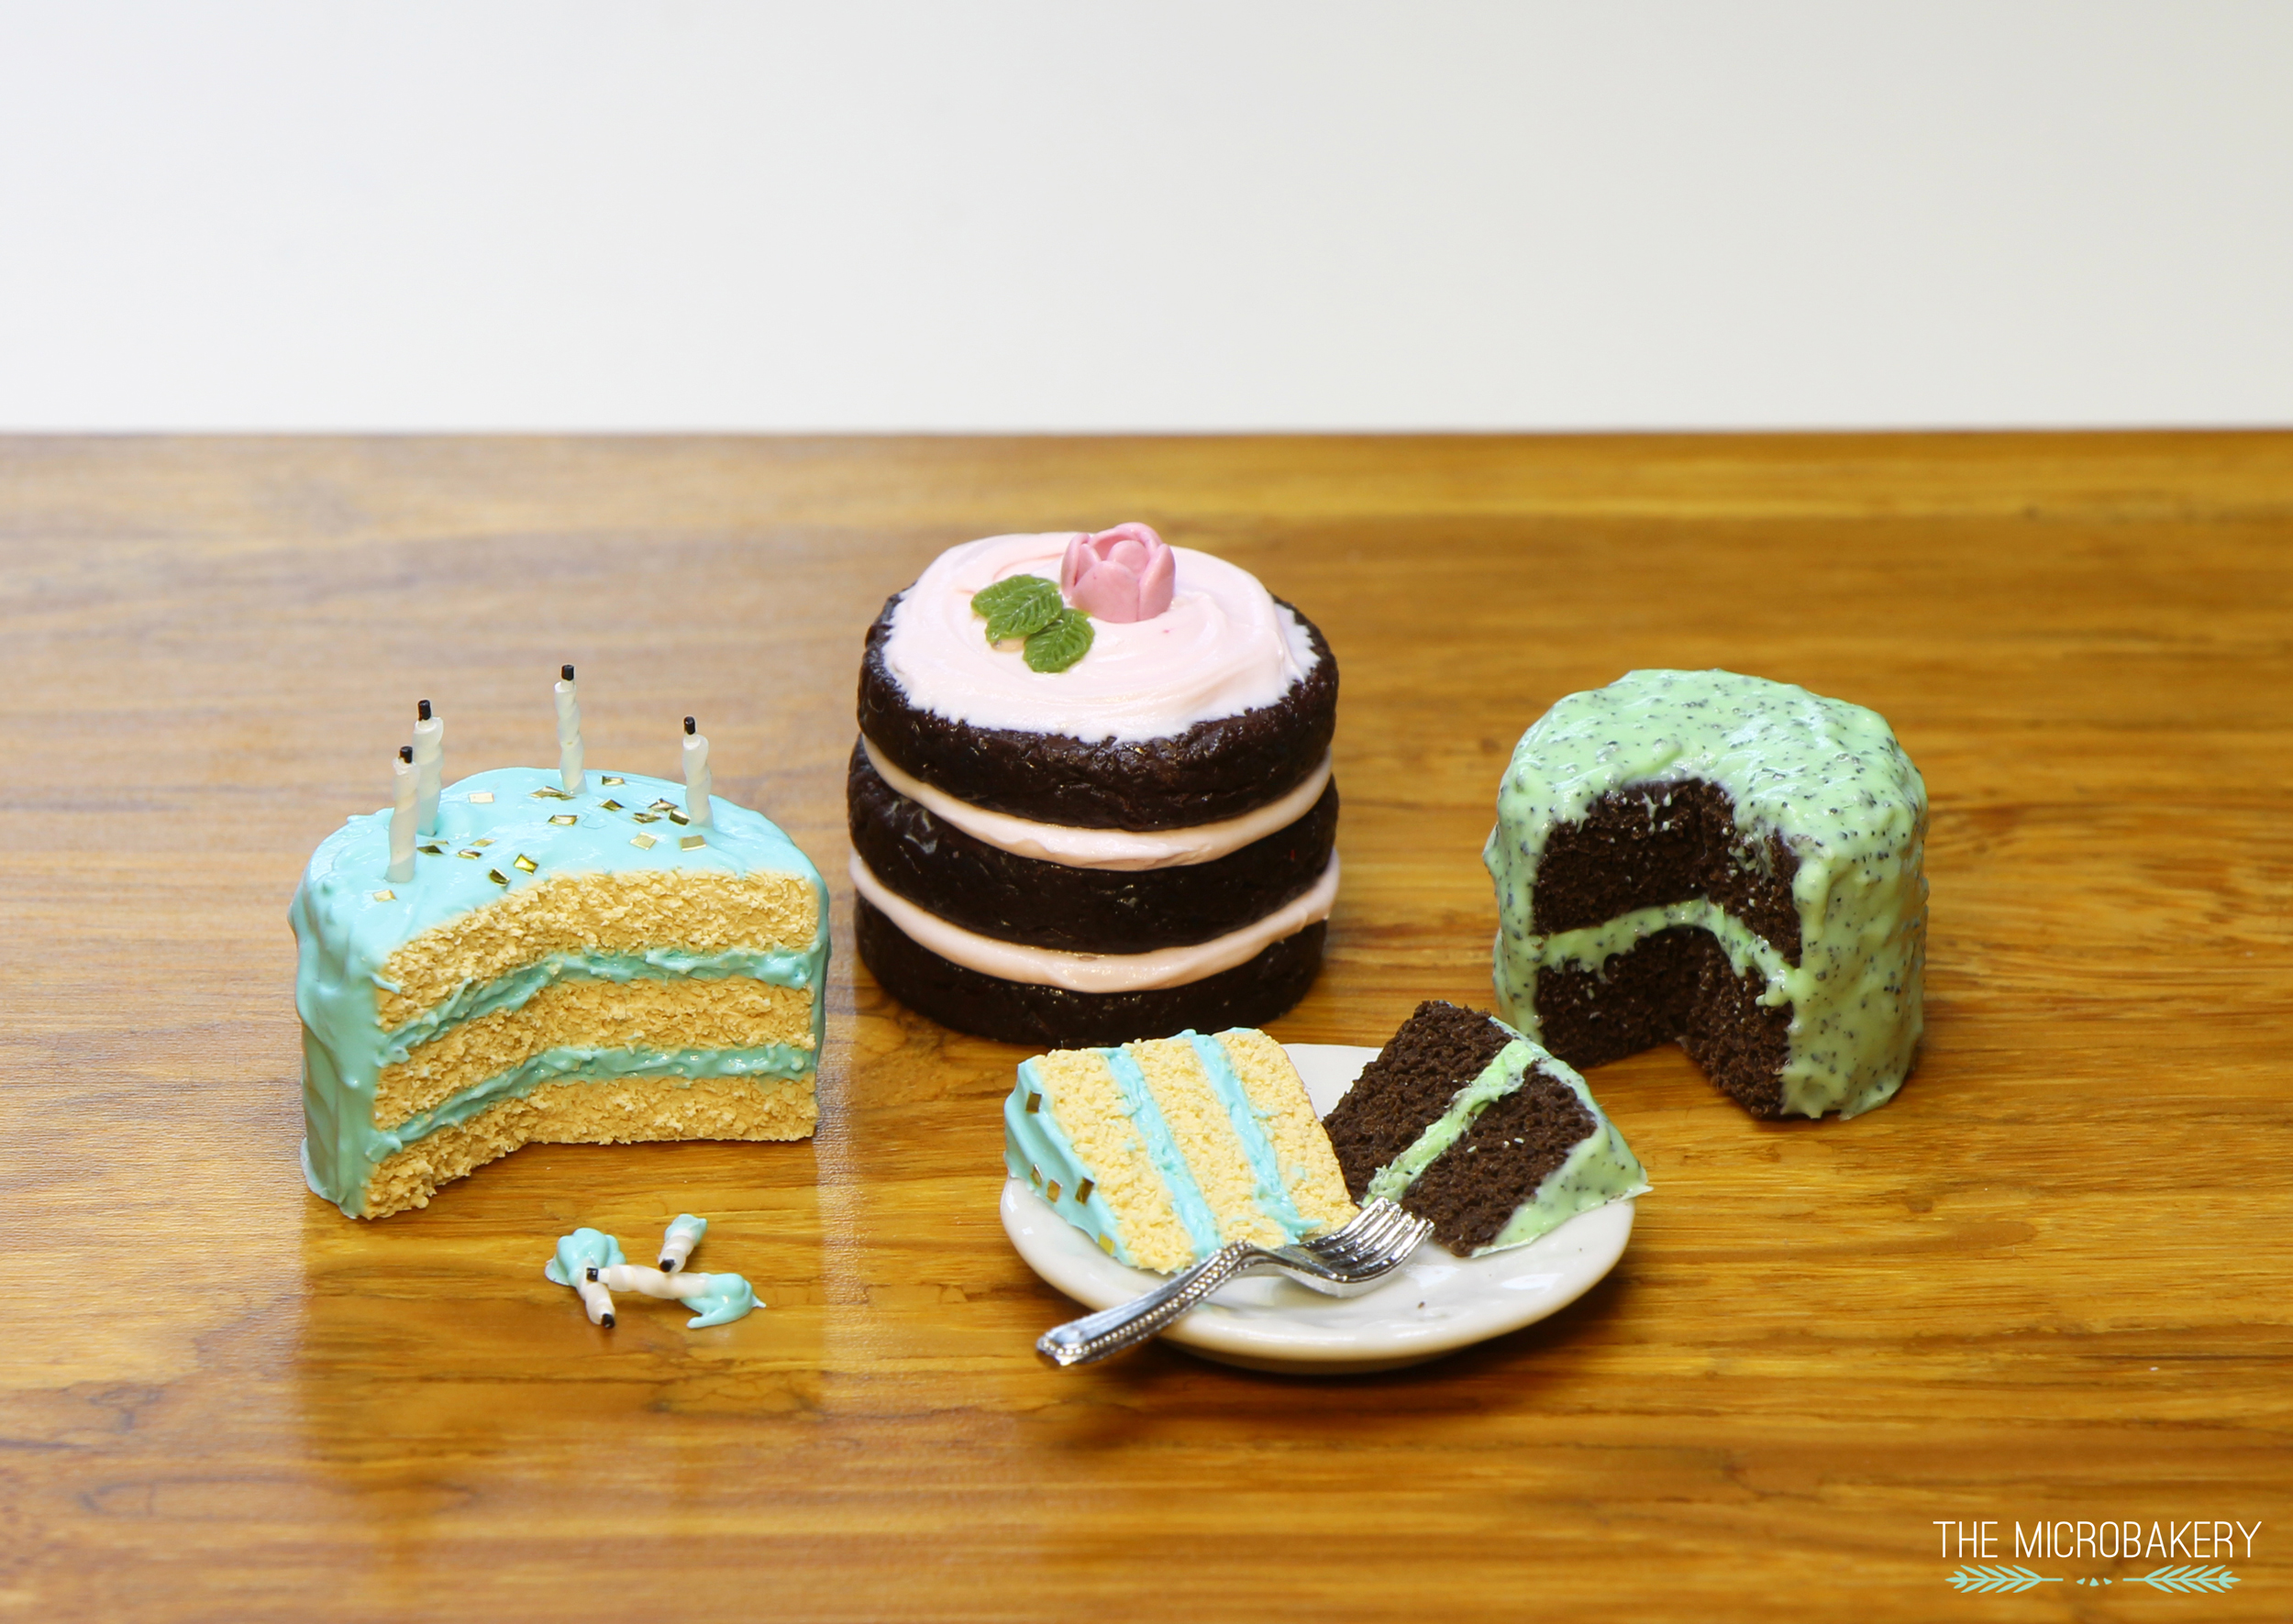
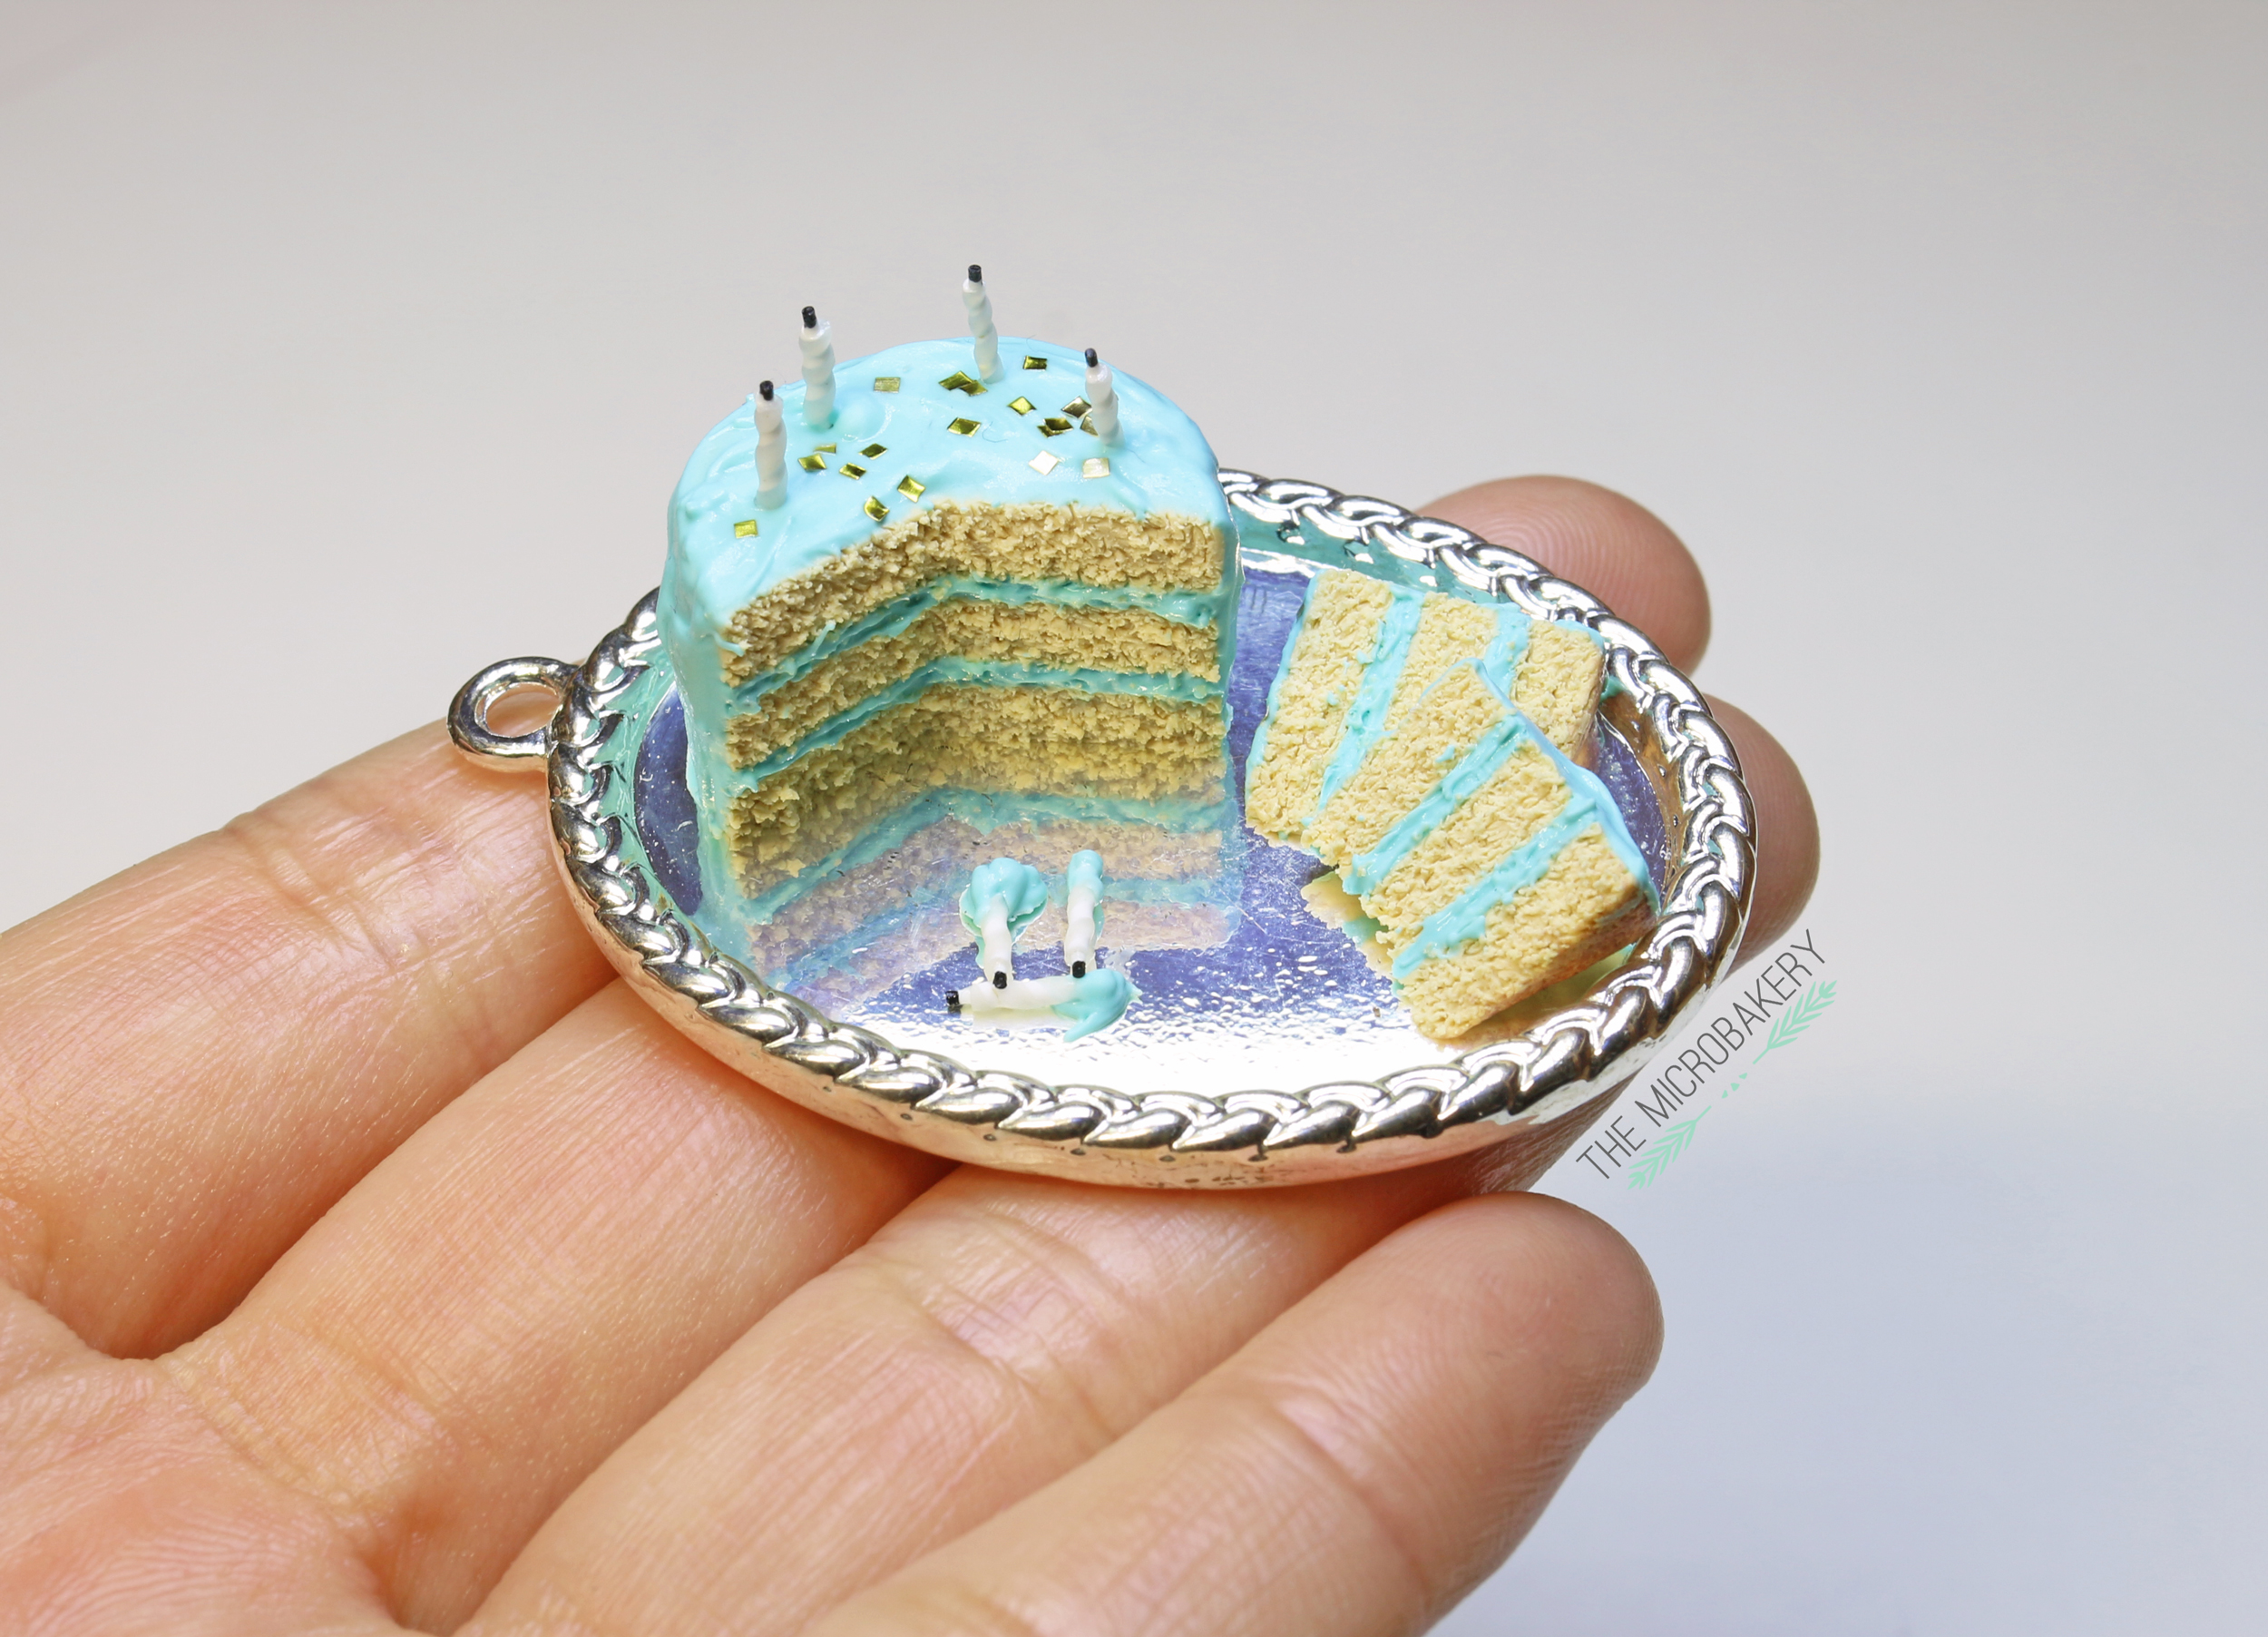
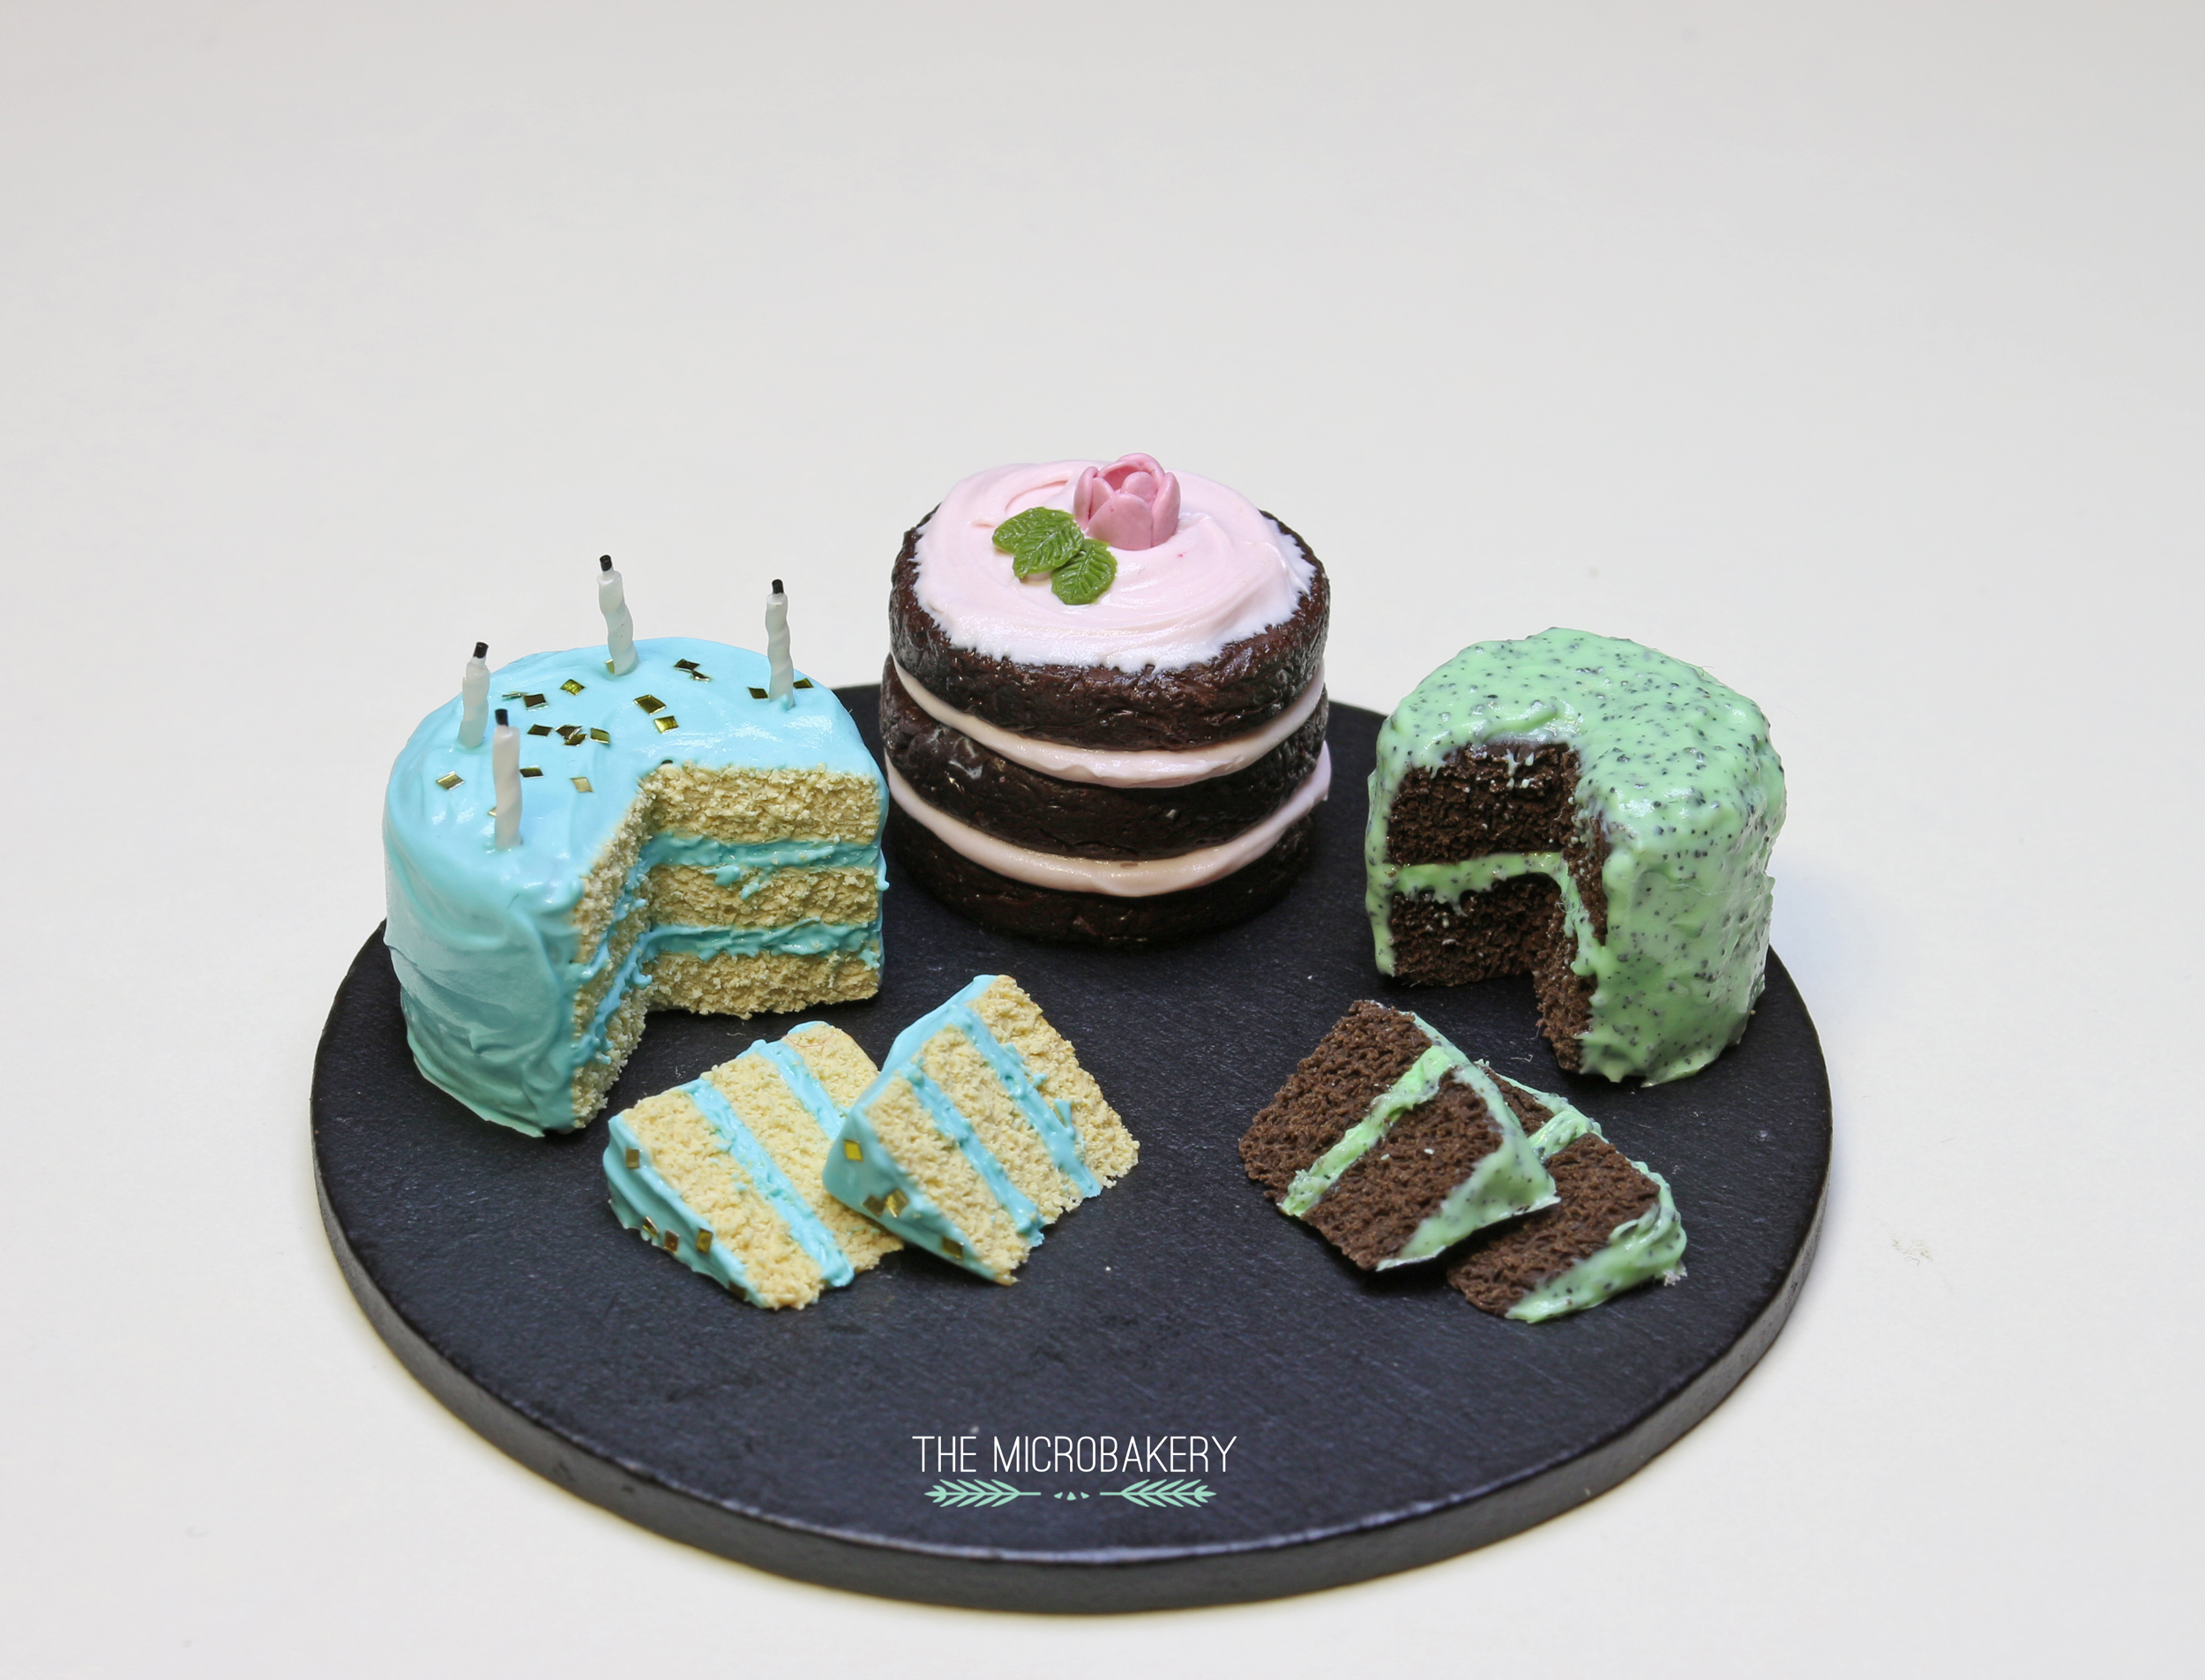
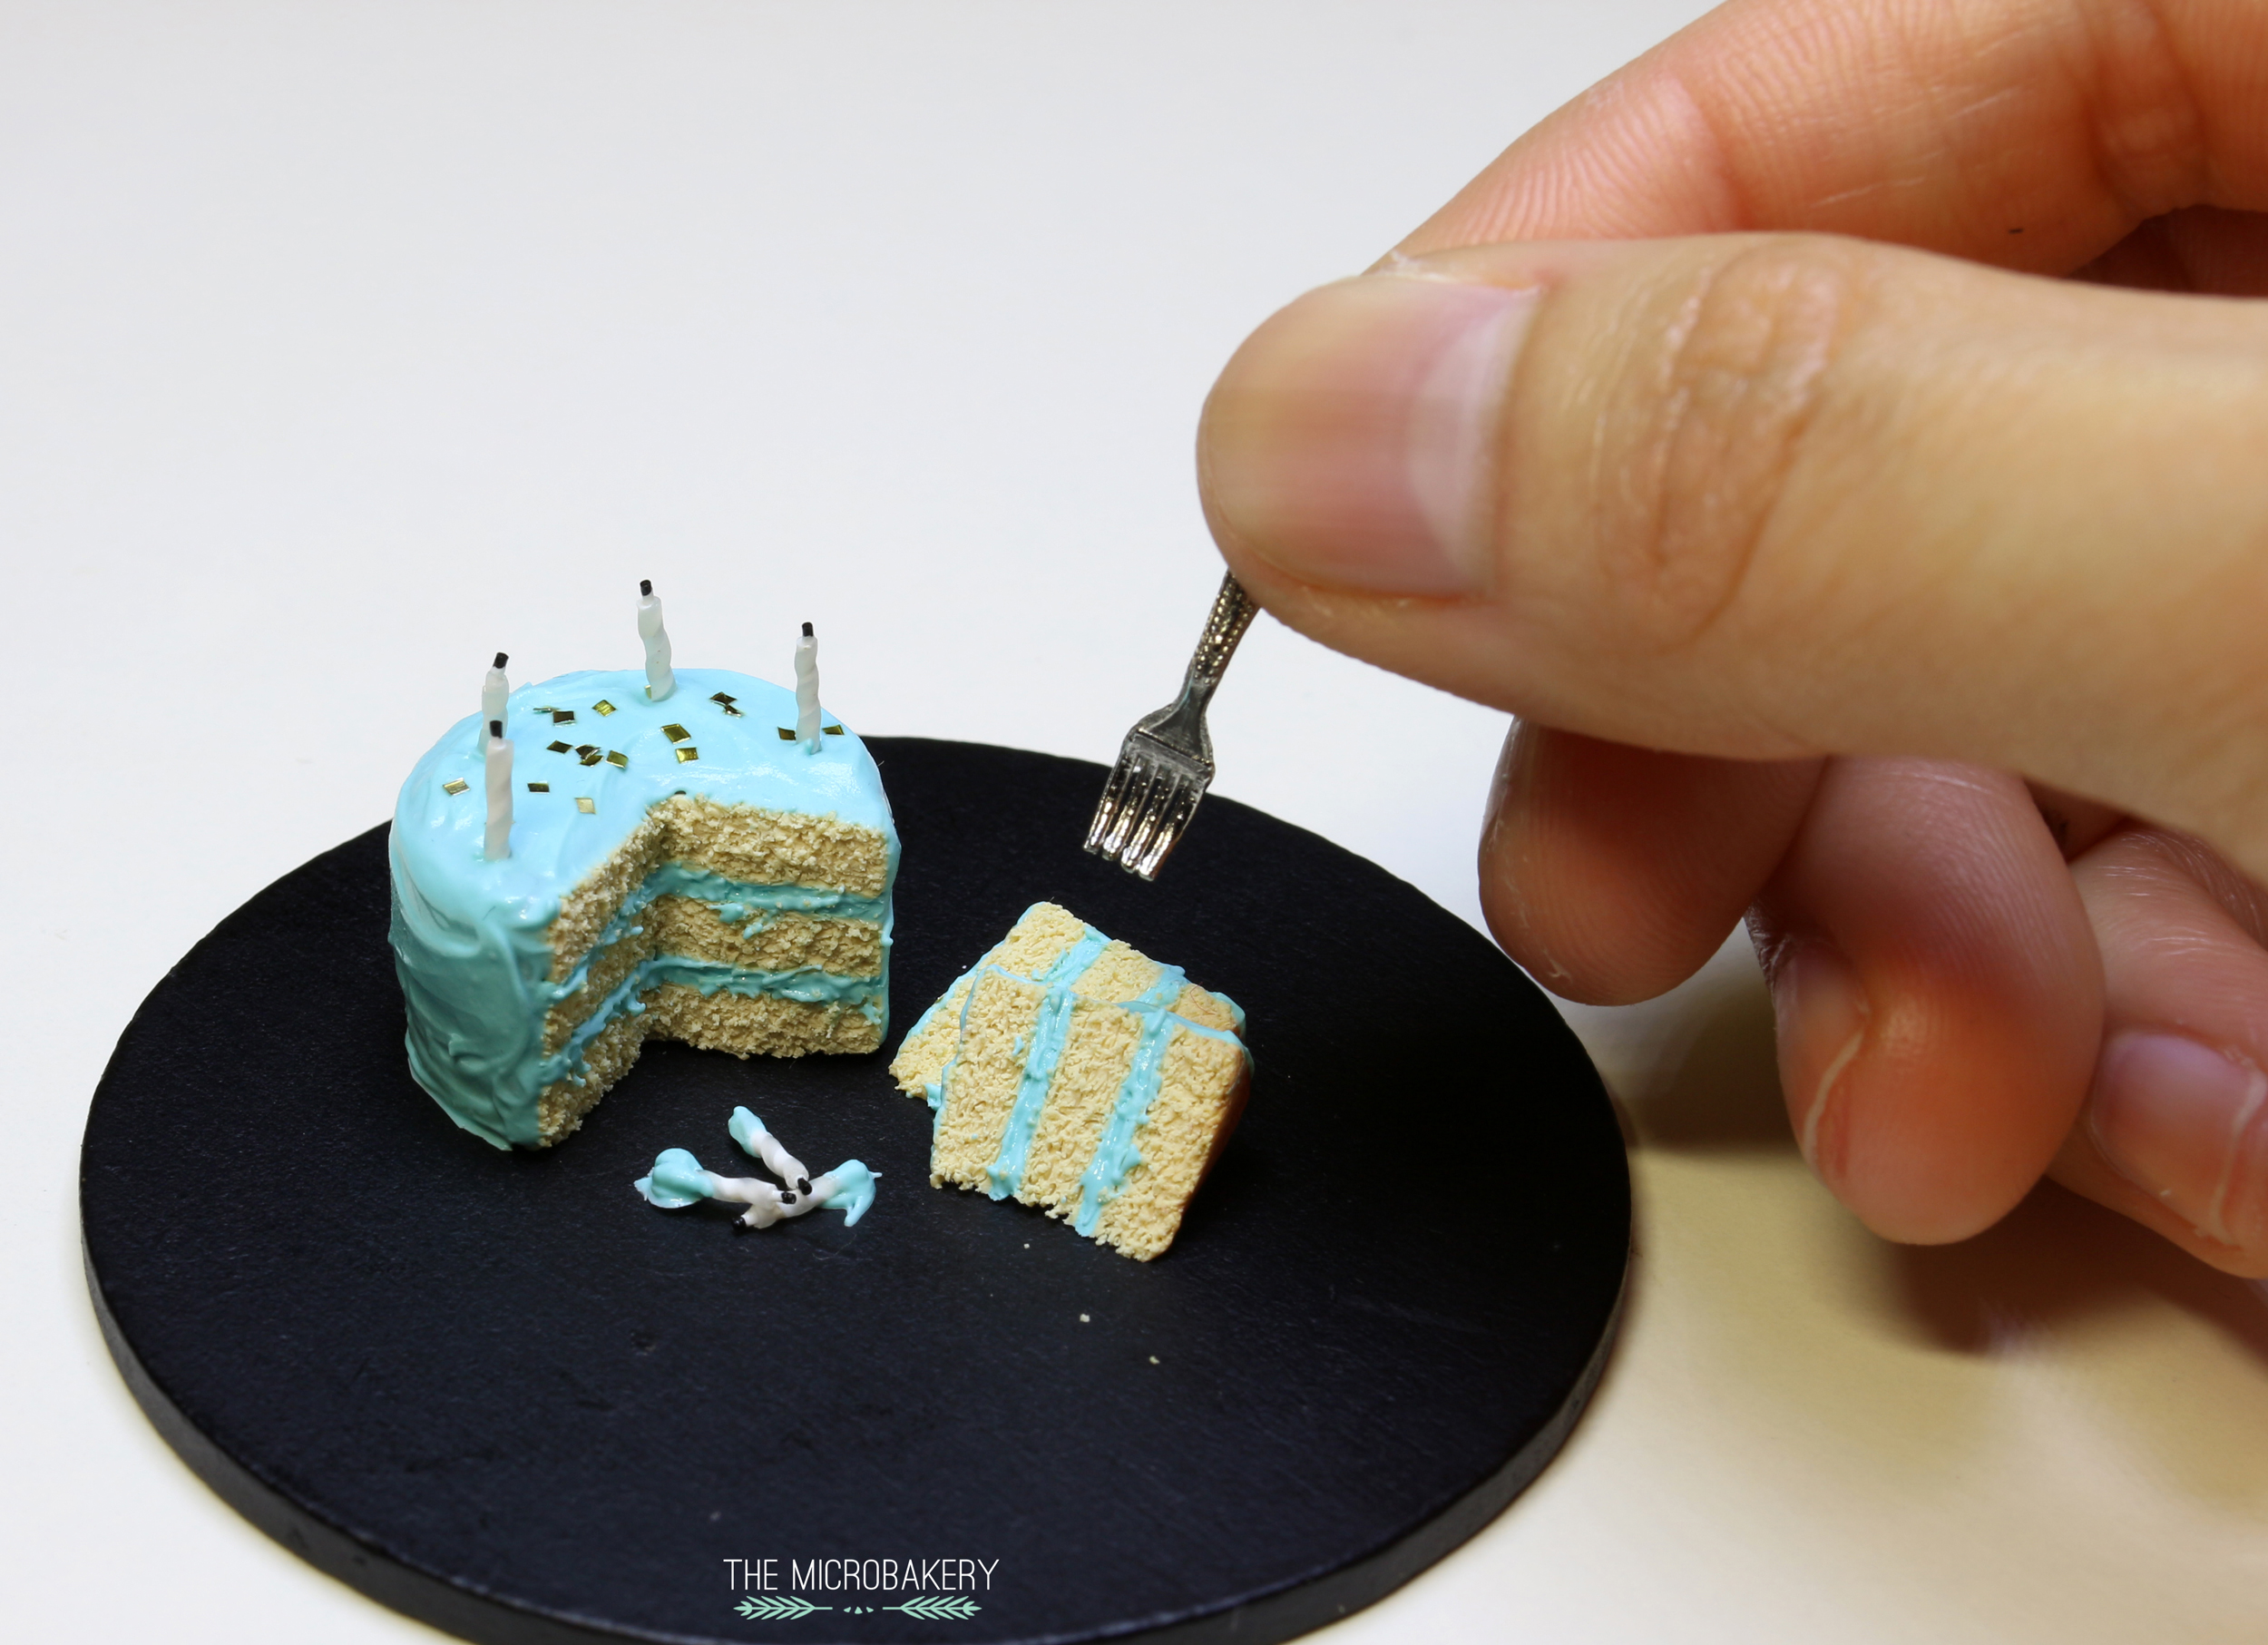
After a few disastrous attempts at a funfetti cake and burnt candles (documented on my Instagram account) I was finally able to create a few decent cakes.  They're probably the most fun food item to make because they are so darn pretty looking!  I wanted to do a few more with sprinkles and possibly funfetti, but I got too lazy and only made these :P 

I actually made duplicates of the blue vanilla and mint chocolate chip cakes along with a few extra slices and will be selling them soon.   Watch out for my next post which will go into more detail about opening an online store.

Cakes2(W)

Ugh, those candles were a pain!  However, I think the end result looks nice :)  I twisted white and translucent Premo together for a classic spiraled candle and pre-baked them before placing them in the raw clay cake.  I highly suggest using Premo for the candles since they will be baked twice.  Unlike Sculpey III, Premo becomes flexible when baked for longer periods of time instead of becoming brittle.

To help prevent any further burning when baking the entire cake, I placed an aluminum foil tent around the pieces.  Once finished, I made burnt candles wicks by glueing super thin pieces of clay to the top of the candles and painted it with black acrylic.  

Cakes8(W)
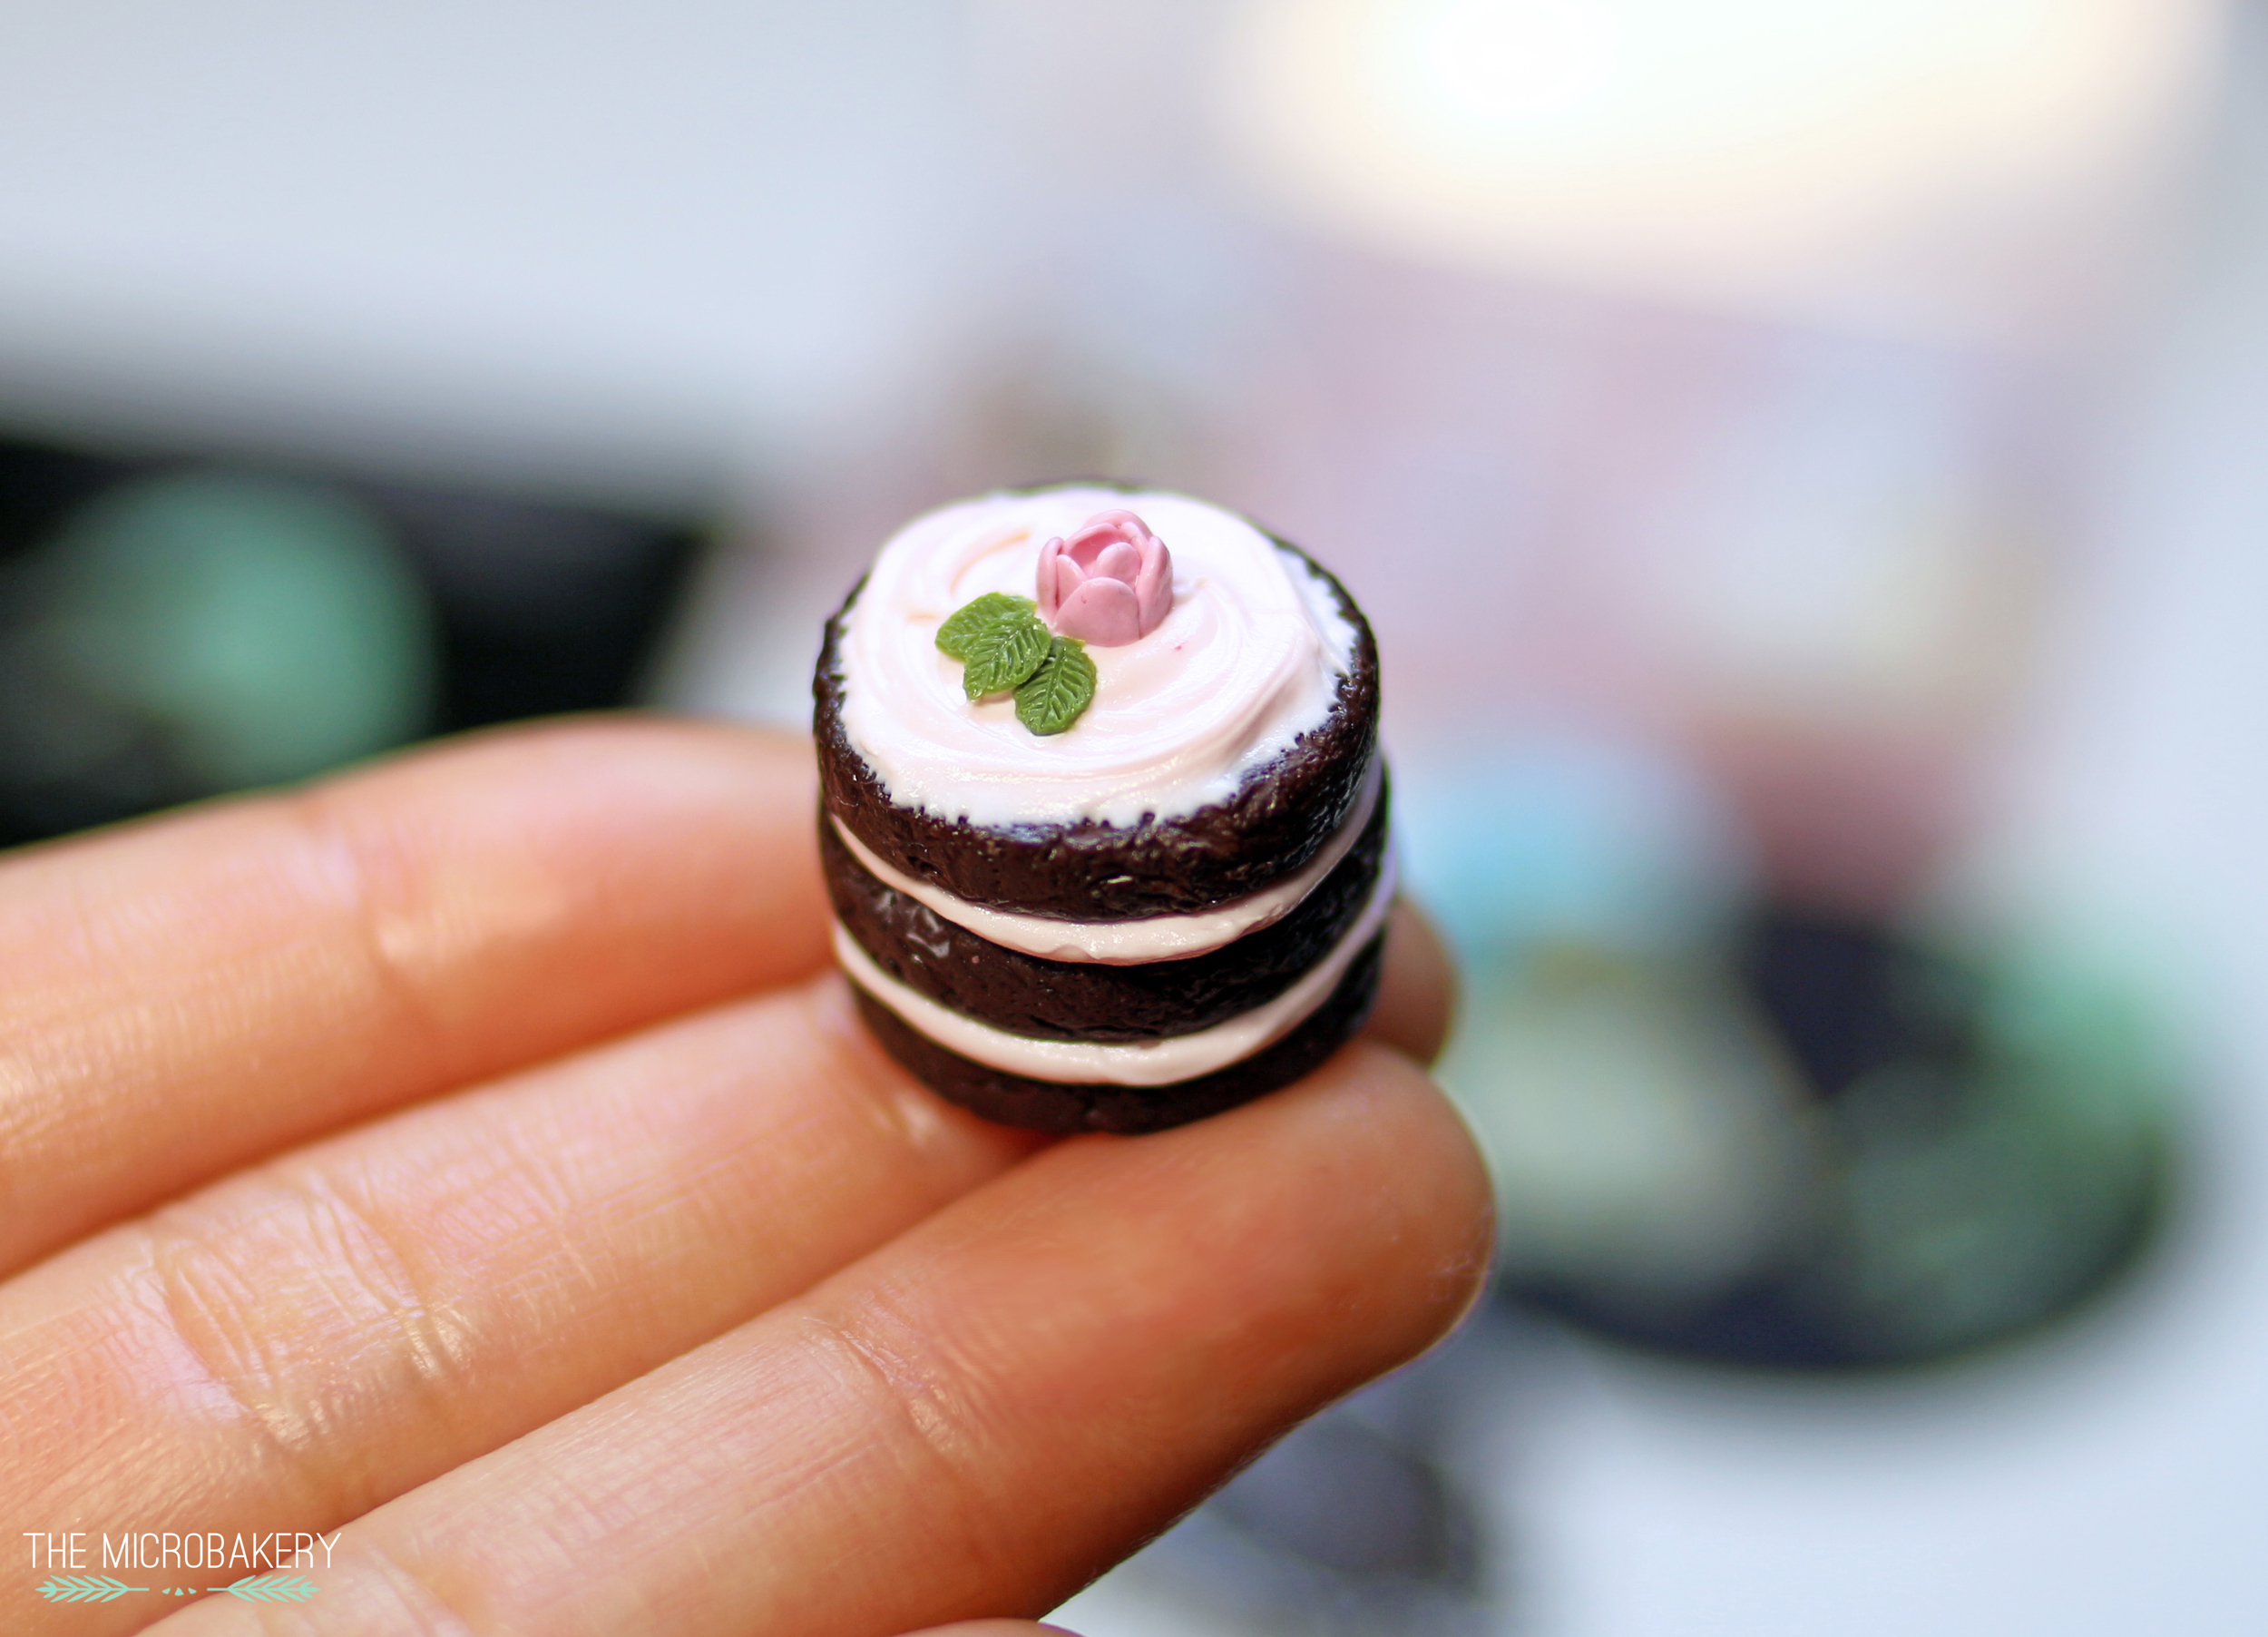
Chocolate cake with mint chocolate chip icing!
Cakes4(W)

Cakes6(W)

Cakes5(W)

Wednesday, August 13, 2014

Strawberry Cream Cake

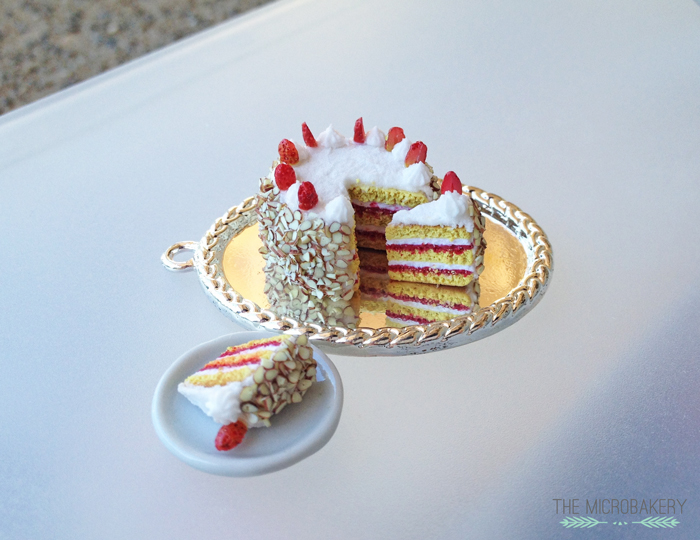
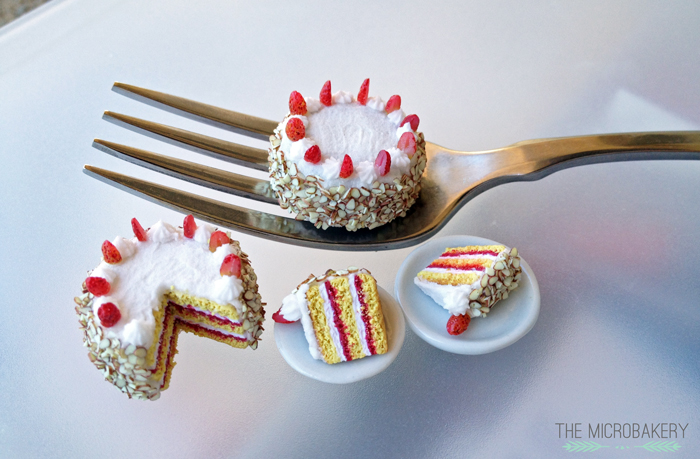
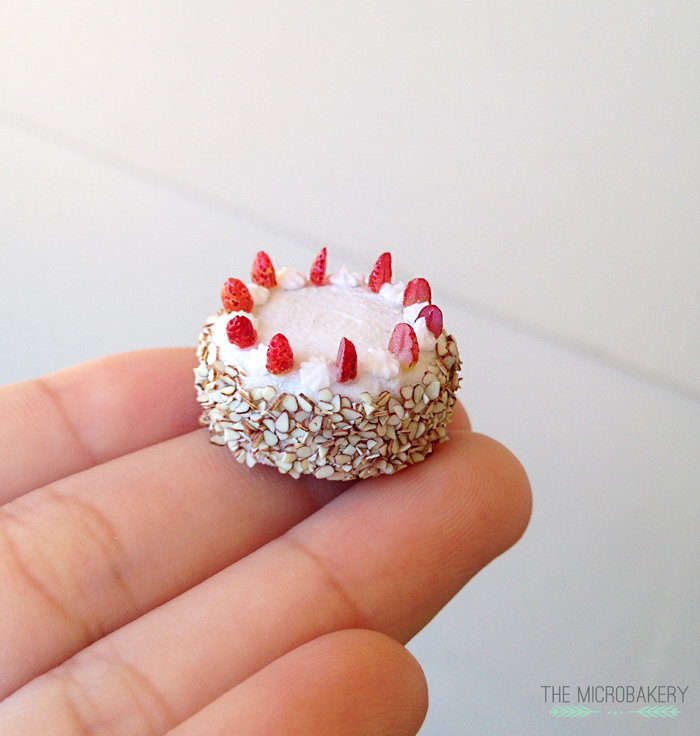
Last week was one of my sibling's birthday and for the past couple of years their favorite birthday cake has been a strawberry cream cake.  I thought it would be quite cute to make a miniature version, just like I did for my favorite birthday cake.  And incase you were wondering, yes, each almond was individually sliced, but it was worth it!

I wish I had the talent to write "Happy Birthday" on the top of the cake, but making letters that thin is so challenging!
  StawberryCake2-(W)

StrawberryCake1-(W)

StrawberryCake3-(W)