Sticky Navigation Bar

Showing posts with label doughnuts. Show all posts

Wednesday, May 27, 2015

D'Oh! - The Simpsons Themed Food


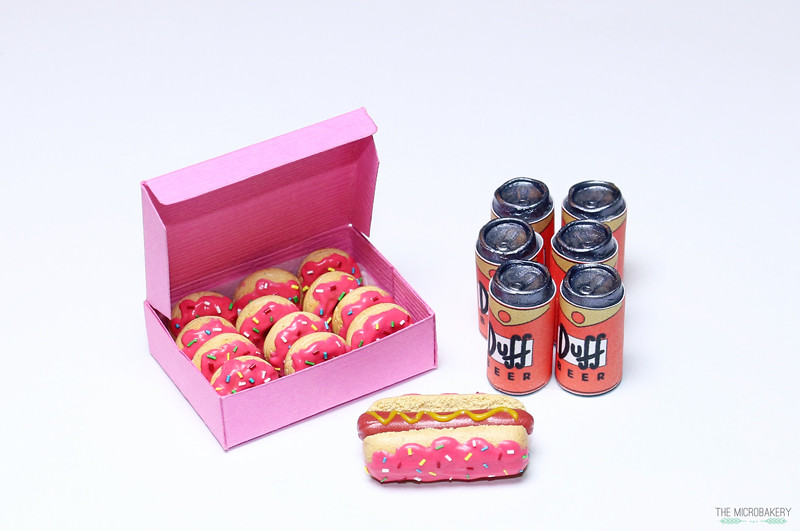
I have a fun post for you this week!  One of my friend's favorite show is The Simpsons and it also happens to be their birthday.  So why not make miniature themed Simpsons food for them?!  

Simpsons-Food2-(W)

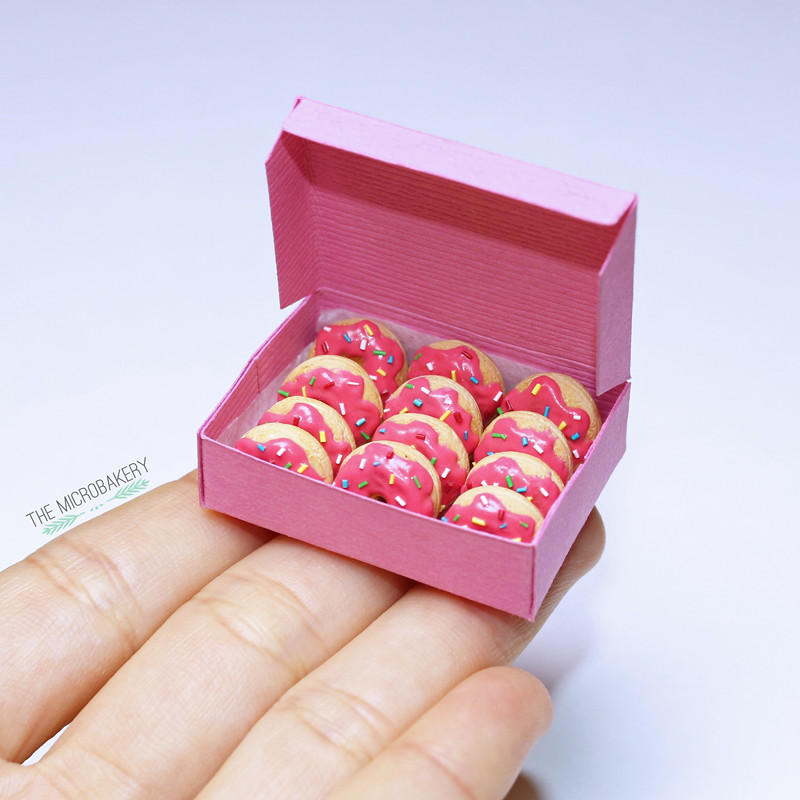
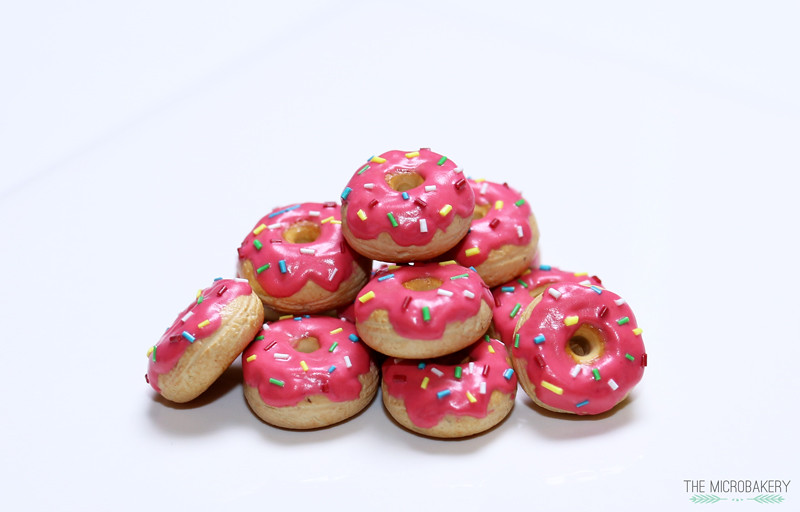
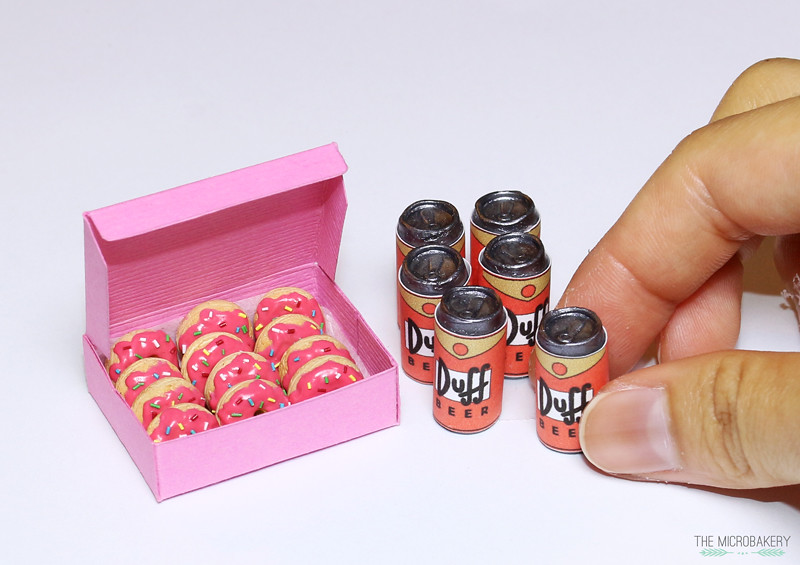
They requested the classic Homer donut and of course I had to make a dozen! I also added a six pack of Duff Beer because it's classic Simpsons. While not part of The Simpsons world, it still went along with the look, and made a hot dog on a donut bun since they love hot dogs.

Hot-Dog-Donut-(W)

Donuts3-(W)

Donuts1-(W)

Simpsons-Food-(W)

Just like last time, I created a video tutorial for you!  Please forgive me if my editing and colors are off, I'm still getting a hang of this :P Enjoy!


Monday, November 10, 2014

Donut Talk To Me

DonutTalkToMeBanner

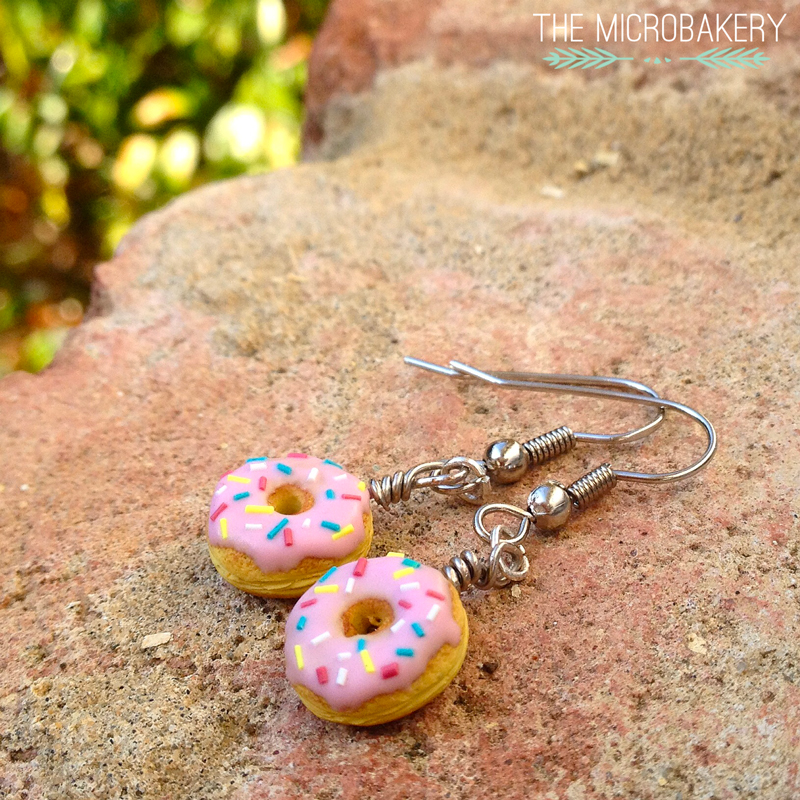
Last week one of my friends asked if I could make her a pair of donut earrings to match her "Donut talk to me" shirt.  Naturally, of course I said yes!  I was a bit nervous because I never really made earrings before so I wasn't sure how it was going to turn out.  I had to watch a few tutorials on how to make an eye pin from a loop pin, I kind of got it? It definitely looks like novice work, yikes. You can be the judge of that one... There is definitely room to improve haha.

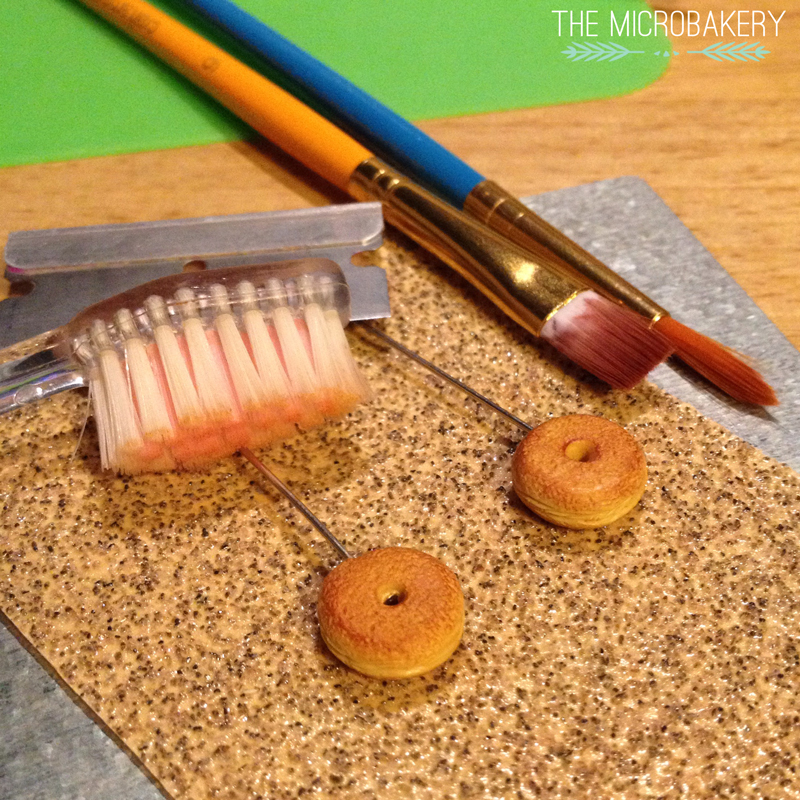
Donut-EarringsWIP1-(W)

I used a head pin, but you can also use an eye pin that has a pre-made loop.  Just be sure to bend the end of the pin that goes into the clay.  This will allow the clay to grip onto something and ensure the charm won't fall off if you twist it.


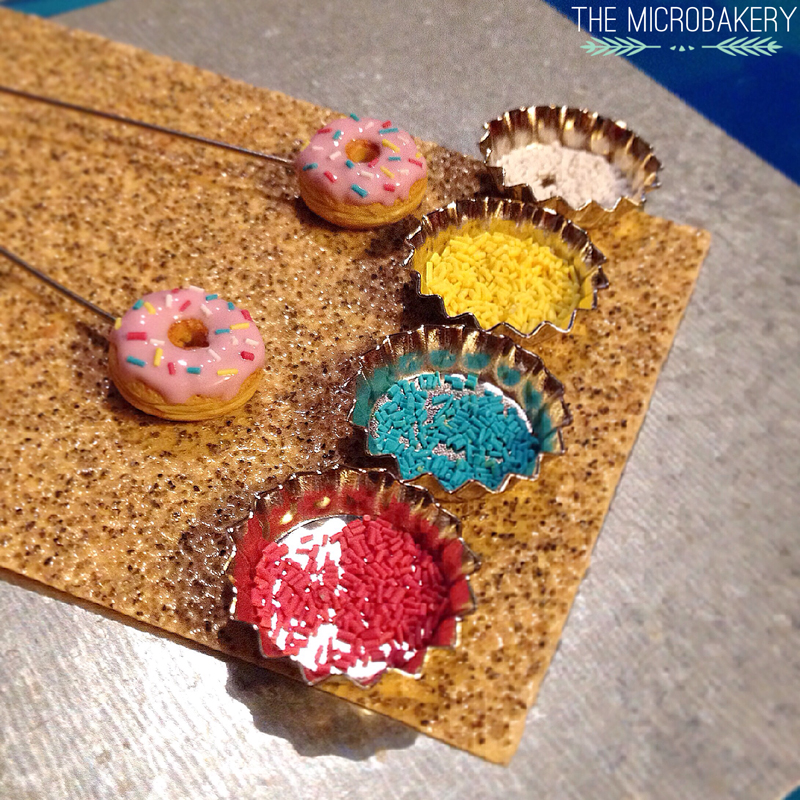
Donut-Earrings-WIP2-(W)


Donut-Earrings-(W)

Monday, July 21, 2014

Glazed & Confused (Part 2)

*Disclaimer: With the permission from Voodoo Doughnut, these works are purely replica fan art with no intentions to sell.  It is not intended to infringe on any rights by and of the company involved in the production of the miniatures made here. *
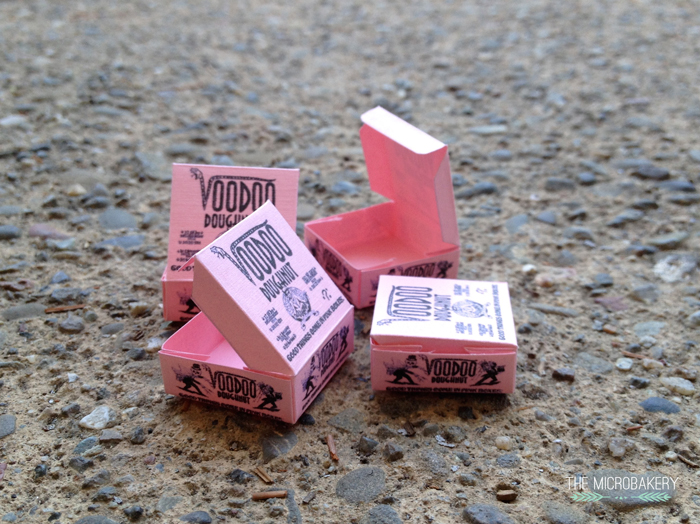
Voodoo-Doughnuts1-(W)

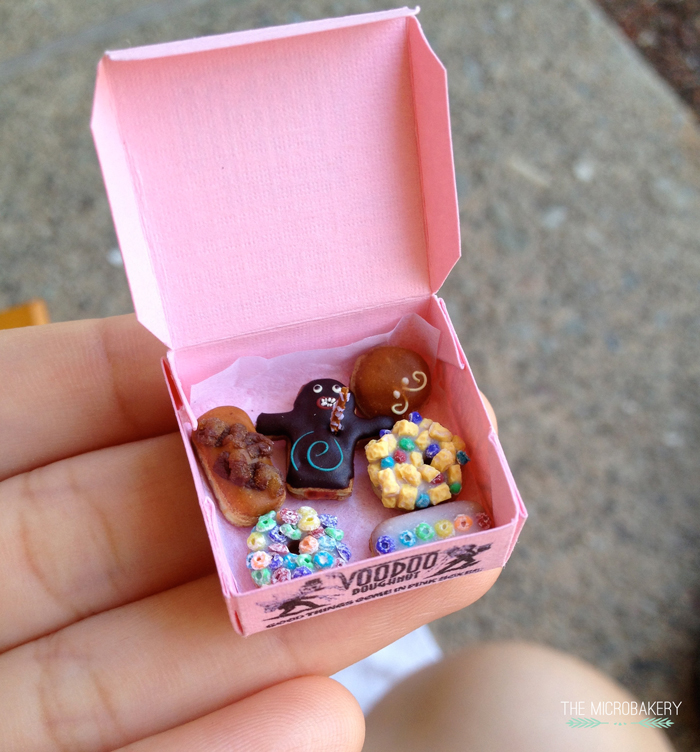
Woohoo! The Voodoo Doughnut project is all finished :) In case you aren't familiar with Voodoo Doughnuts, they are a well known doughnut shop in Portland, OR known for having uniquely designed doughnuts.

I was hard pressed to find a bit of time this week to finish making the toppings, assemble the pastry boxes, and decorating the whole doughnut.  Nonetheless I'm fairly pleased with how they turned out.  There are only a few issues I could nitpick, but what person isn't critical of their own work?


Voodoo-Boxes-(W)

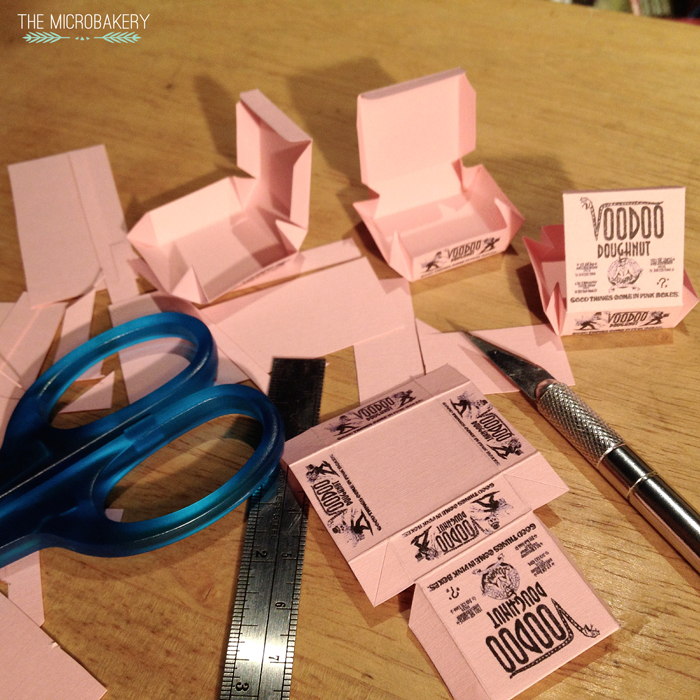
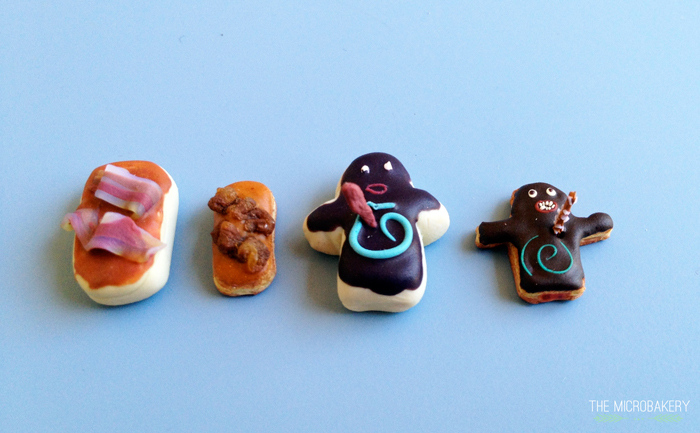
 The first thing I did this week was cut, fold, and glue the famous pink boxes.  It measures roughly 2.54cm x 2.54cm. x 1cm (LxWxH).  It took a while to create the box template from scratch since I had to reference photos online and then find clear images I could use.  Once I did that I brought the photos into Photoshop, tinkered with it a bit, and then created the template.
Voodoo-Boxes-WIP2-(W)

Toppings-(W).jpg
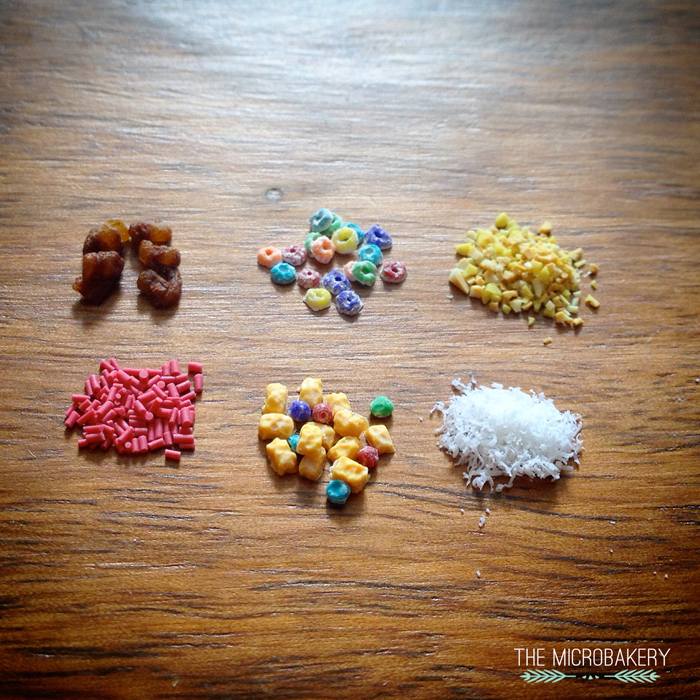
Bacon, Fruit Loops, crushed peanuts, sprinkles, Captain Crunch, shredded coconut
The second major task was to finish making the toppings.  In the last work in progress (WIP) post I wrote about making the Fruit Loops and Captain Crunch Berries.  This round I made bacon strips, crushed peanuts, sprinkles, and shredded coconut.  To make the crushed peanuts I baked peanut colored clay and then chopped it up into tiny pieces.  For the shredded coconut, I grated white clay on a grater.  I technically stole the sprinkles from my last doughnut project, but shhhh....I can re-use things, right? :)

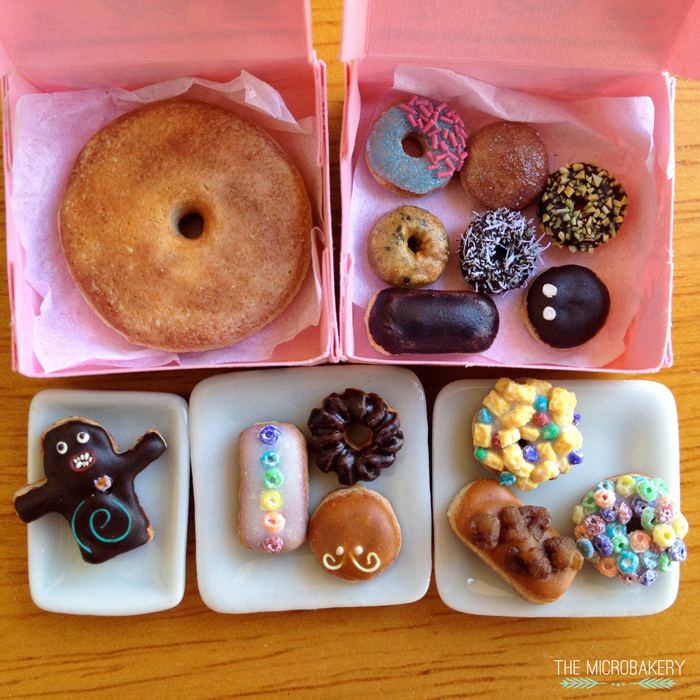
Voodoo-Doughnuts3-(W)

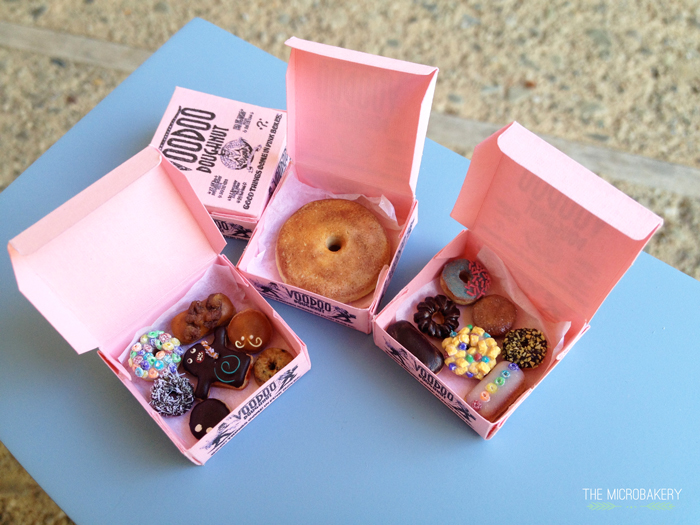
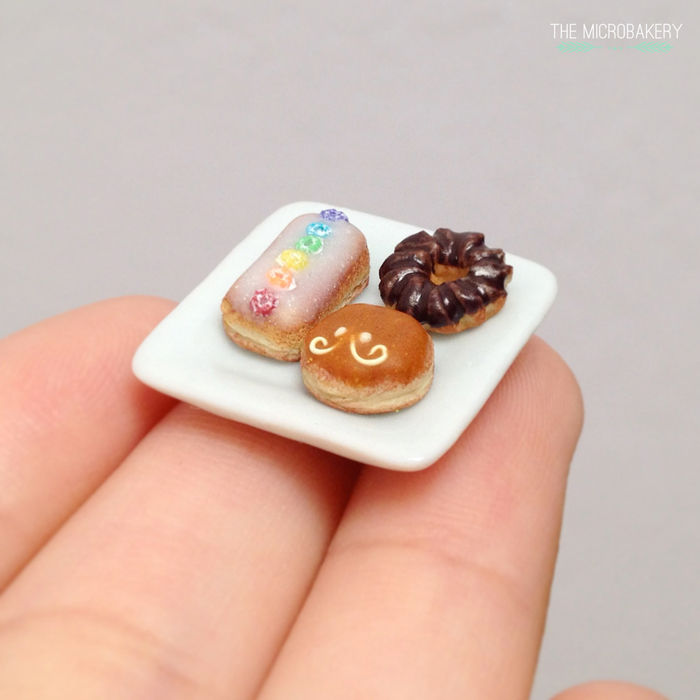
After several days of working on it, here they are! As I mentioned last time, I was originally going to only make five different kinds but I couldn't decide on which flavors so I ended up choosing fifteen.  After seeing it finished, I'm glad I chose to make a bunch of them.  It's so colorful!  Here is a list of the doughnuts pictured: (left to right, top to bottom)

Tex-ass Challenge (equal to 6 doughnuts!), Miami Vice Berry, Raspberry Romeo, Peanut doughnut, Blueberry cake doughnut, Chocolate coconut, Portland cream, Chocolate bar, Voodoo Doll, Gay bar, French crueller, McMinnville cream, Captain my Captain, Bacon Maple bar, The Loop doughnut

Voodoo-Doughnuts5-(W)


Voodoo-Doughnuts2-(W)

Voodoo-Doughnuts4-(W)

Before-After-(W)
Old vs. New
Lastly, I posted a before and after progress shot of two doughnuts that I made a while ago when I first started messing with polymer clay.  You can see in the older versions that I didn't take scale into consideration.  Also, the effect chalk pastels has on the clay to create that "baked" look.  I've definitely learned a lot of new techniques since starting, maybe if I make a third version of the doughnuts it will look like it was baked fresh from the store's oven. :)

I hope you enjoyed this short little series!

P.S. If you like the content I have provided and decide to make your own version of some Voodoo Doughnuts (or any doughnut for that matter), feel free to share them with me!  Tag me (@TheMicrobakery) on your Instagram photo so I can see your awesome treats.

Monday, July 14, 2014

Glazed & Confused (Part 1)

*Disclaimer: With the permission from Voodoo Doughnut, these works are purely replica fan art with no intentions to sell.  It is not intended to infringe on any rights by and of the company involved in the production of the miniatures made here. *

 After my last doughnut catastrophe a couple of days ago, and my vow to take a long hiatus from these delicious fried eats, it's only appropriate that I tell my delusional self to make more.  So in honor of one of my favorite cities, I am recreating some doughnuts from the infamous Voodoo Doughnuts.  Right now I'm making all the different components so be sure to tune in  next time with more updates of this work in progress.


I prepared the doughnut "dough" by stacking three layers of polymer clay together with a lighter middle layer between two darker layers.  Since doughnut bars were being made, I simply cut rectangles and then rounded the edges with my finger.  Then I textured the bar with a toothbrush and shaded it to create a "baked" effect.

It was so tough deciding which doughnuts to recreate! Originally I picked only five, but somehow ended up choosing to make 15 different kinds.  If you're familiar with Voodoo Doughnuts, then I'm sure you'll recognize some of the famously shaped ones.


Here are cereal toppings for two of the doughnuts.  I still need to make some of the other toppings; you'll see that in my second series post.  I will also be making another post for a Fruit Loop tutorial which should be up within the next day or two.


Lastly I created some miniature pink pastry box templates in Photoshop to store the finished doughnuts.  I still need to cut, fold, and glue the boxes together.  The base of the box is 1in.x1in.

There is still a bunch of work left to do, but this project is really fun so stay tuned for part 2!

Edit: Continue reading-- Glazed & Confused (Part 2)

Monday, July 7, 2014

Doughnut Fail...

This weekend I thought it would be a fun idea to make some doughnuts.  Here are two pictures I found inspiration from.
                             
Picture credit Maison Cupcake
Picture credit: The Simple Swan


I first made the doughnuts which started to look better after adding some pastel shading and texture.  But after making them all, it started to go downhill quickly.  I was a bit frustrated because I knew making sprinkles and toppings for the doughnuts would take forever, and it most certainly did.  Sitting in front of the TV for a couple of hours, I hand rolled canes of itty bitty thing polymer clay, baked it, and then cut it up.  It took 7 hours... The most frustrating part was when rolling out the canes of clay, because they were so incredibly thin, the clay would just stick to your fingers and end up deformed. Ugh.  
 

Used TLS and dark brown pastels to make the frosting, and clearly I put too thin of a layer on.  The sprinkled the sprinkles on just like when really making a donut. Here is a list of everything that went wrong:
  • The chocolate "glaze" went on way too thin
  • When sprinkling the sprinkles on, most of them landed vertically and stuck straight up.  So I had to carefully push each sprinkle down
  • The sprinkles are completely out of proportion and don't look so great (darn, after spending all those hard hours of making them)
  • The lighter ring around the doughnut didn't show up.  I have another technique idea I will implement next time
  • Hmph...generally not satisfied with the way these came out.  Practice makes perfect, right? :)