Sticky Navigation Bar

Showing posts with label cookies. Show all posts

Sunday, June 21, 2015

Linzer Jam Cookies

Linzer Jam Cookies

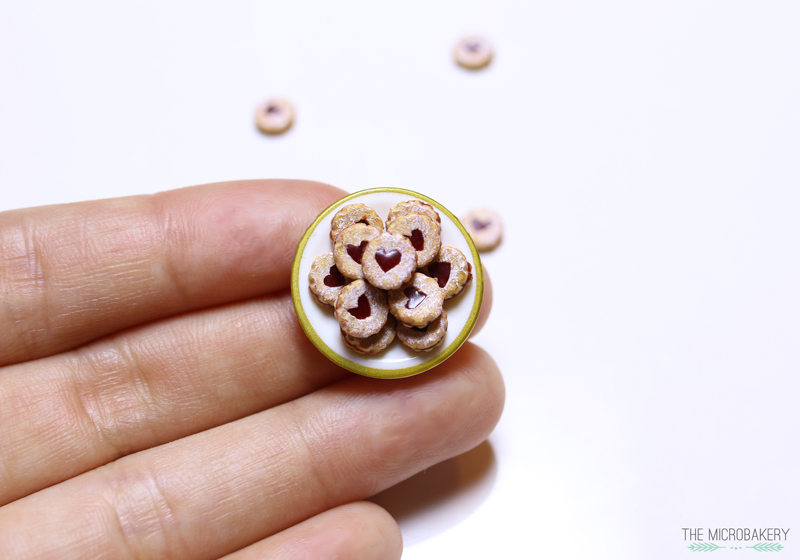
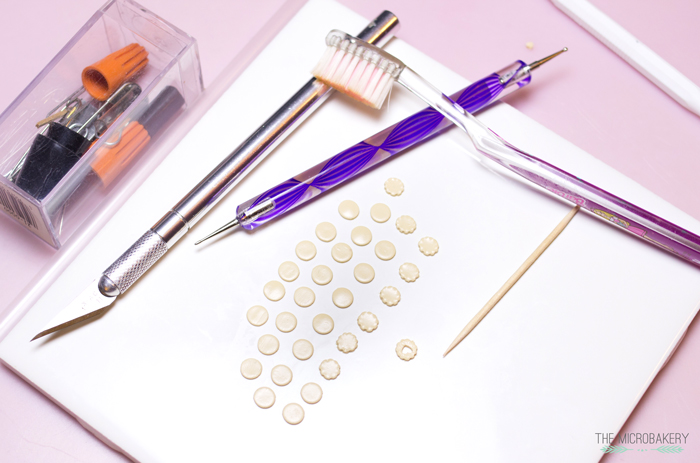
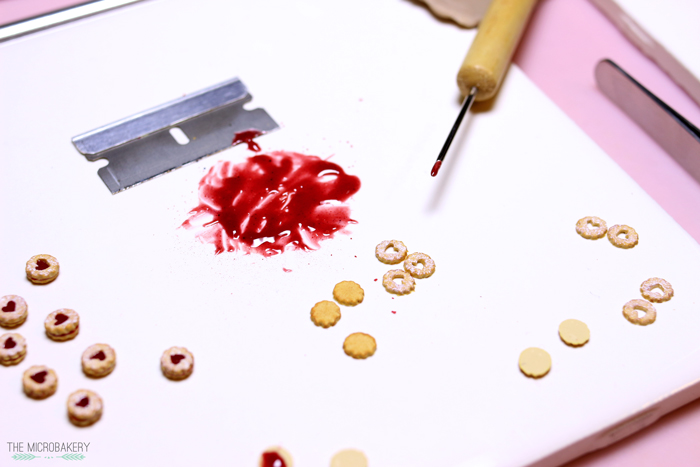
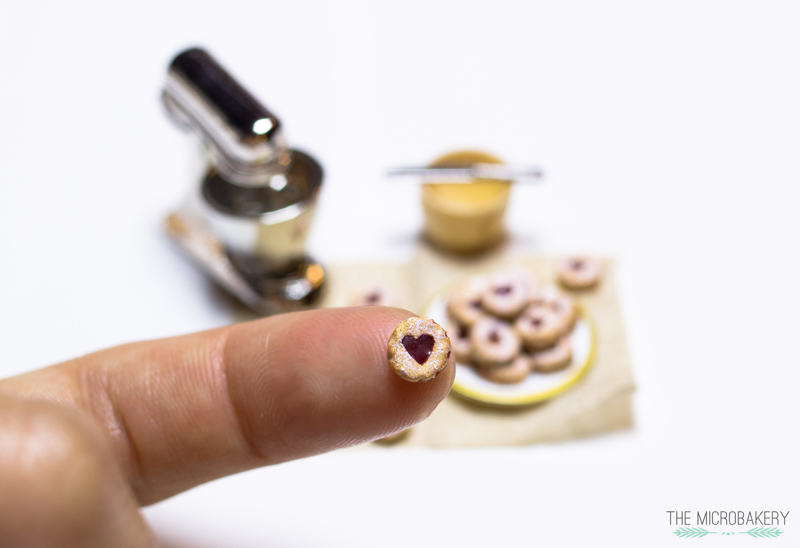
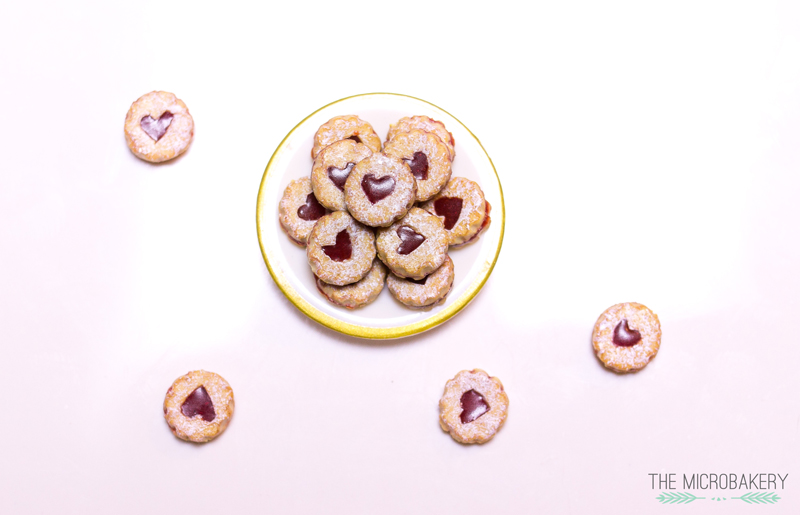
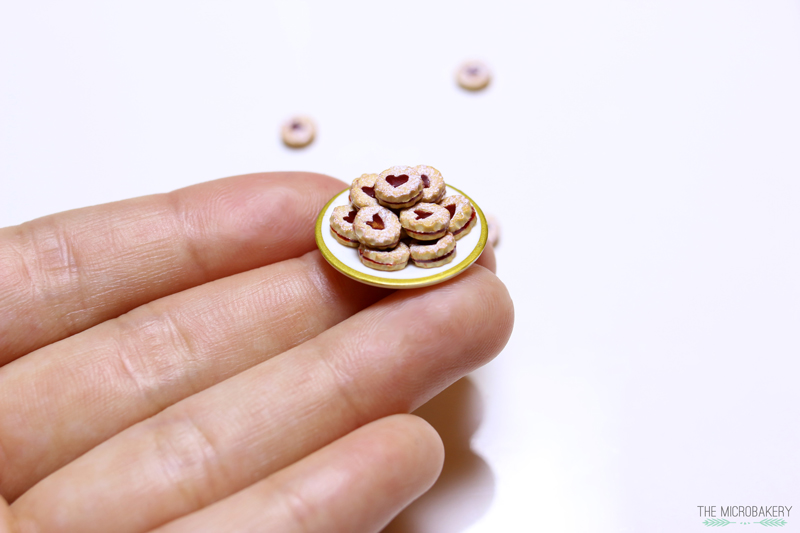
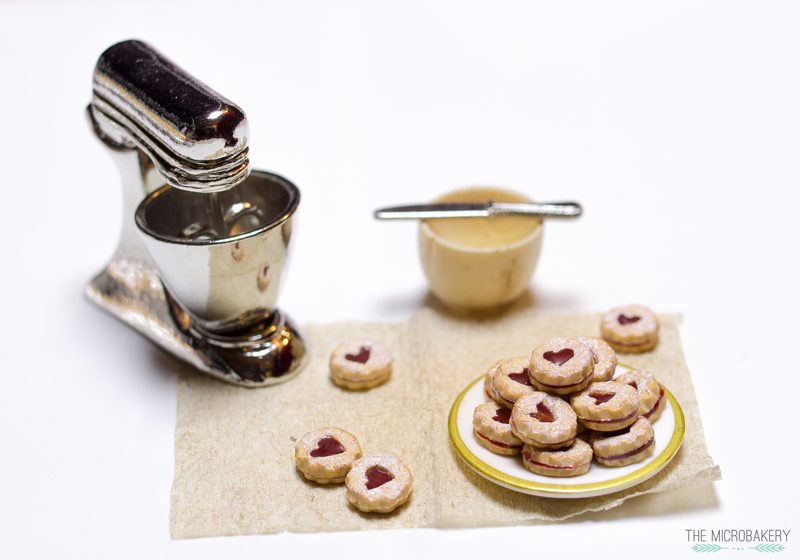
This week, I'm sharing how to make tiny raspberry (or strawberry) jam linzer cookies.  This is one of my mom's favorite cookies and is seriously irresistible. At the bottom of this post, I've included a video tutorial for you to follow along.  I was planning on making an entire baking scene, but that didn't pan out since I was kind of pressed for time :( Maybe next time I'll be able to do one.

Linzer Jam Cookies WIP

Linzer Jam Cookies WIP
Tip: While Fimo gel is quite thin yet very translucent and great for sauces, it's not the ideal consistency for a thicker jam.  So I usually end up adding in a bit of translucent clay to create a better not-as-runny consistency.

Linzer Jam Cookies

Linzer Jam Cookies

Linzer Jam Cookies

Linzer Jam Cookies

Tutorial:

Wednesday, February 18, 2015

Hamantaschen, Pickles, & Pastrami on Rye

Pastrami-on-rye2-(W)

If you know me, then you'll know I'm a huge fan of Jewish delicatessens. It's unfortunate there's no good one around here. Perhaps it's a blessing in disguise because I'd probably gain lots of weight. But really, who am I kidding, I'M DESPERATE FOR A GOOD JEWISH DELI AROUND HERE!  If only Katz's was next door...

The craving reached an all-time high this past holiday season; so much so that I ended up making pastrami.  It took two weeks to brine and marinate (let's not even talk about all the time it took to find specific spices!) and a whole lot of painful waiting.  While it didn't quite have the melt-in-your-mouth deliciousness that Katz's has, it still was pretty tasty.

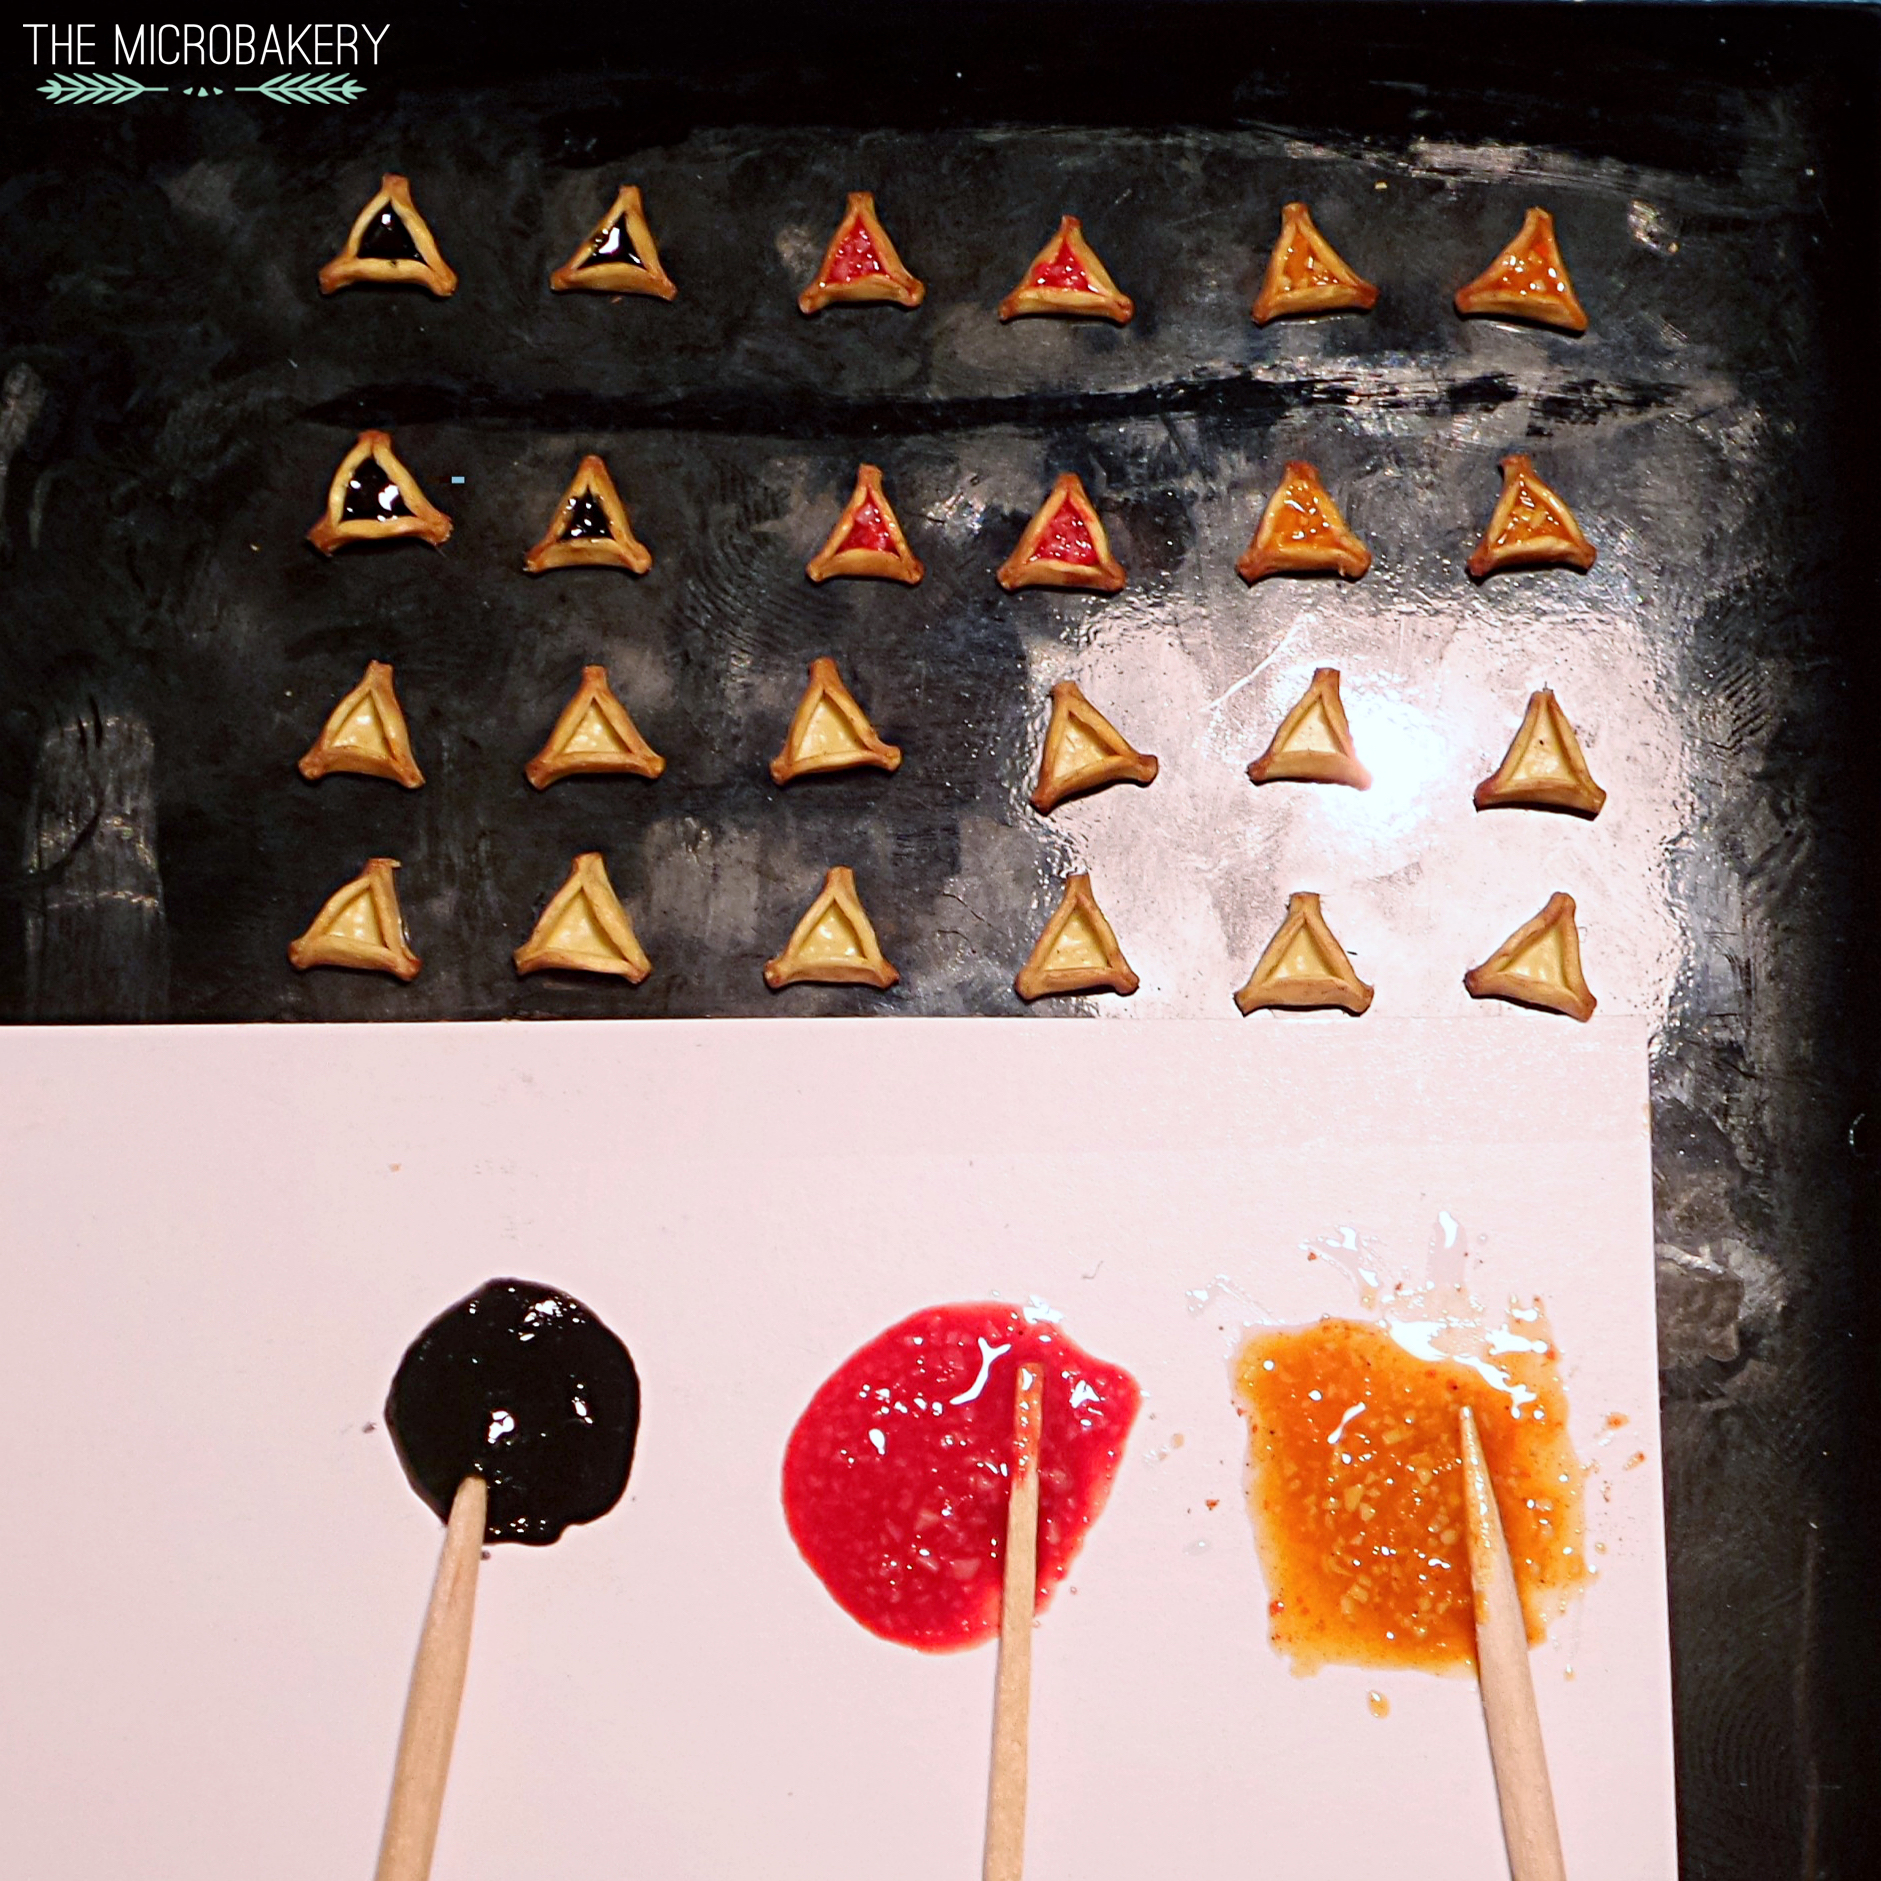
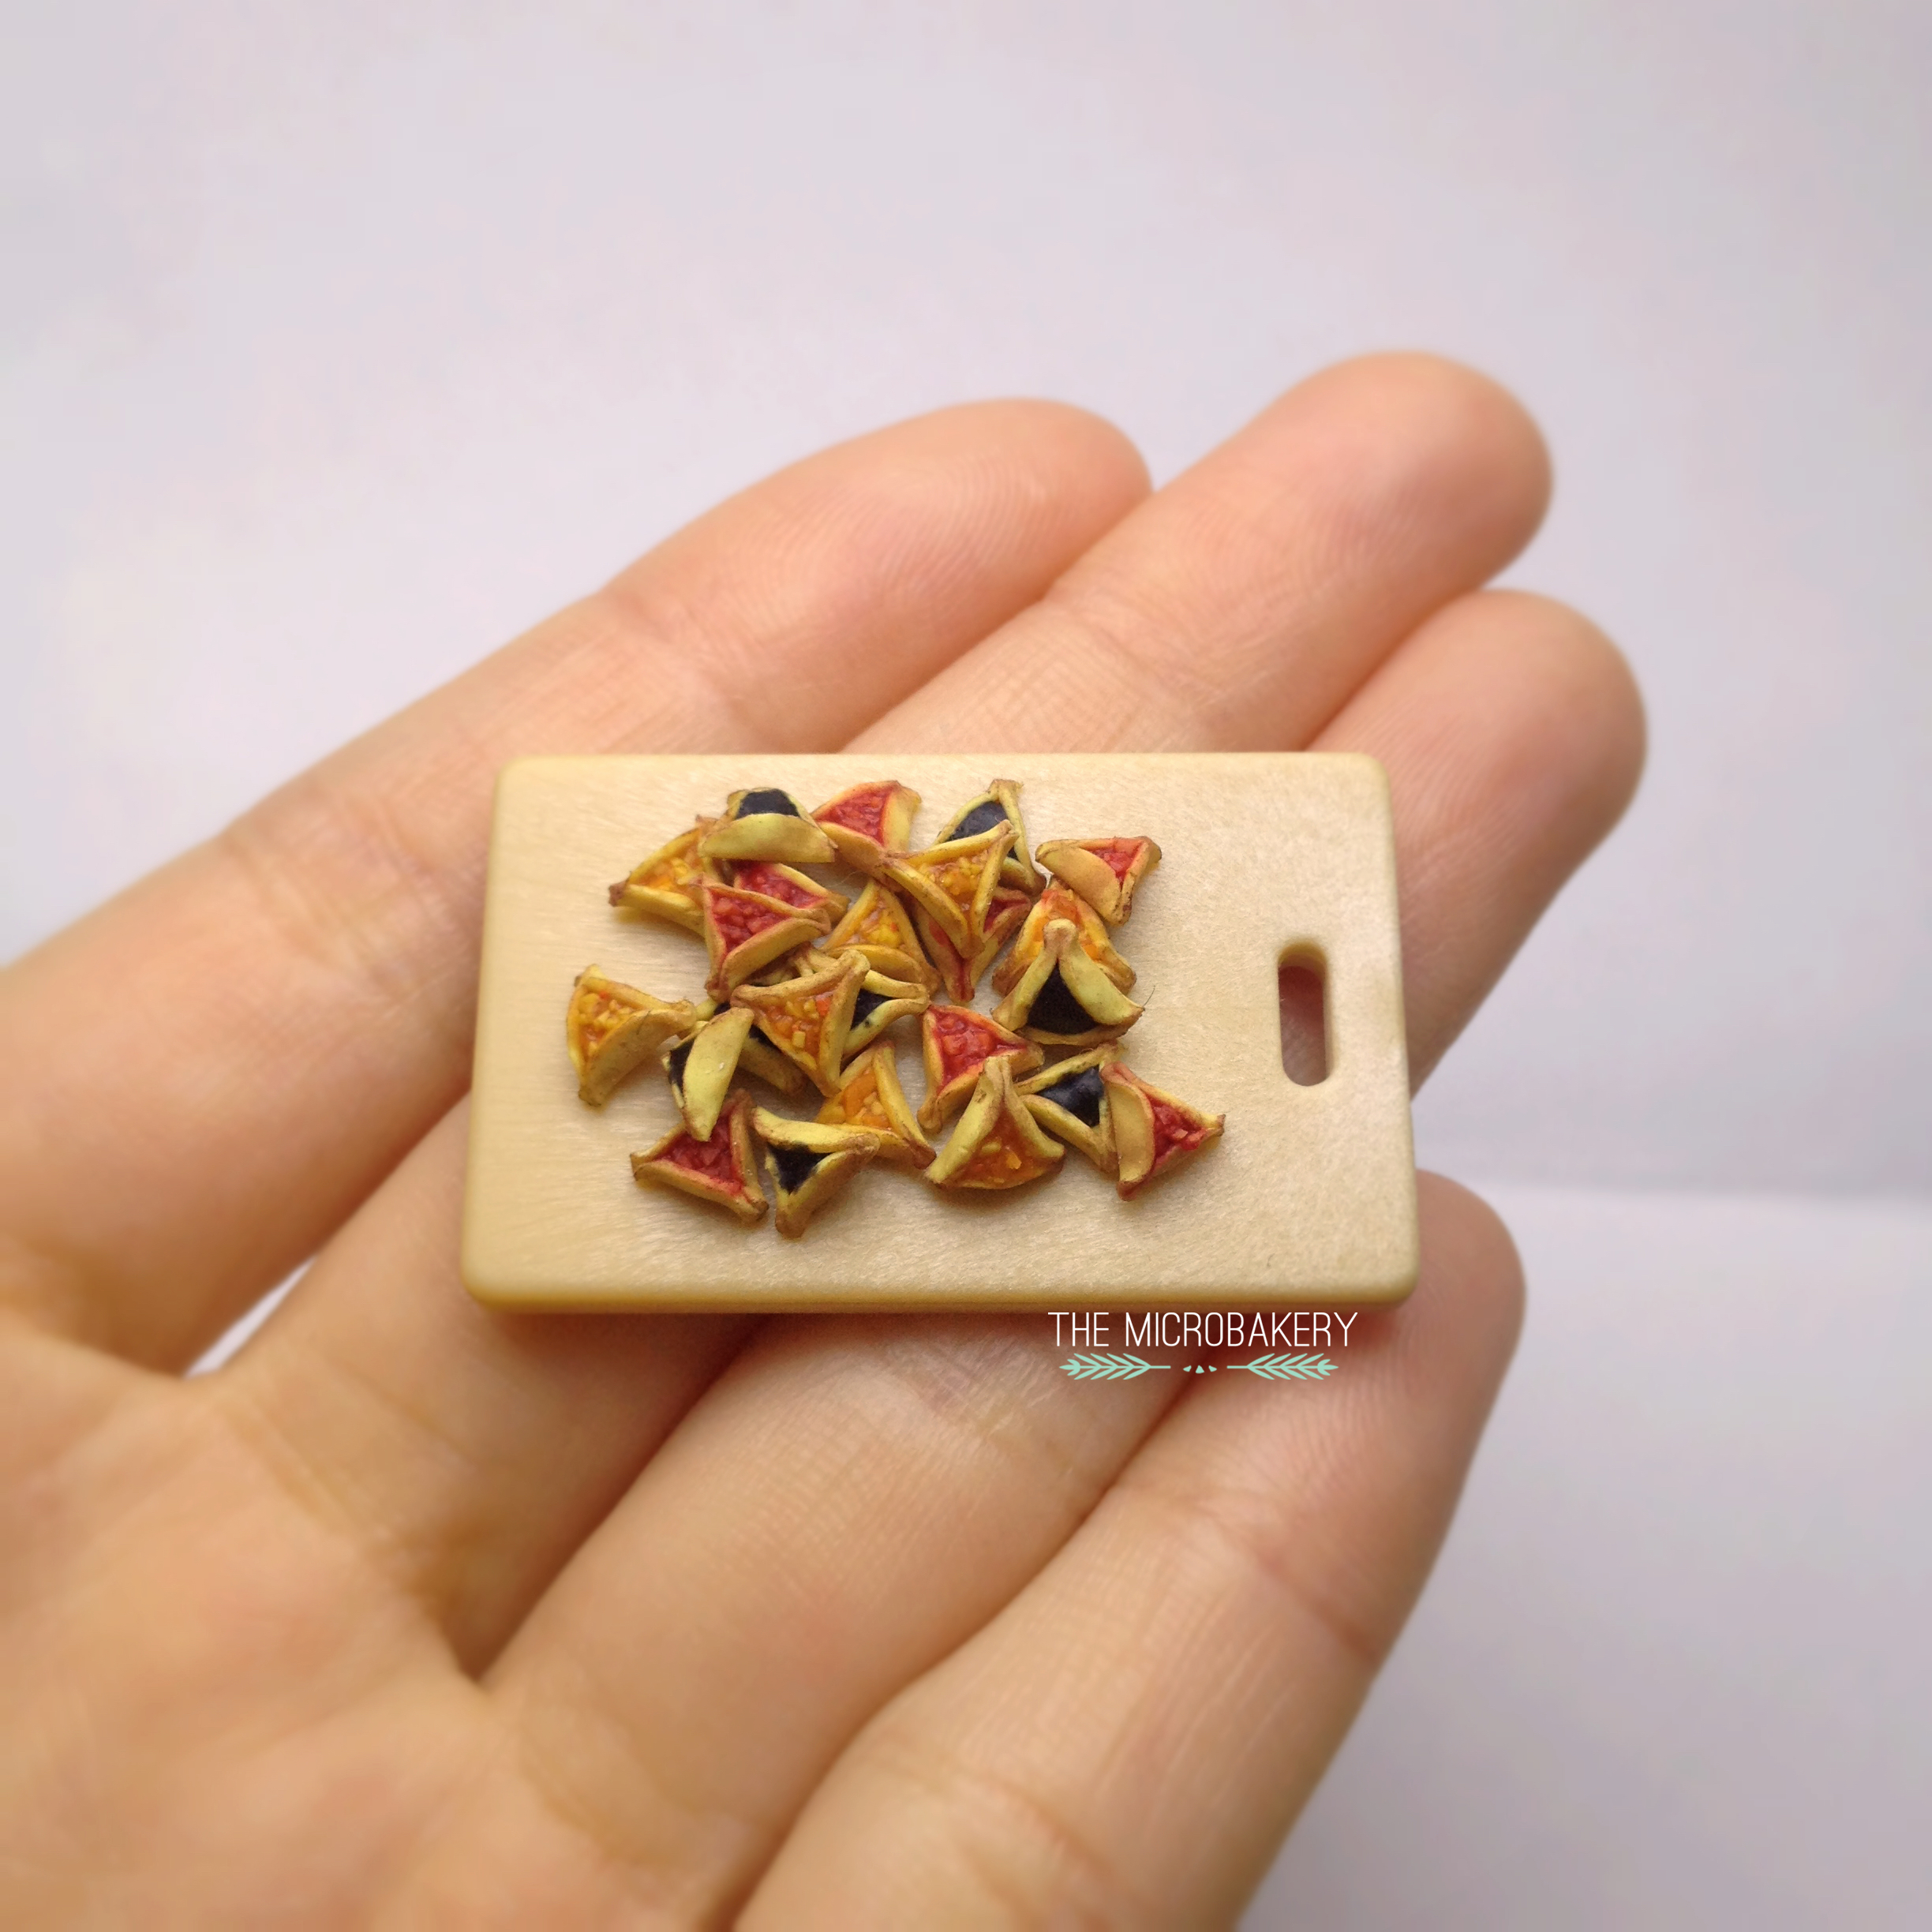
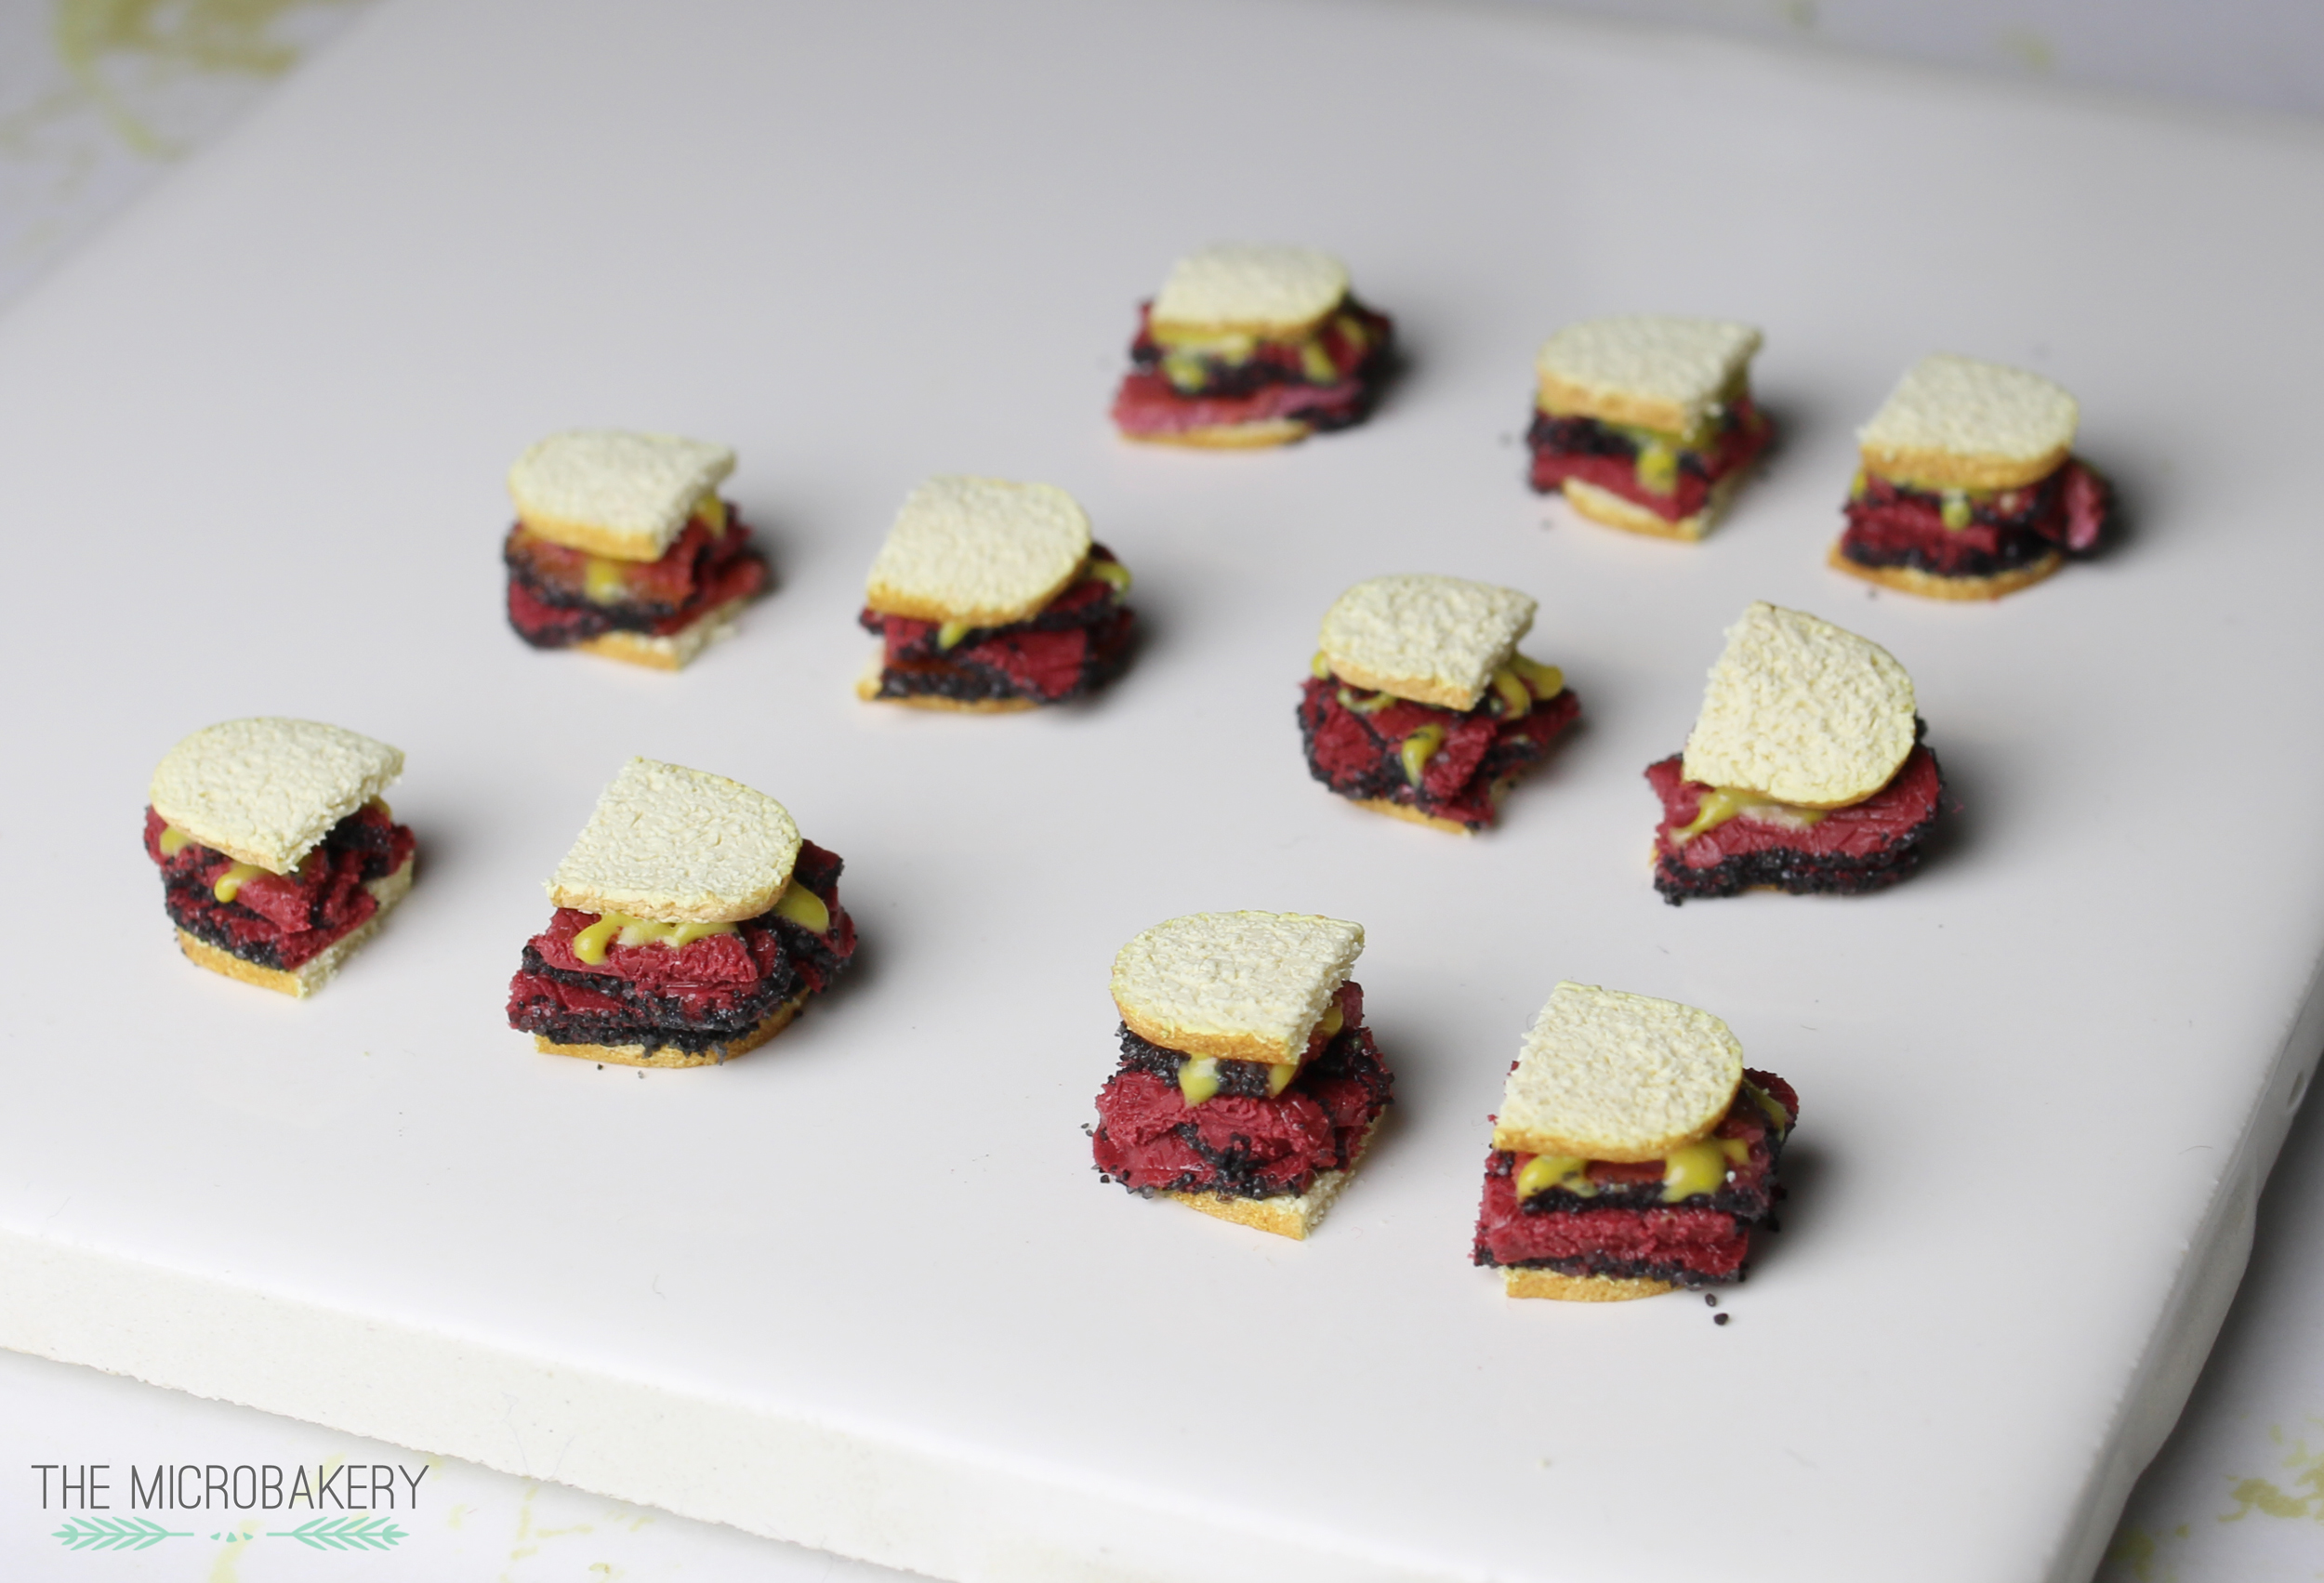
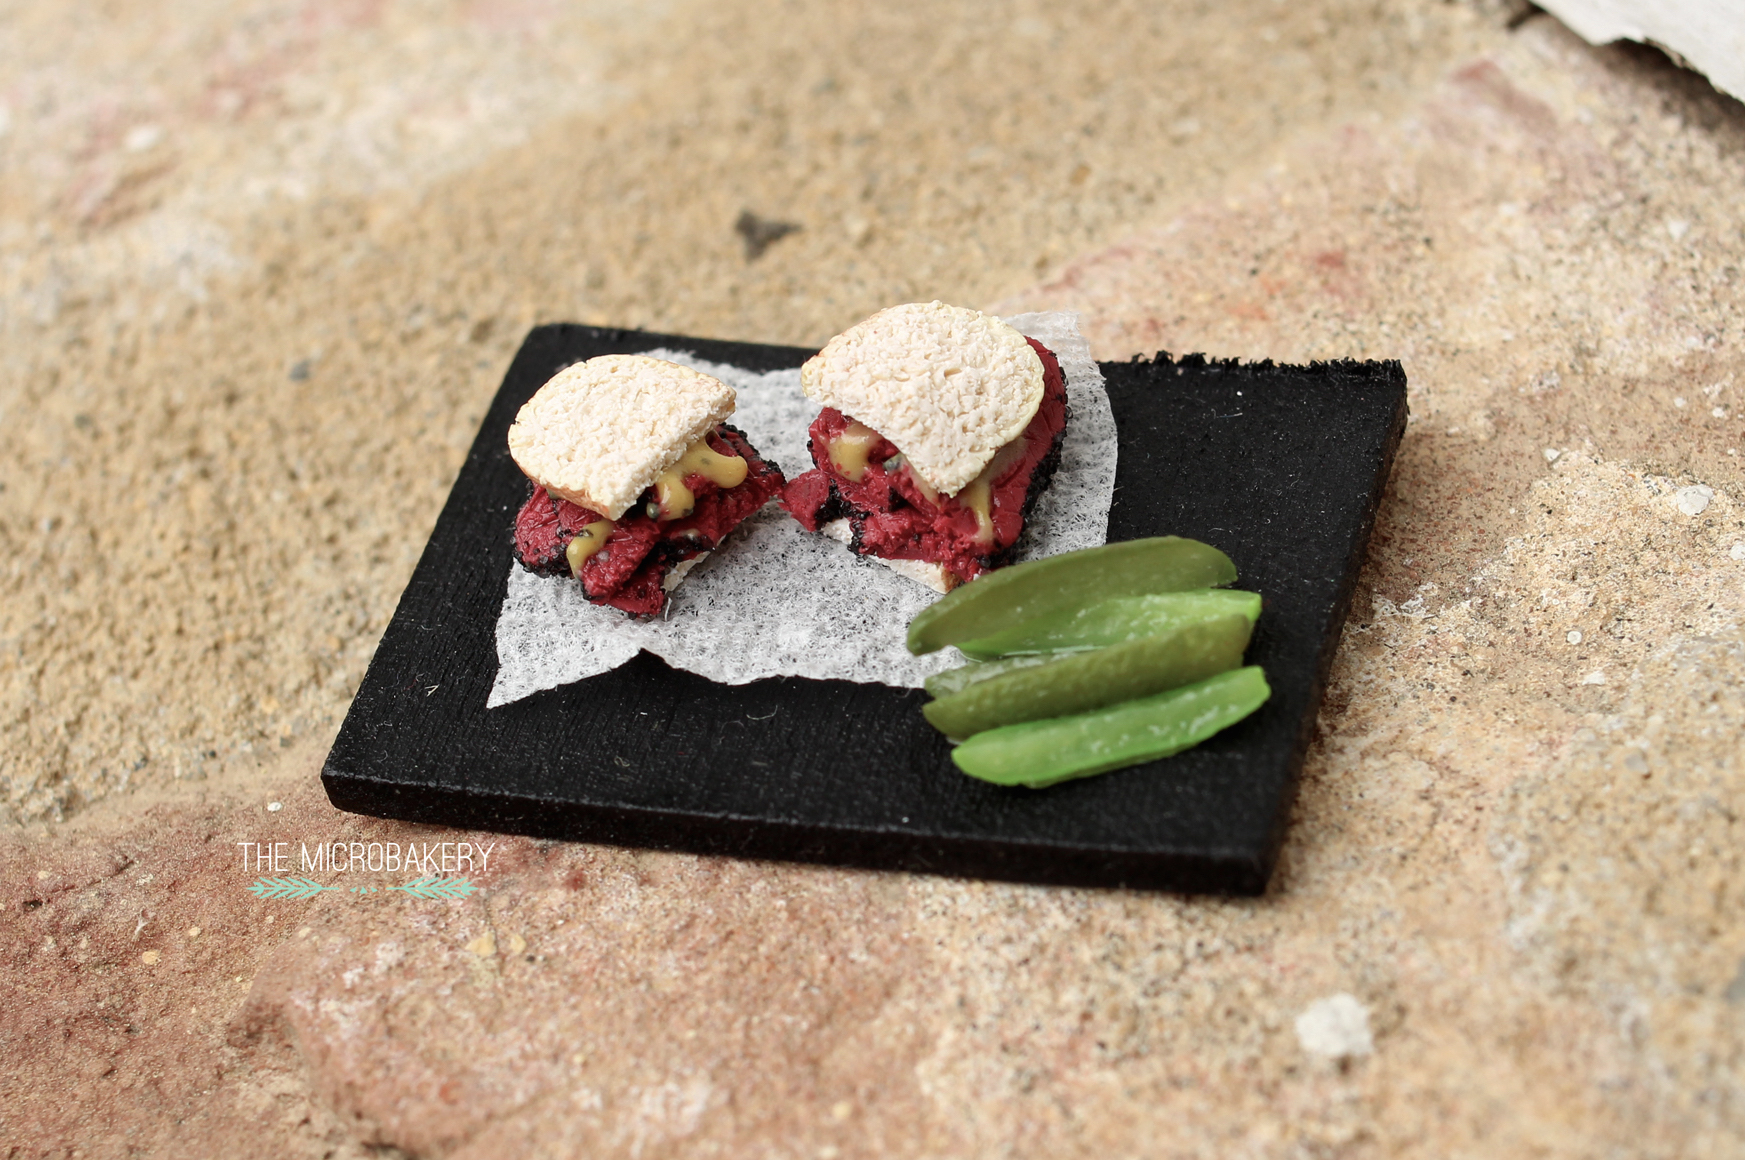
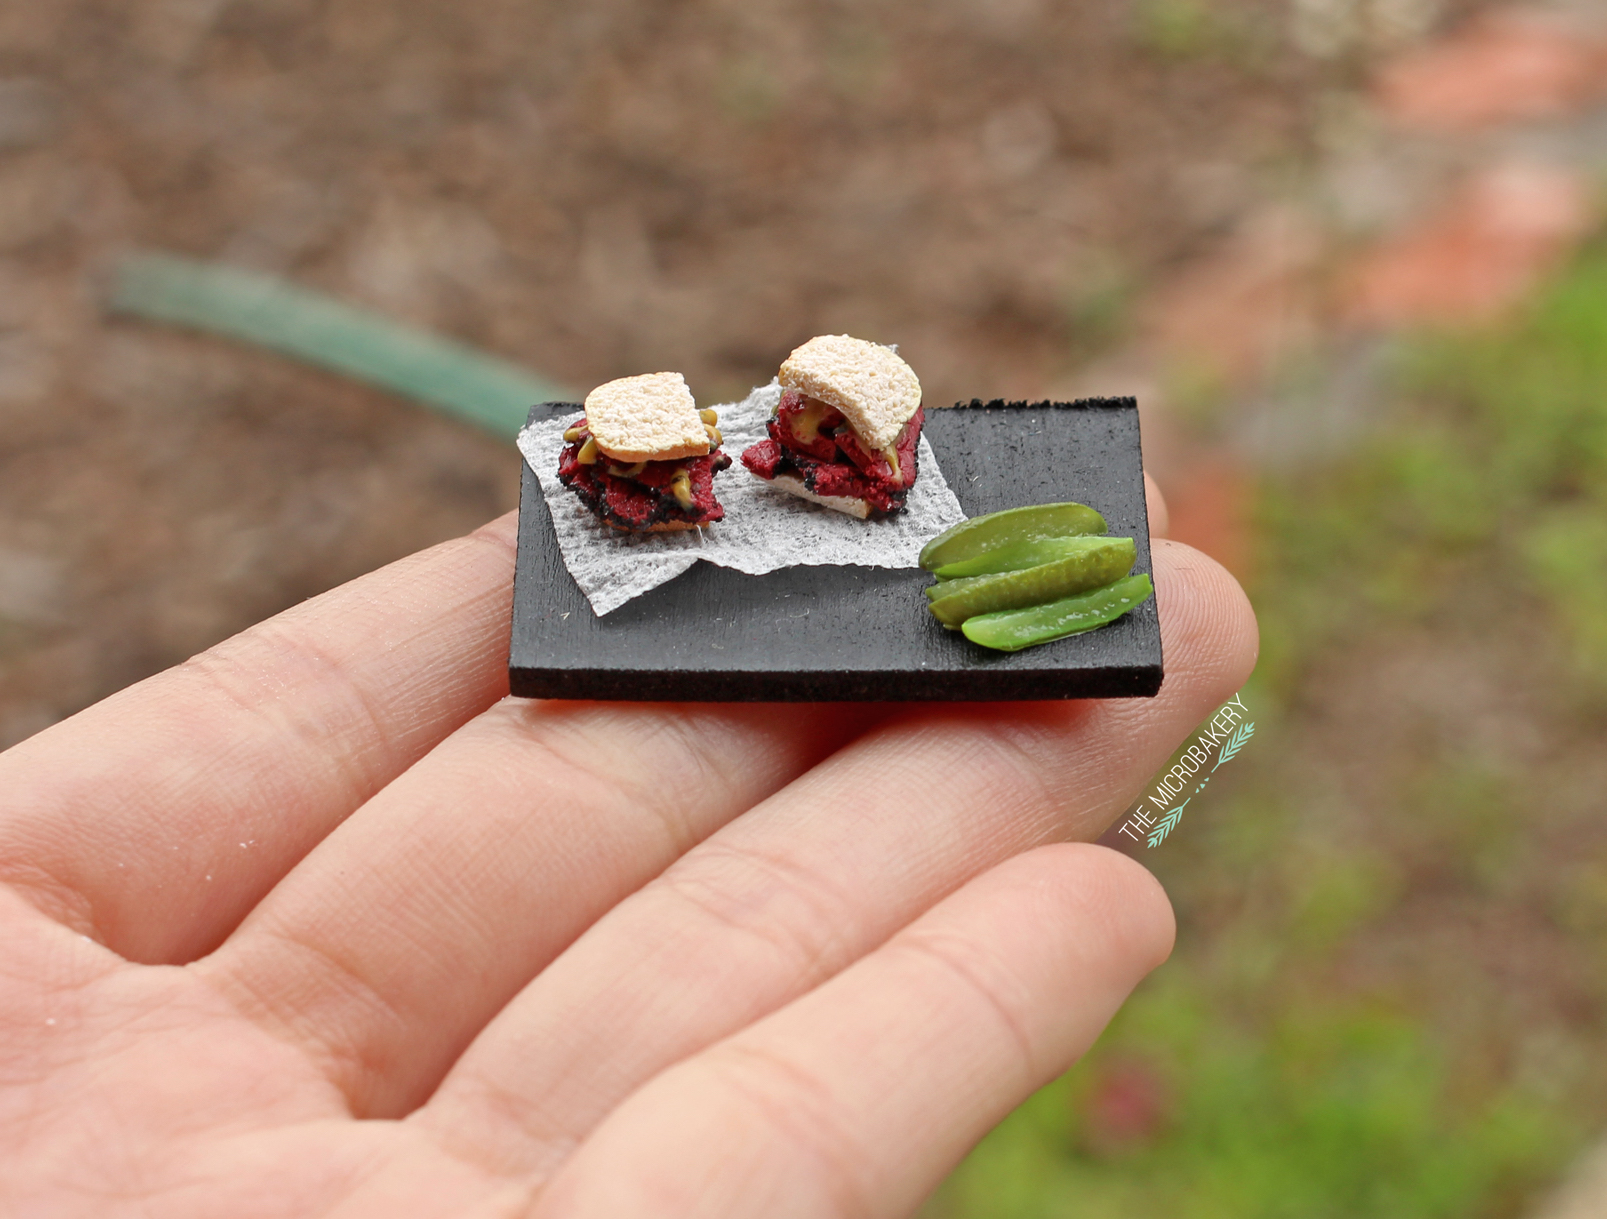
Ok ok, I bet you're tired of hearing (reading?) me blab so I'll get on with the pictures.  I made hamantaschen, pickles, and pastrami on rye with a touch of deli mustard.  I first created the hamantaschen cookie by creating a shell and then filled it with a mix of fimo deko gel, chalk pastel, and small chunks of clay.

Hamantaschen-WIP-(W)

Hamantaschen-(W)

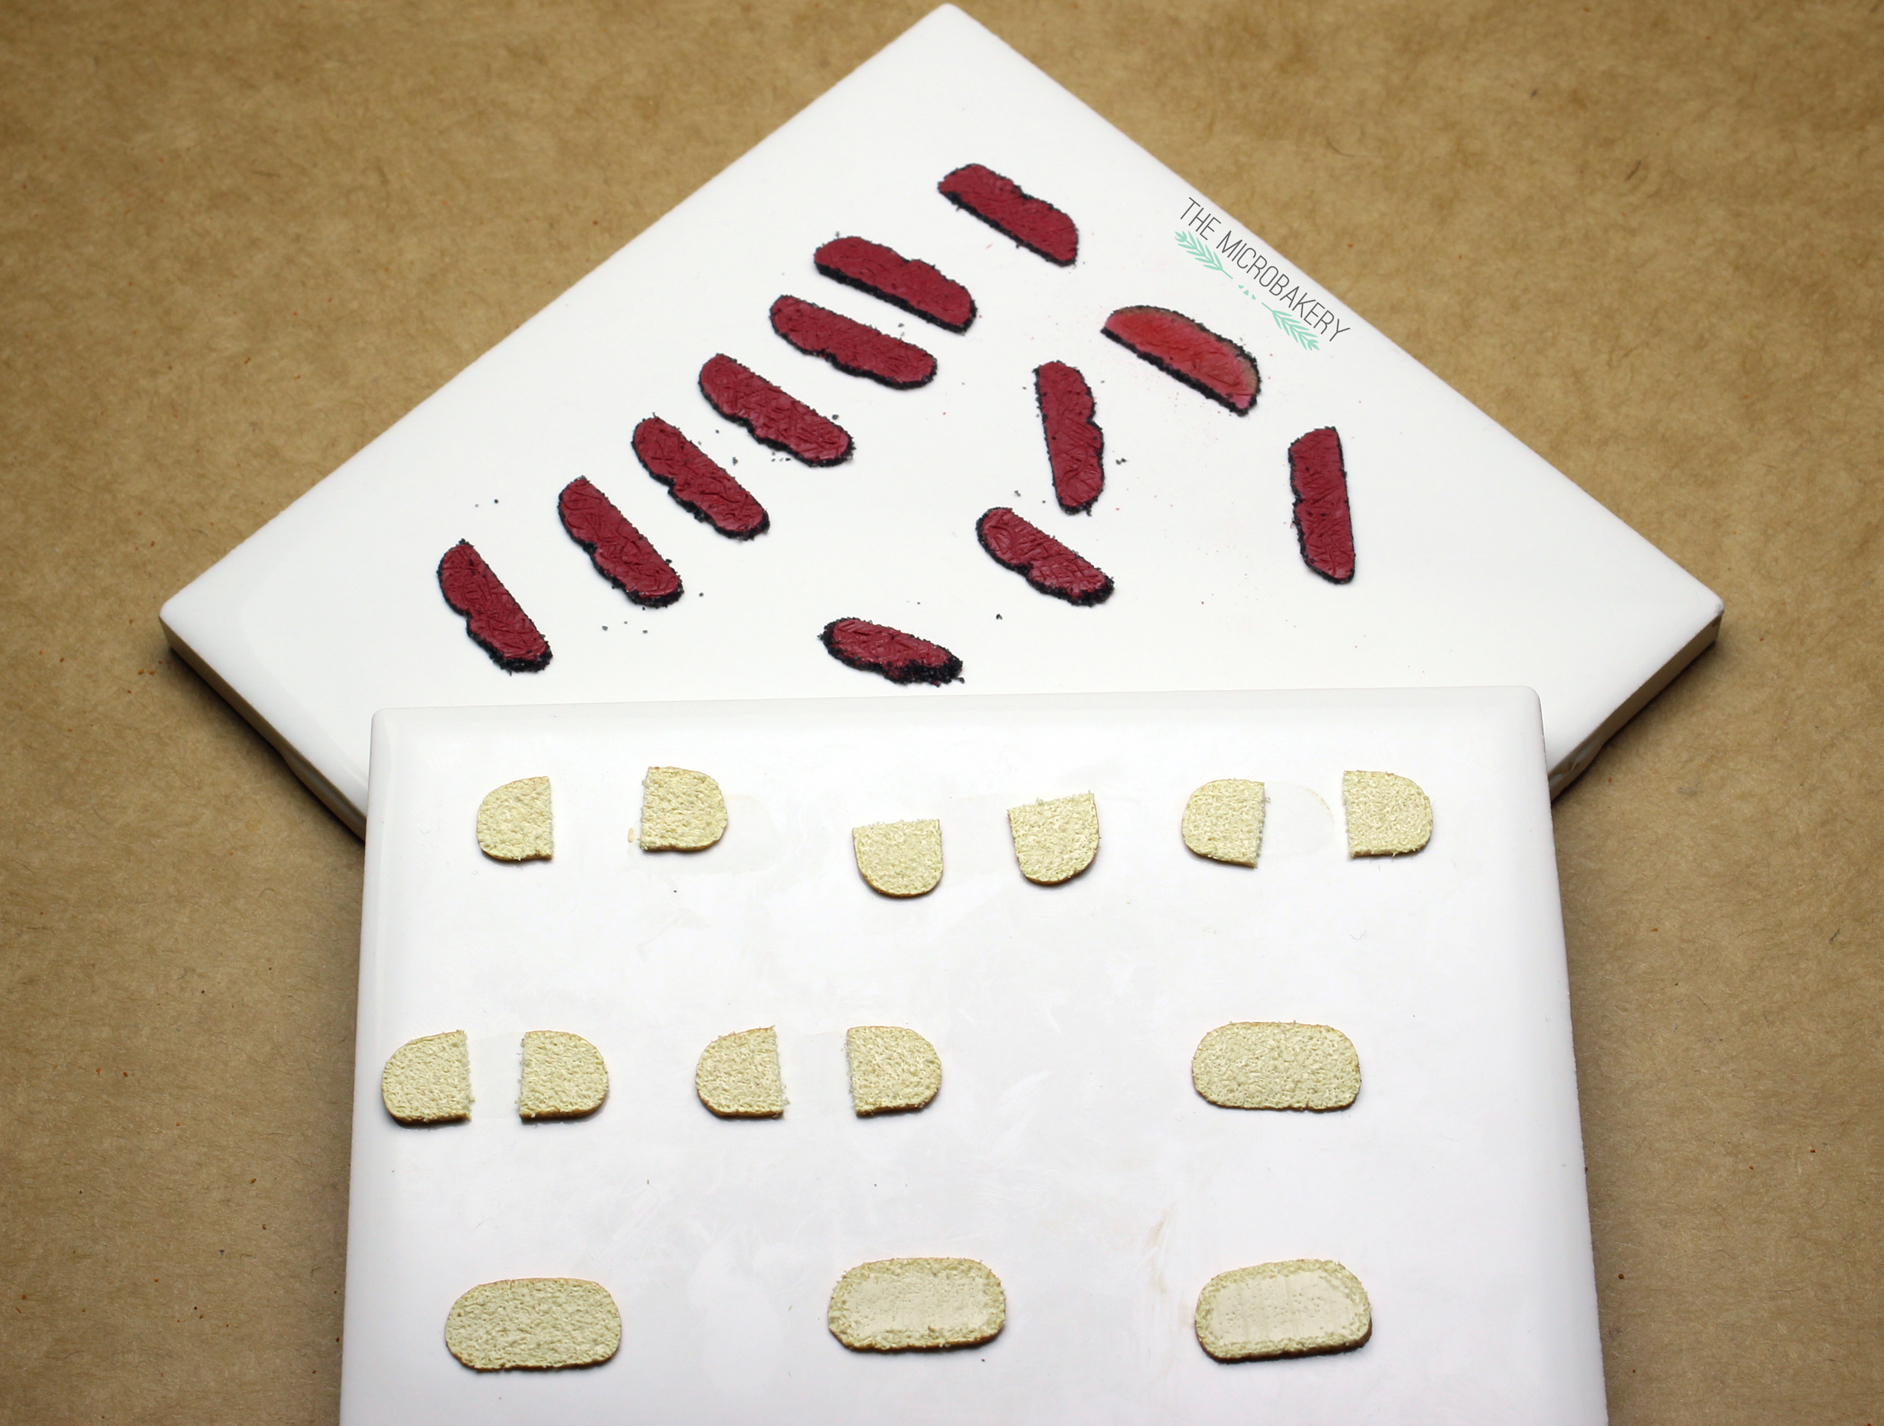
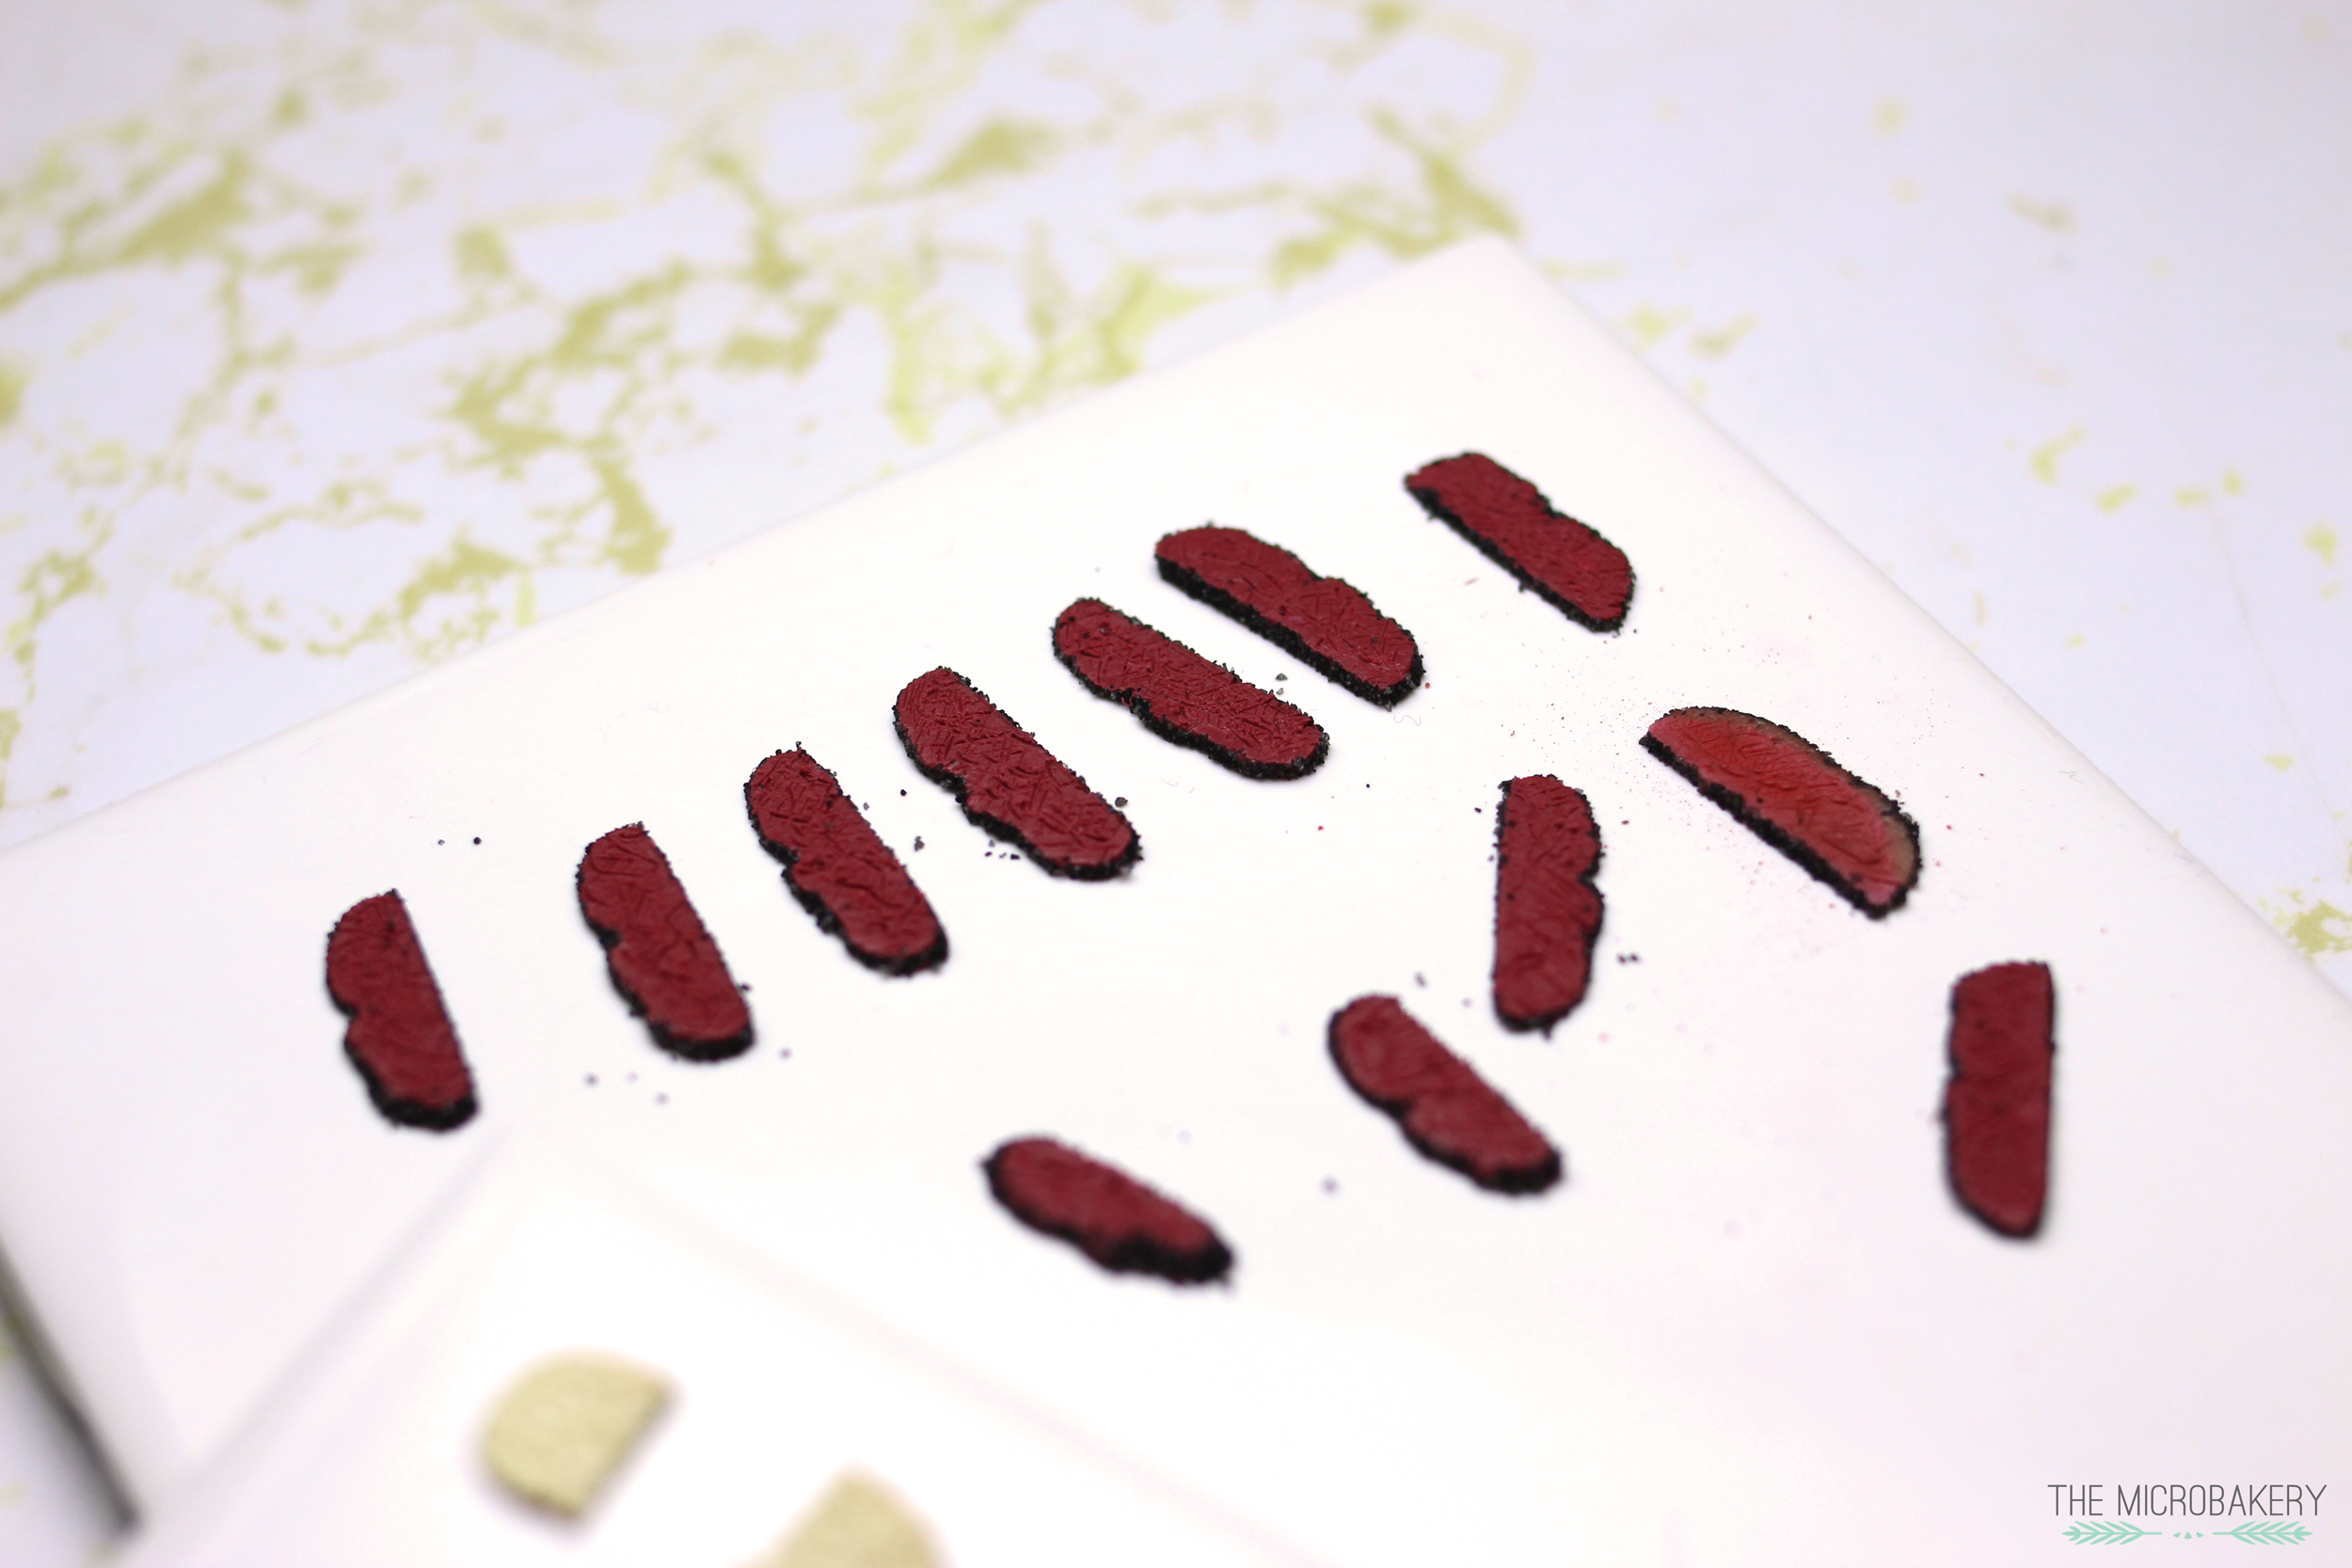
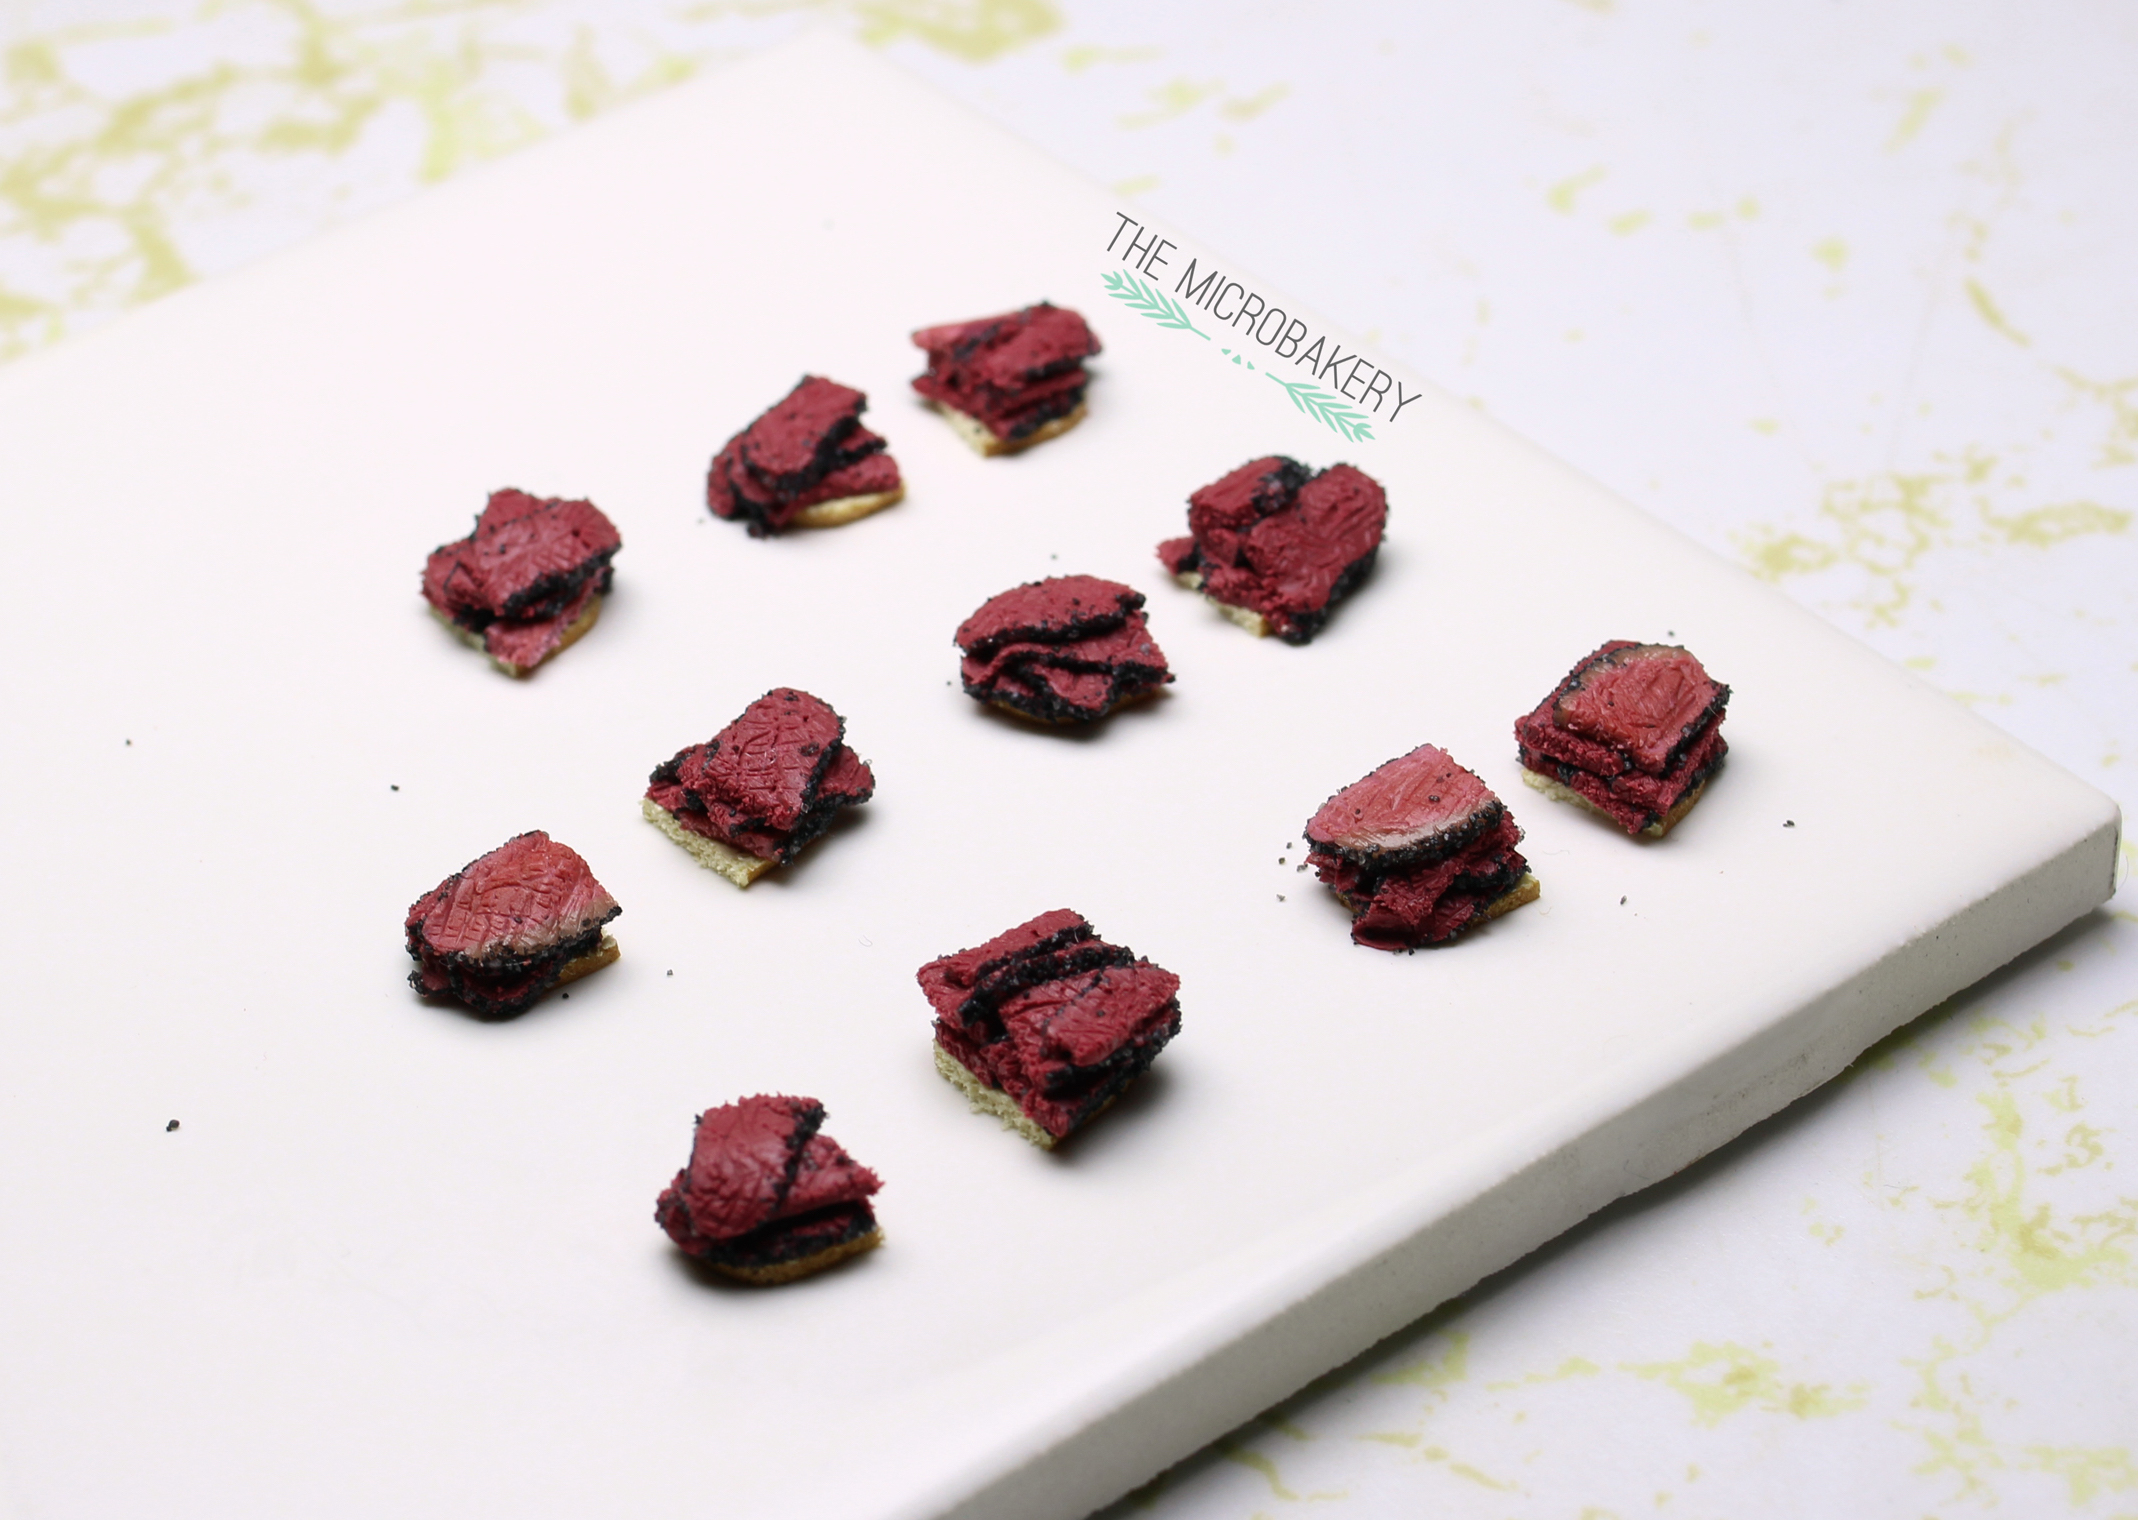
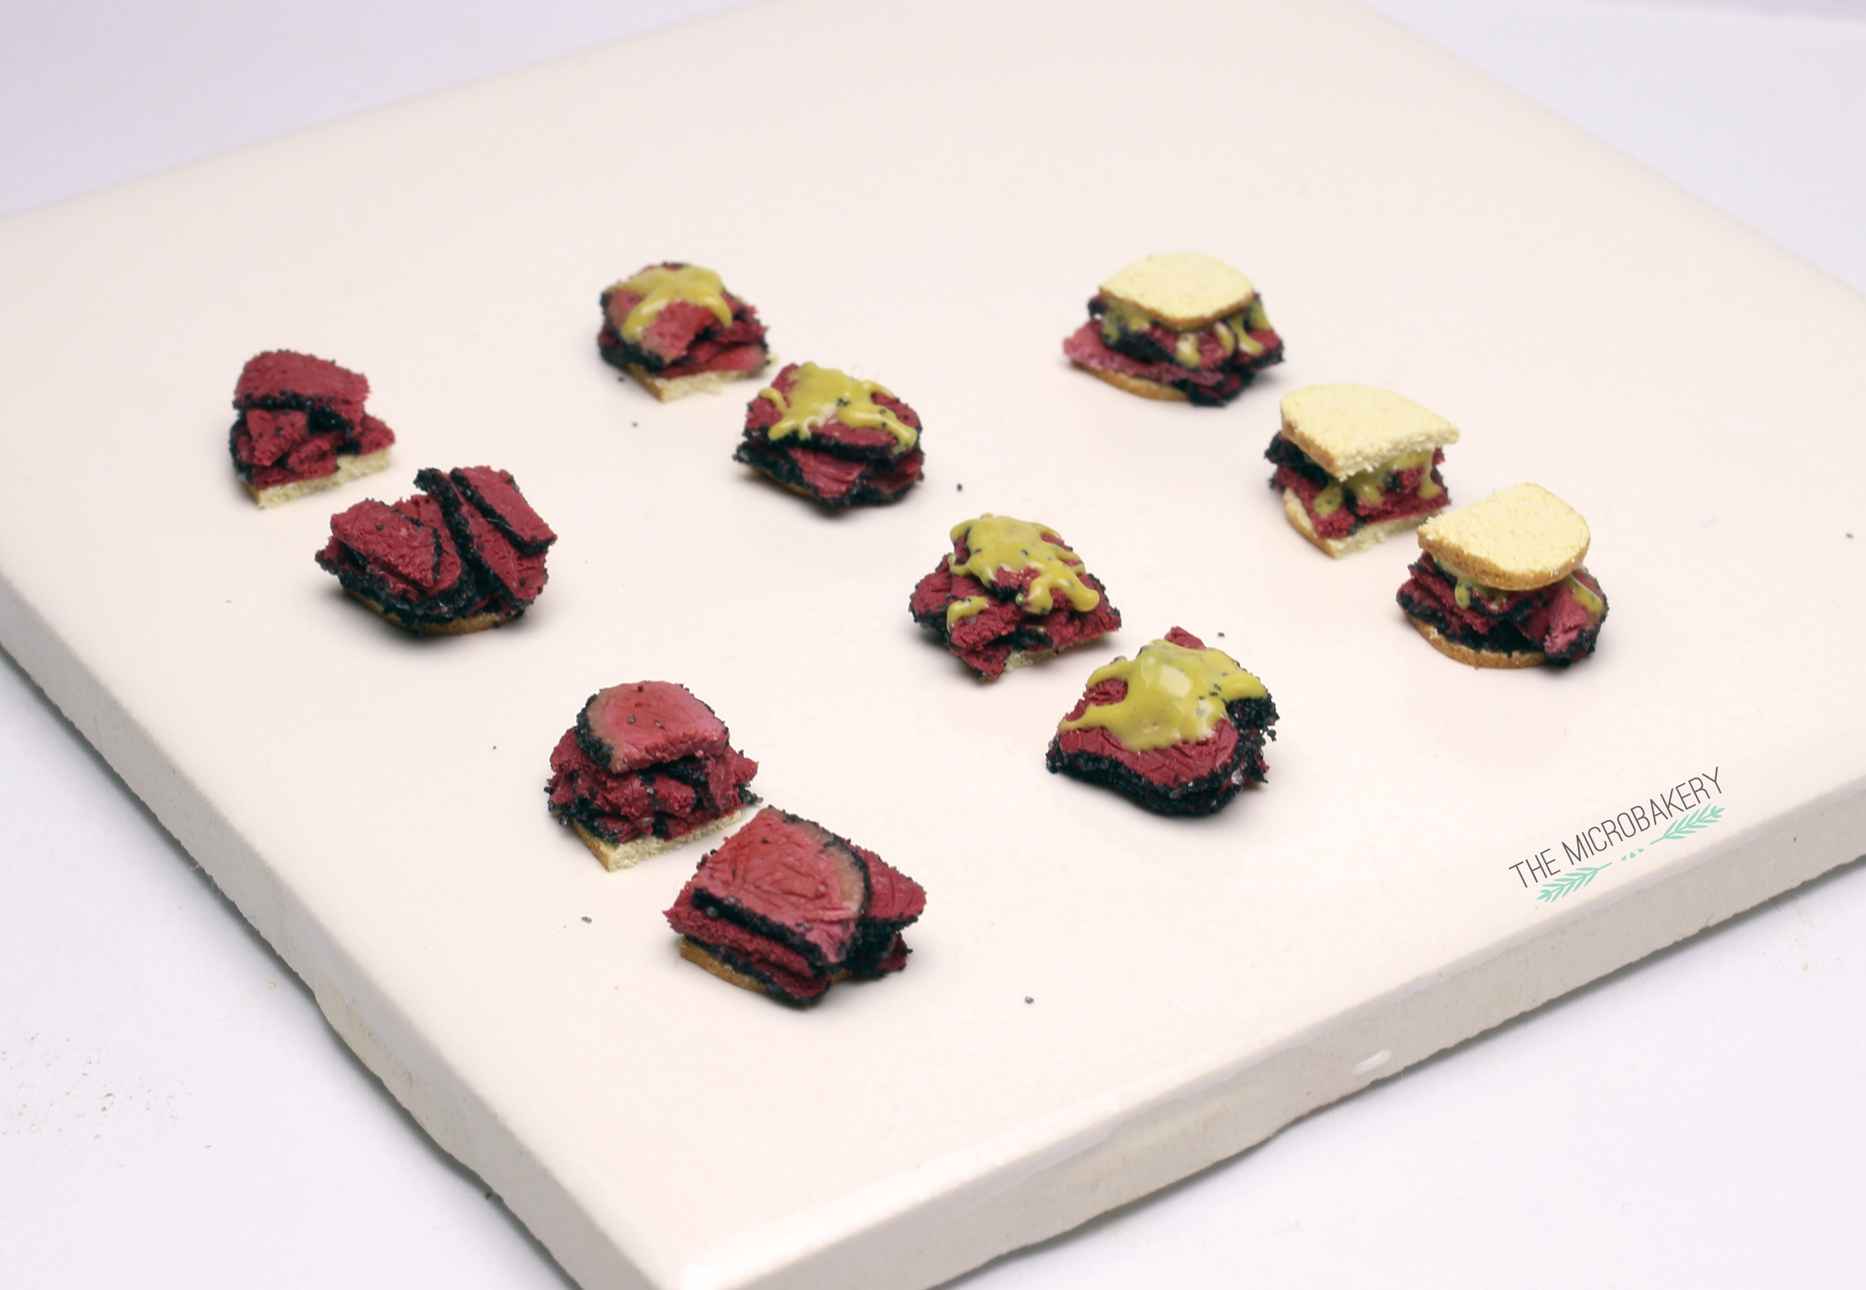
Next up was the pastrami on rye!  For the pastrami's pepper crust, I coated fimo deko gel over a chunk of meat colored clay and then rolled it in black sand.  Then I sliced and textured the meat.  Similarly I did the same for the rye bread.  I made an oval shape of dough colored bread, shaded and textured the outside, sliced it, and then created the bread texture on the inside.  You can't quite see from the photos, but I was playing around using different techniques to texture the bread because I don't like how I usually texture it.  Still haven't found a texture I like... 

Pastrami-on-rye-WIP2-(W)

To texture the pastrami, I used a sharp needle tool (a sewing needle or safety pin would also work well) and made a crosshatch pattern.  Then dragged the needle in random directions to make it look better haha I'm not sure what the technical term is, all I know is it makes the meat look more realistic!

Pastrami-on-rye-WIP3-(W)

Pastrami-on-rye-WIP4-(W)

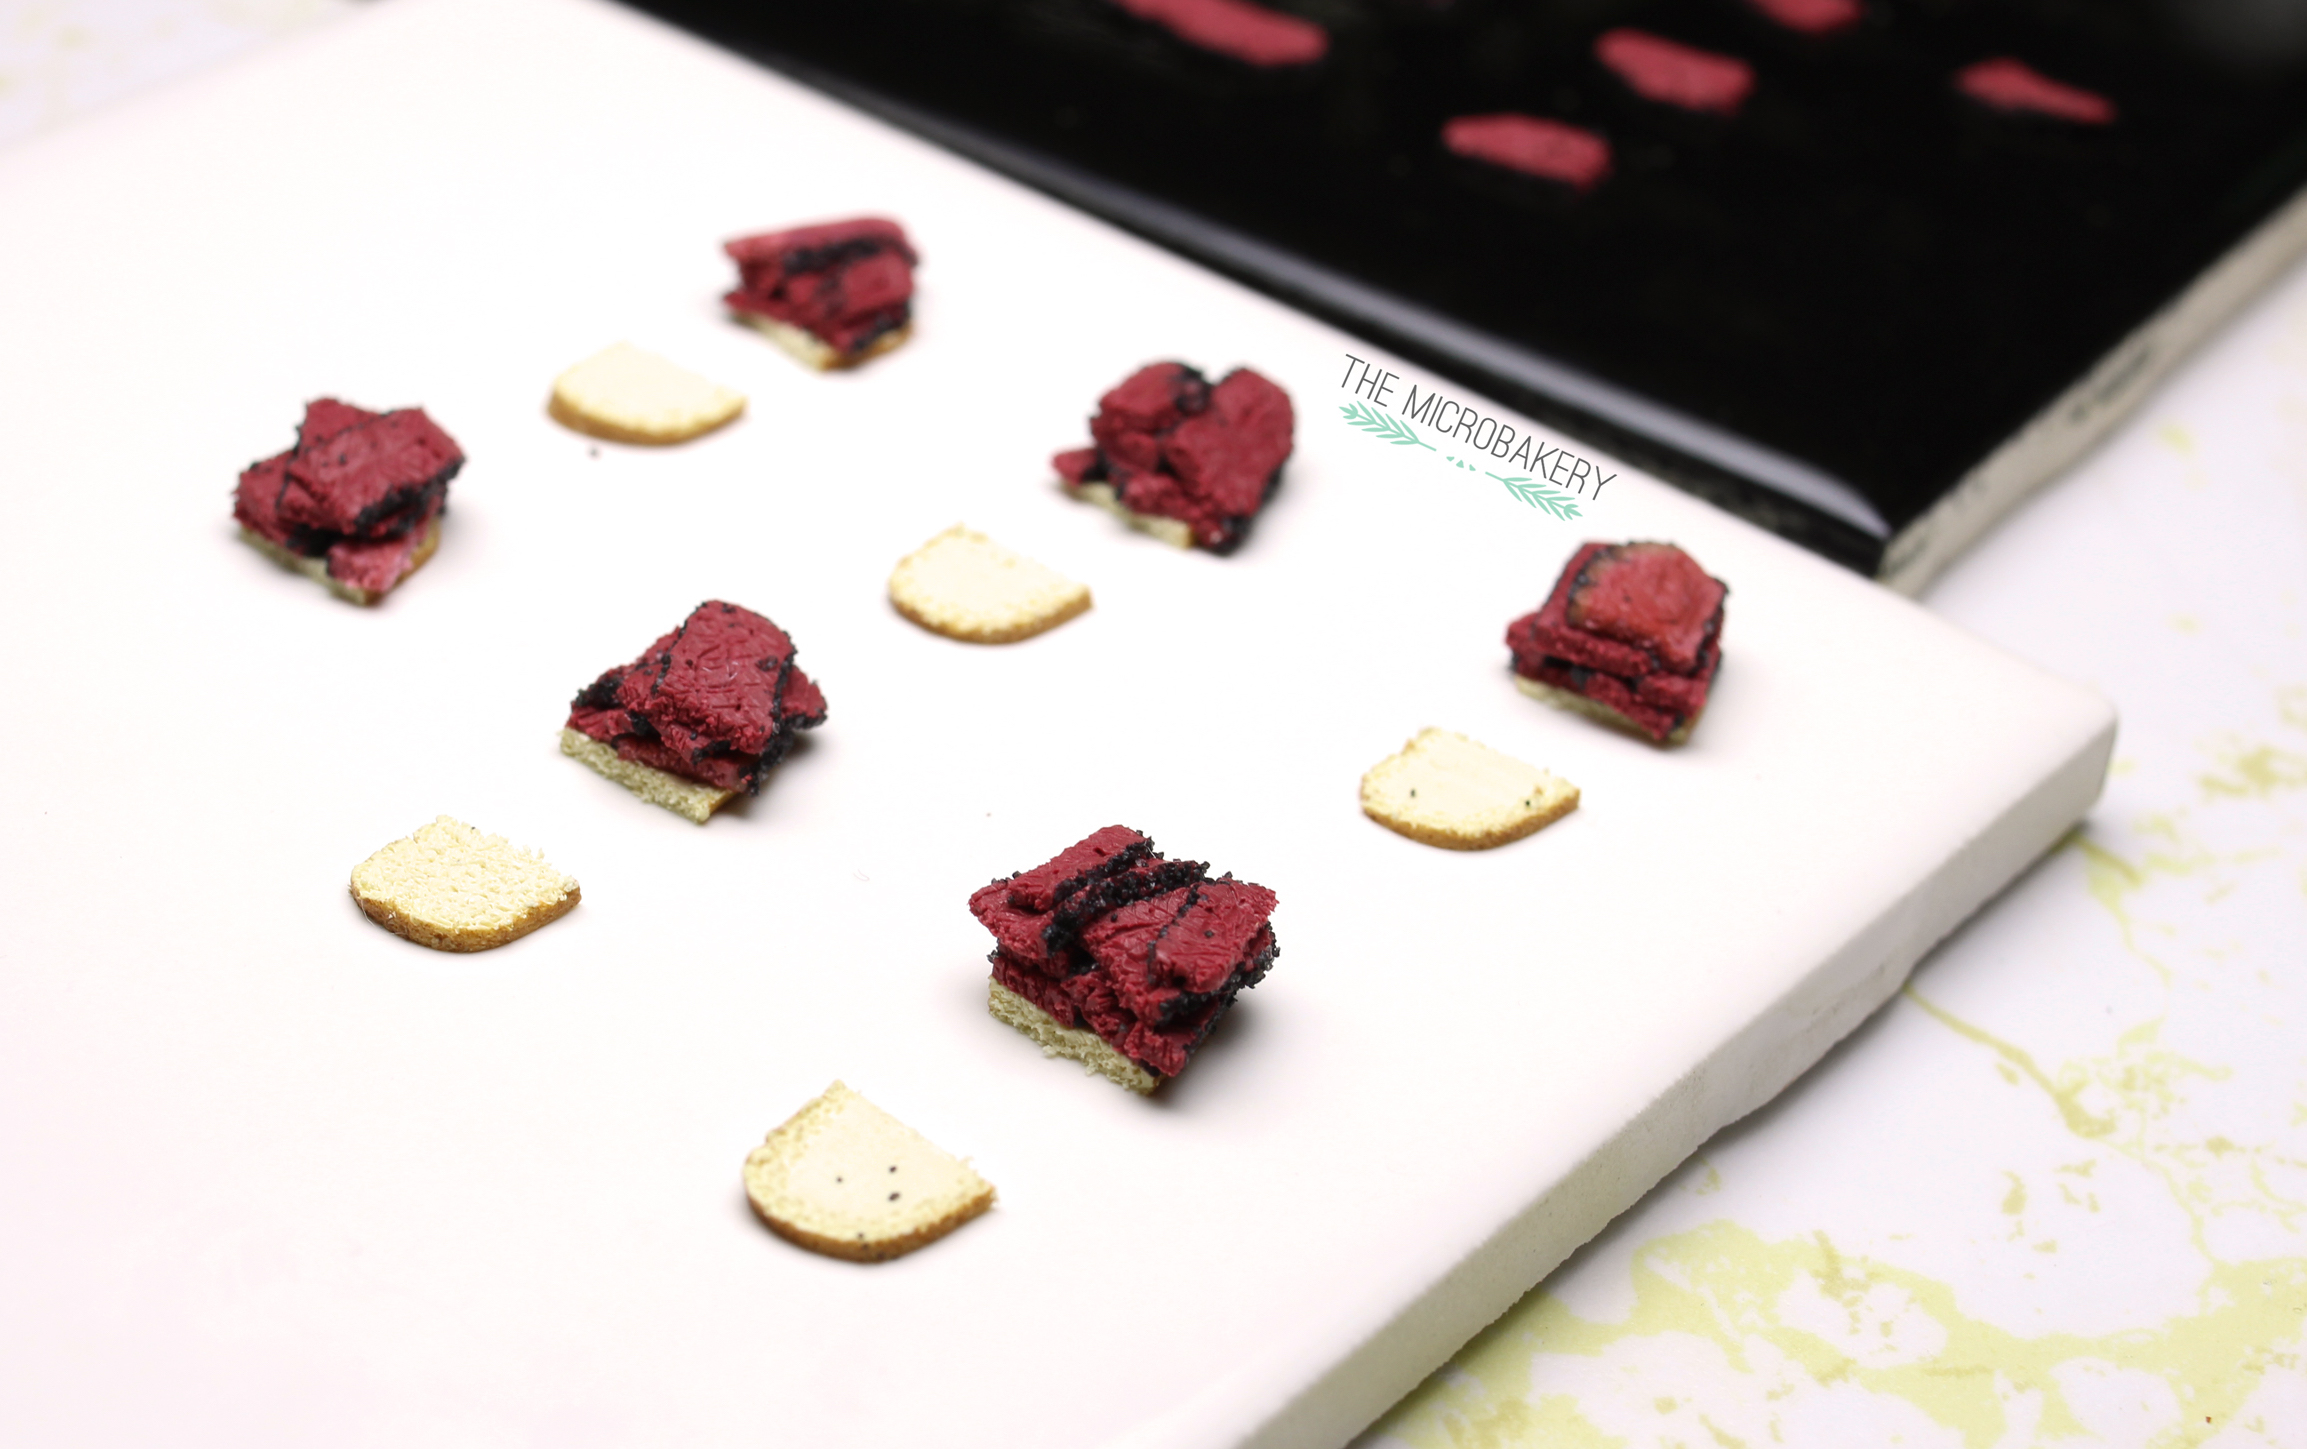
Keep piling on the meat!
Pastrami-on-rye-WIP5-(W)

Don't be fooled, that is definitely NOT cheese, it's deli mustard.
Pastrami-on-rye-WIP6-(W)

Pastrami-on-rye1-(W)

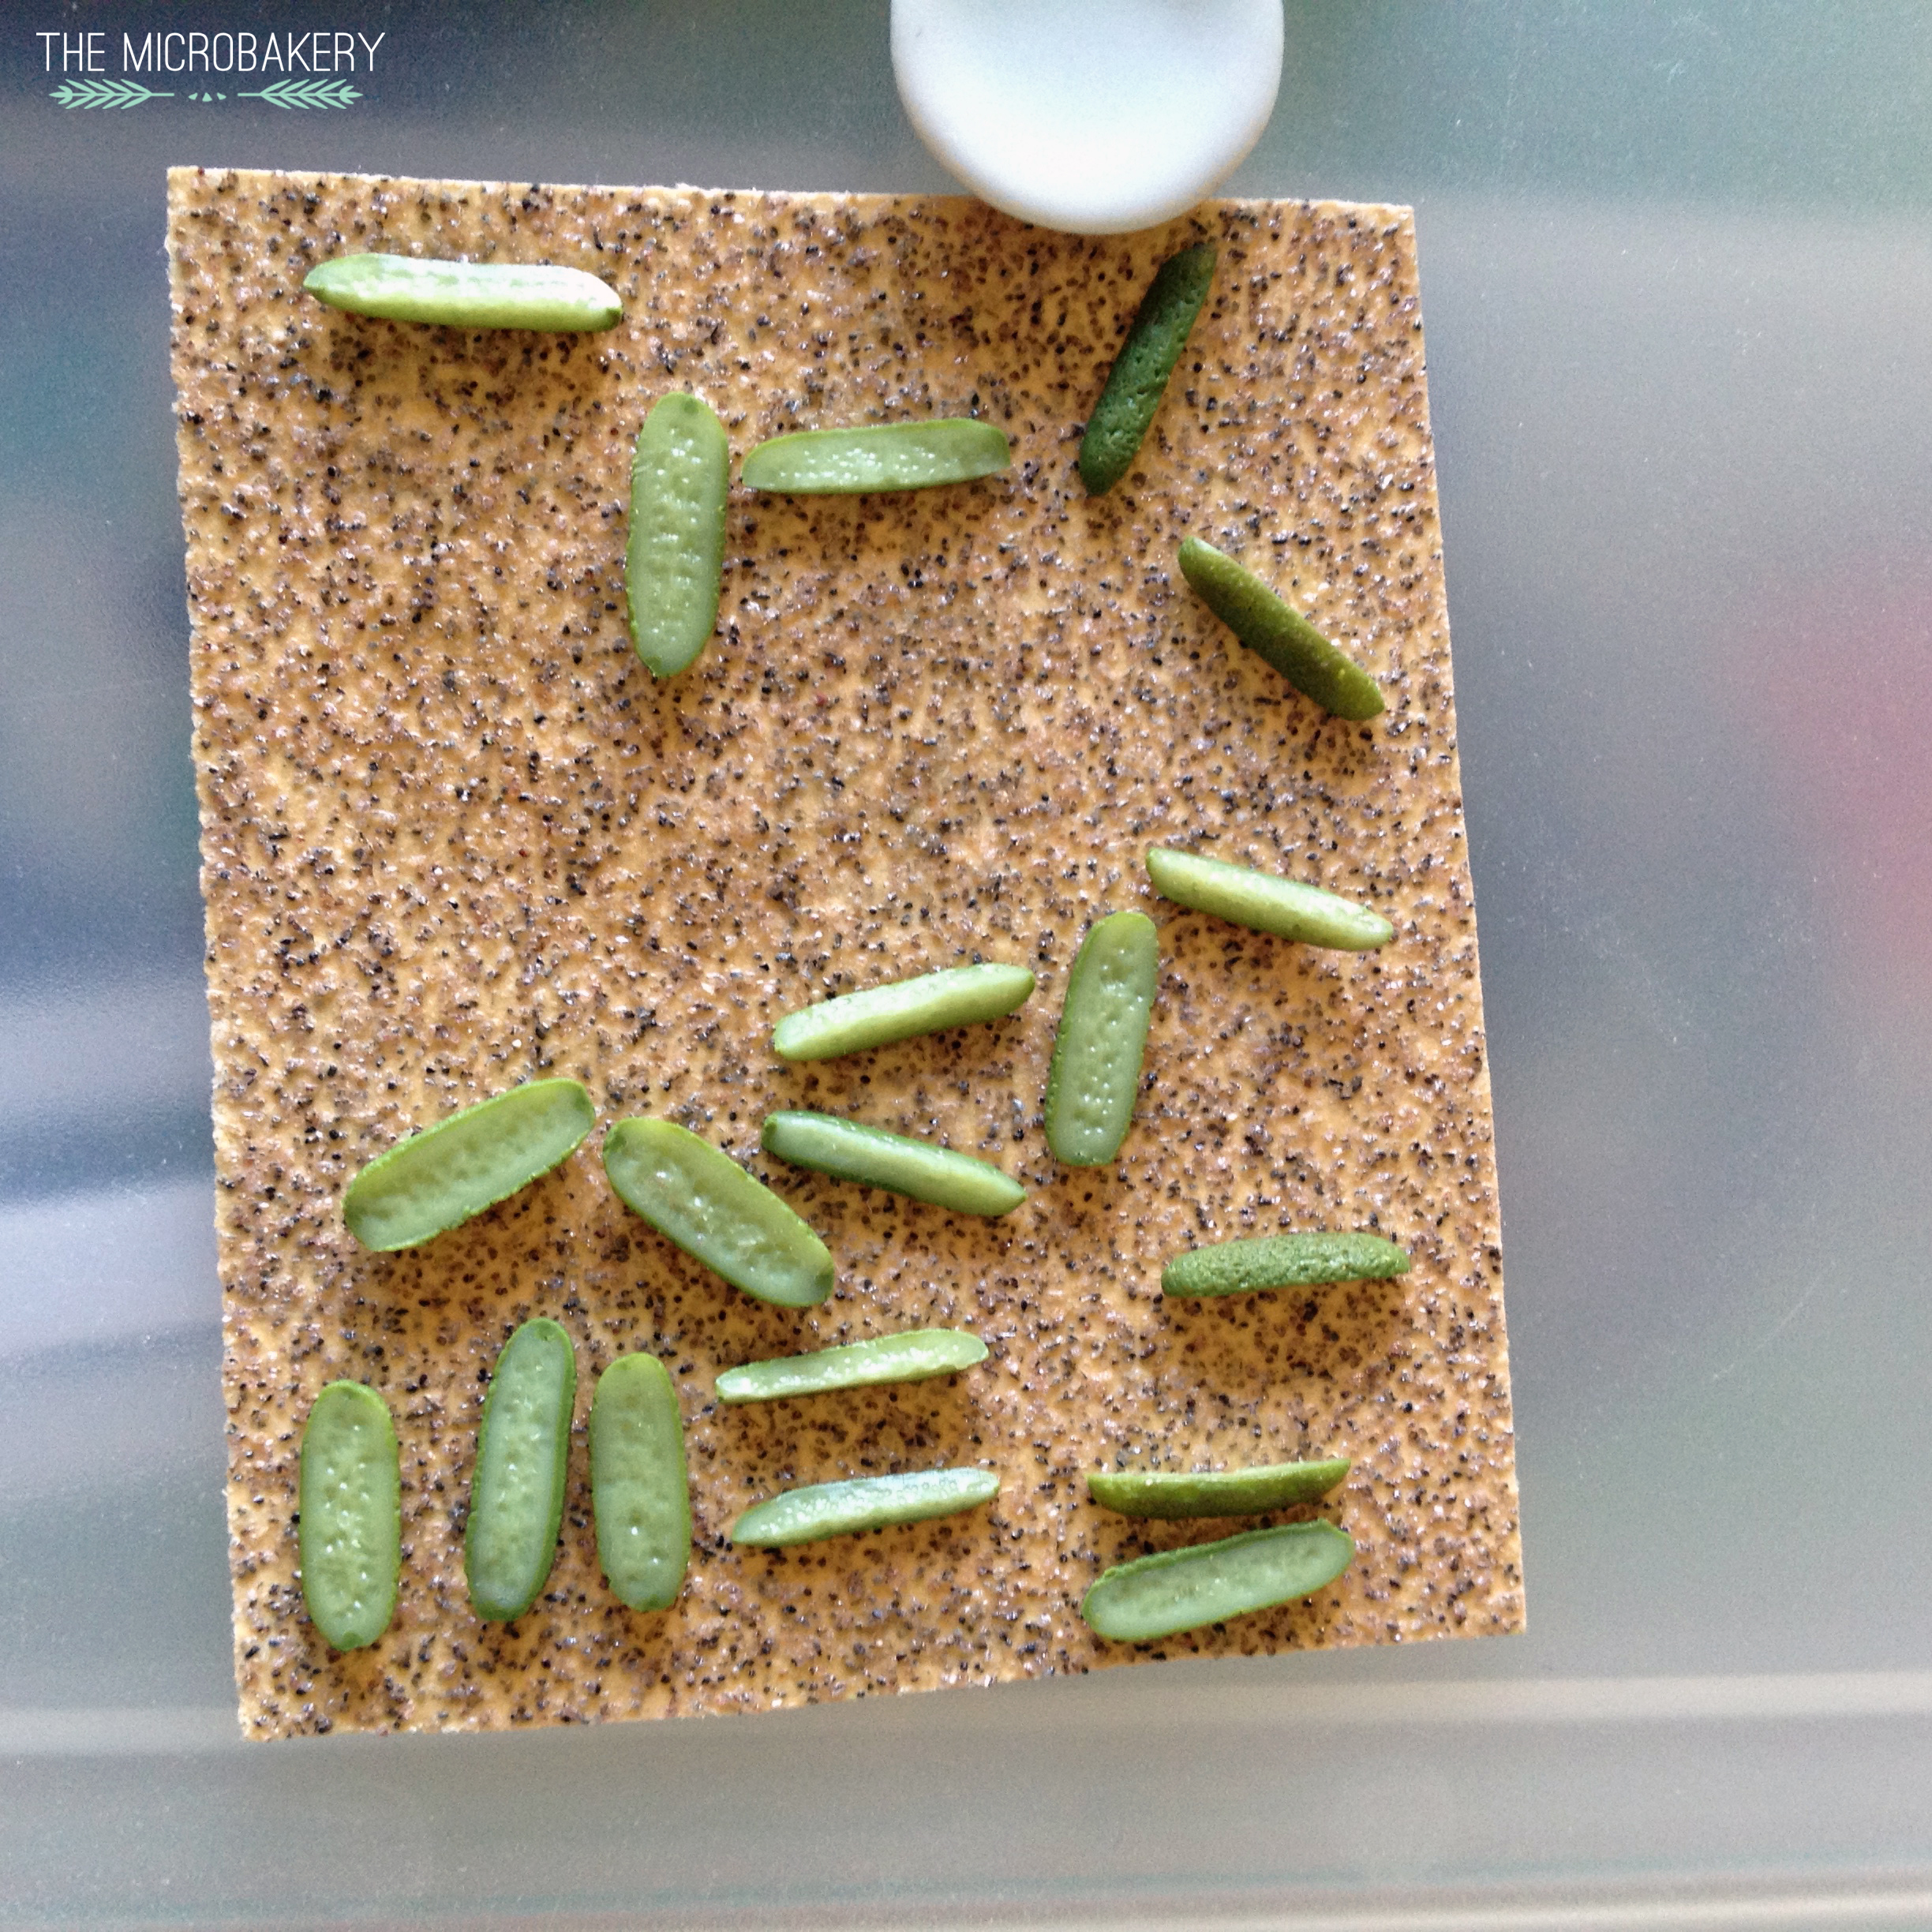
You can't serve pastrami on rye without pickles! I made two different colored pickles; this photo only shows one.  Ugh, it was such a pain to mix the colors to get a realistic looking green! The center of the pickles are the peel color mixed with a whole lot of translucent clay.
Pickles-(W)

Pastrami-on-rye3-(W)

Monday, November 24, 2014

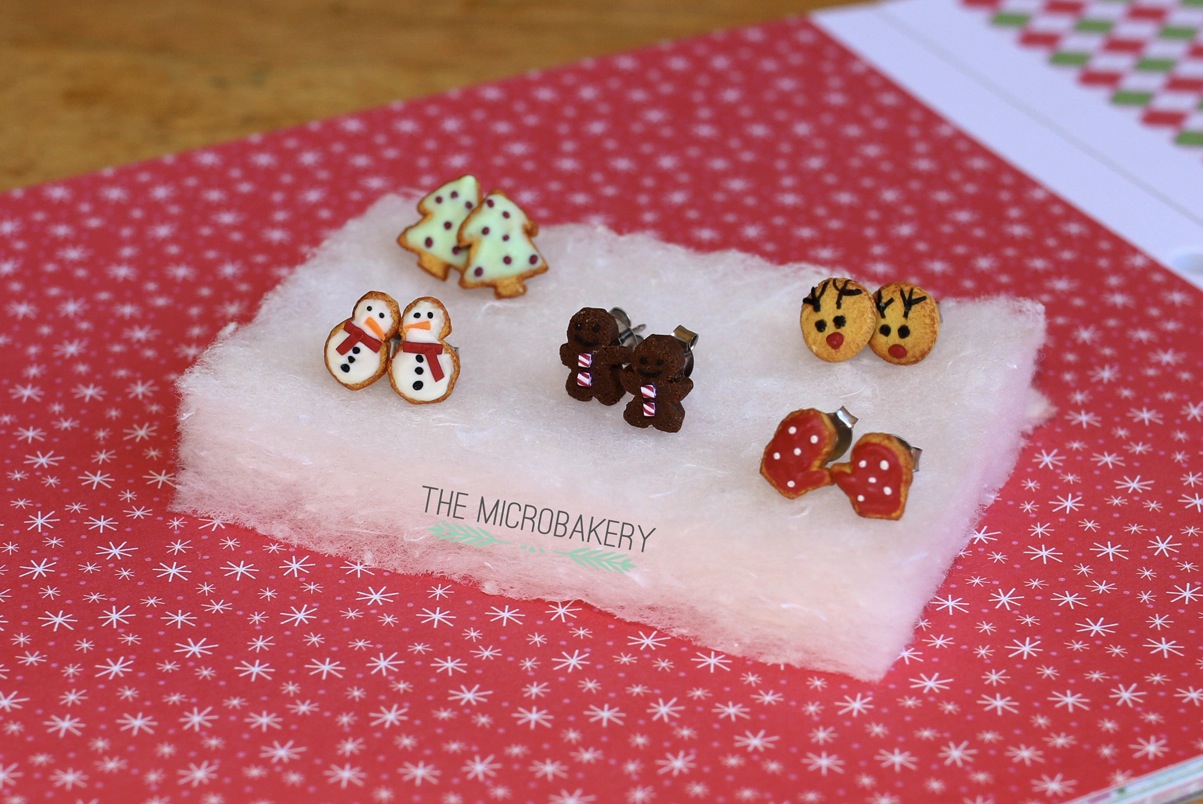
Christmas Cookie Earrings

Christmas-Cookies-Final1-(W)

Well, it's that time of year again! Let the holiday festivities officially commence with Thanksgiving being the first event of the season.  Thanksgiving will be here in a few short days and once we come out of our food coma's, it's time to string up the holiday lights and place holiday wreaths on the doors.  Um, to be perfectly honest though, I'm one of those guilty people who "accidentally" left their Christmas lights up since last year.  What?! Fairy lights are really pretty at night, no matter what season.  So...uh...woops...

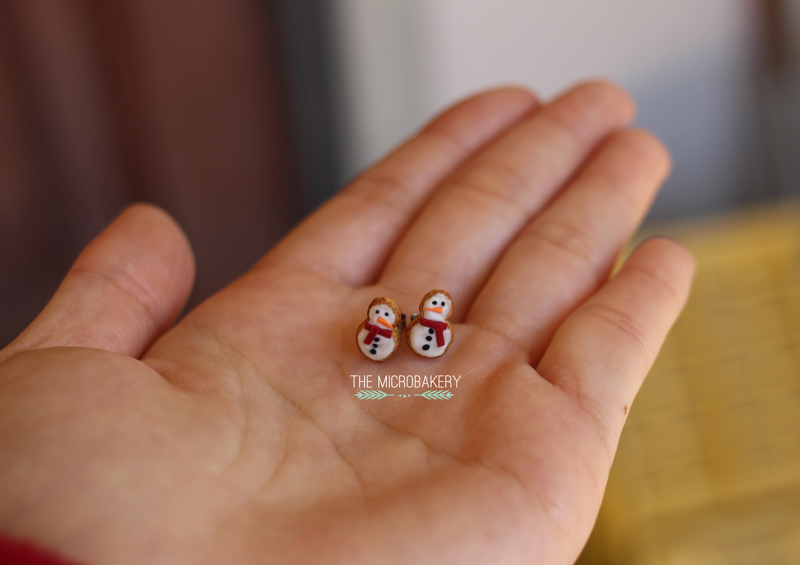
While it may be a bit premature to be thinking about Christmas, it's never too early to start working on Christmas themed miniatures.  You always have to start a couple weeks/months ahead to prep for all the extra miniatures you'll be making.  This year I decided to make a bunch of holiday themed cookie earrings for my friends and family as their gifts.  It's not the price of the gift that matters, it's the thought.  I put a lot of love and care into making these, I really hope they like them.

Christmas-Cookies-WIP1-(W)


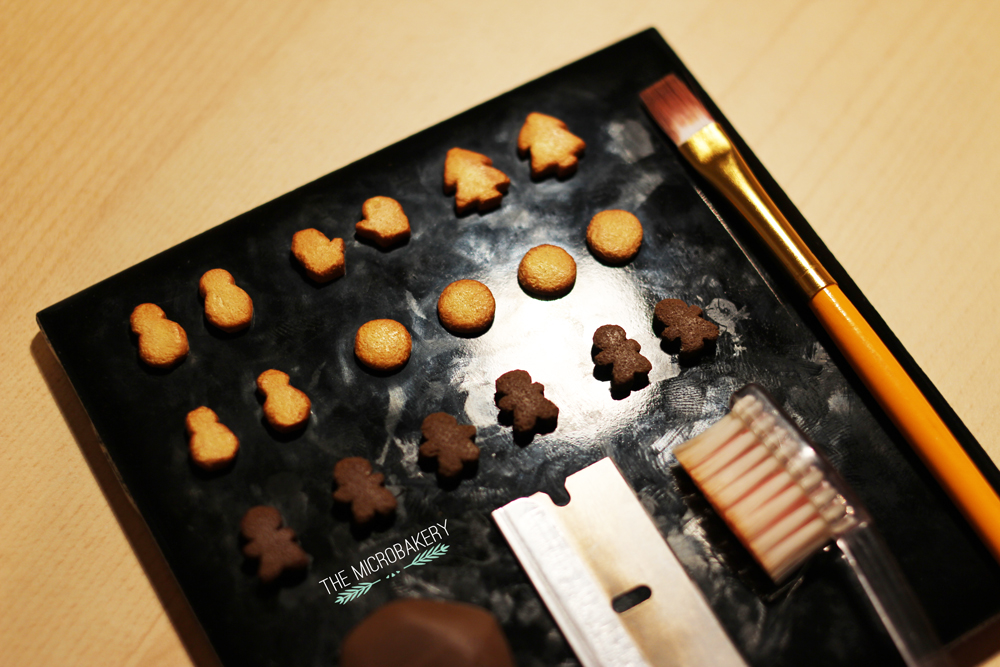
I first sketched the shape of each cookie (approximately 1 cm tall) on a large flat piece of clay and then individually cut and textured each one.  Then took a first pass applying light brown pastel for an all over "baked" effect and followed up with darker brown pastel around the cookie edges.

Christmas-Cookies-WIP2-(W)


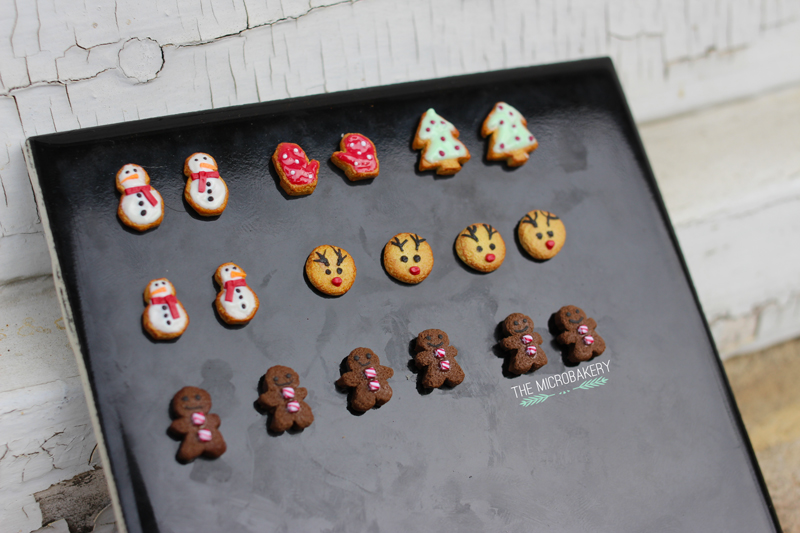
The cookies with frosting on them were created by mixing polymer clay with TLS.  Lastly I applied tiny clay decorations to them and baked it.

Christmas-Cookies-Final3-(W)


Christmas-Cookies-Final2-(W)


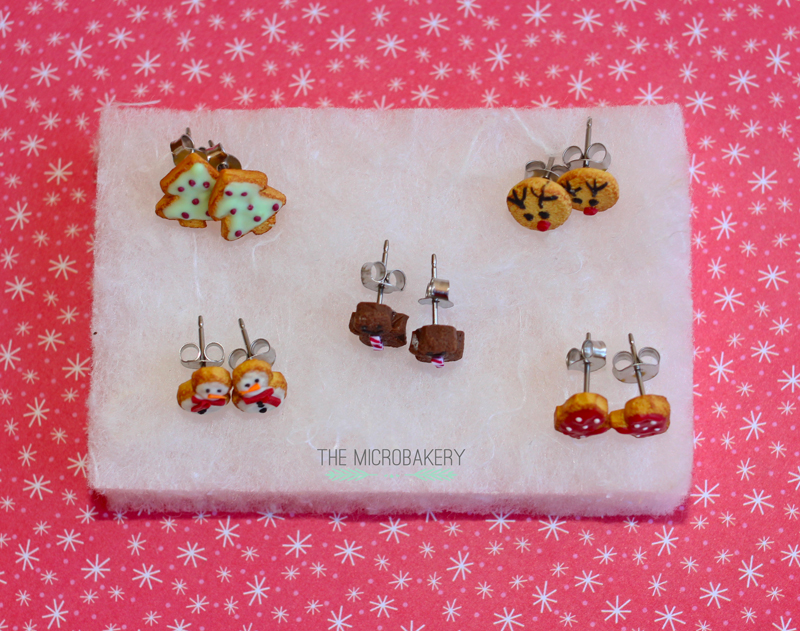
About a week ago I ordered surgical steel earring posts and backings off of eBay.  Finally after much anticipation I received the package and superglued the cookies to the flat pad earring posts.  I couldn't be happier with the outcome!  Hopefully my friends and family like them.

P.S.  I'm thinking about possibly making another tutorial.  If so, what would you want to see?