Sticky Navigation Bar

Wednesday, March 25, 2015

Party Cakes!

Cakes1(W)

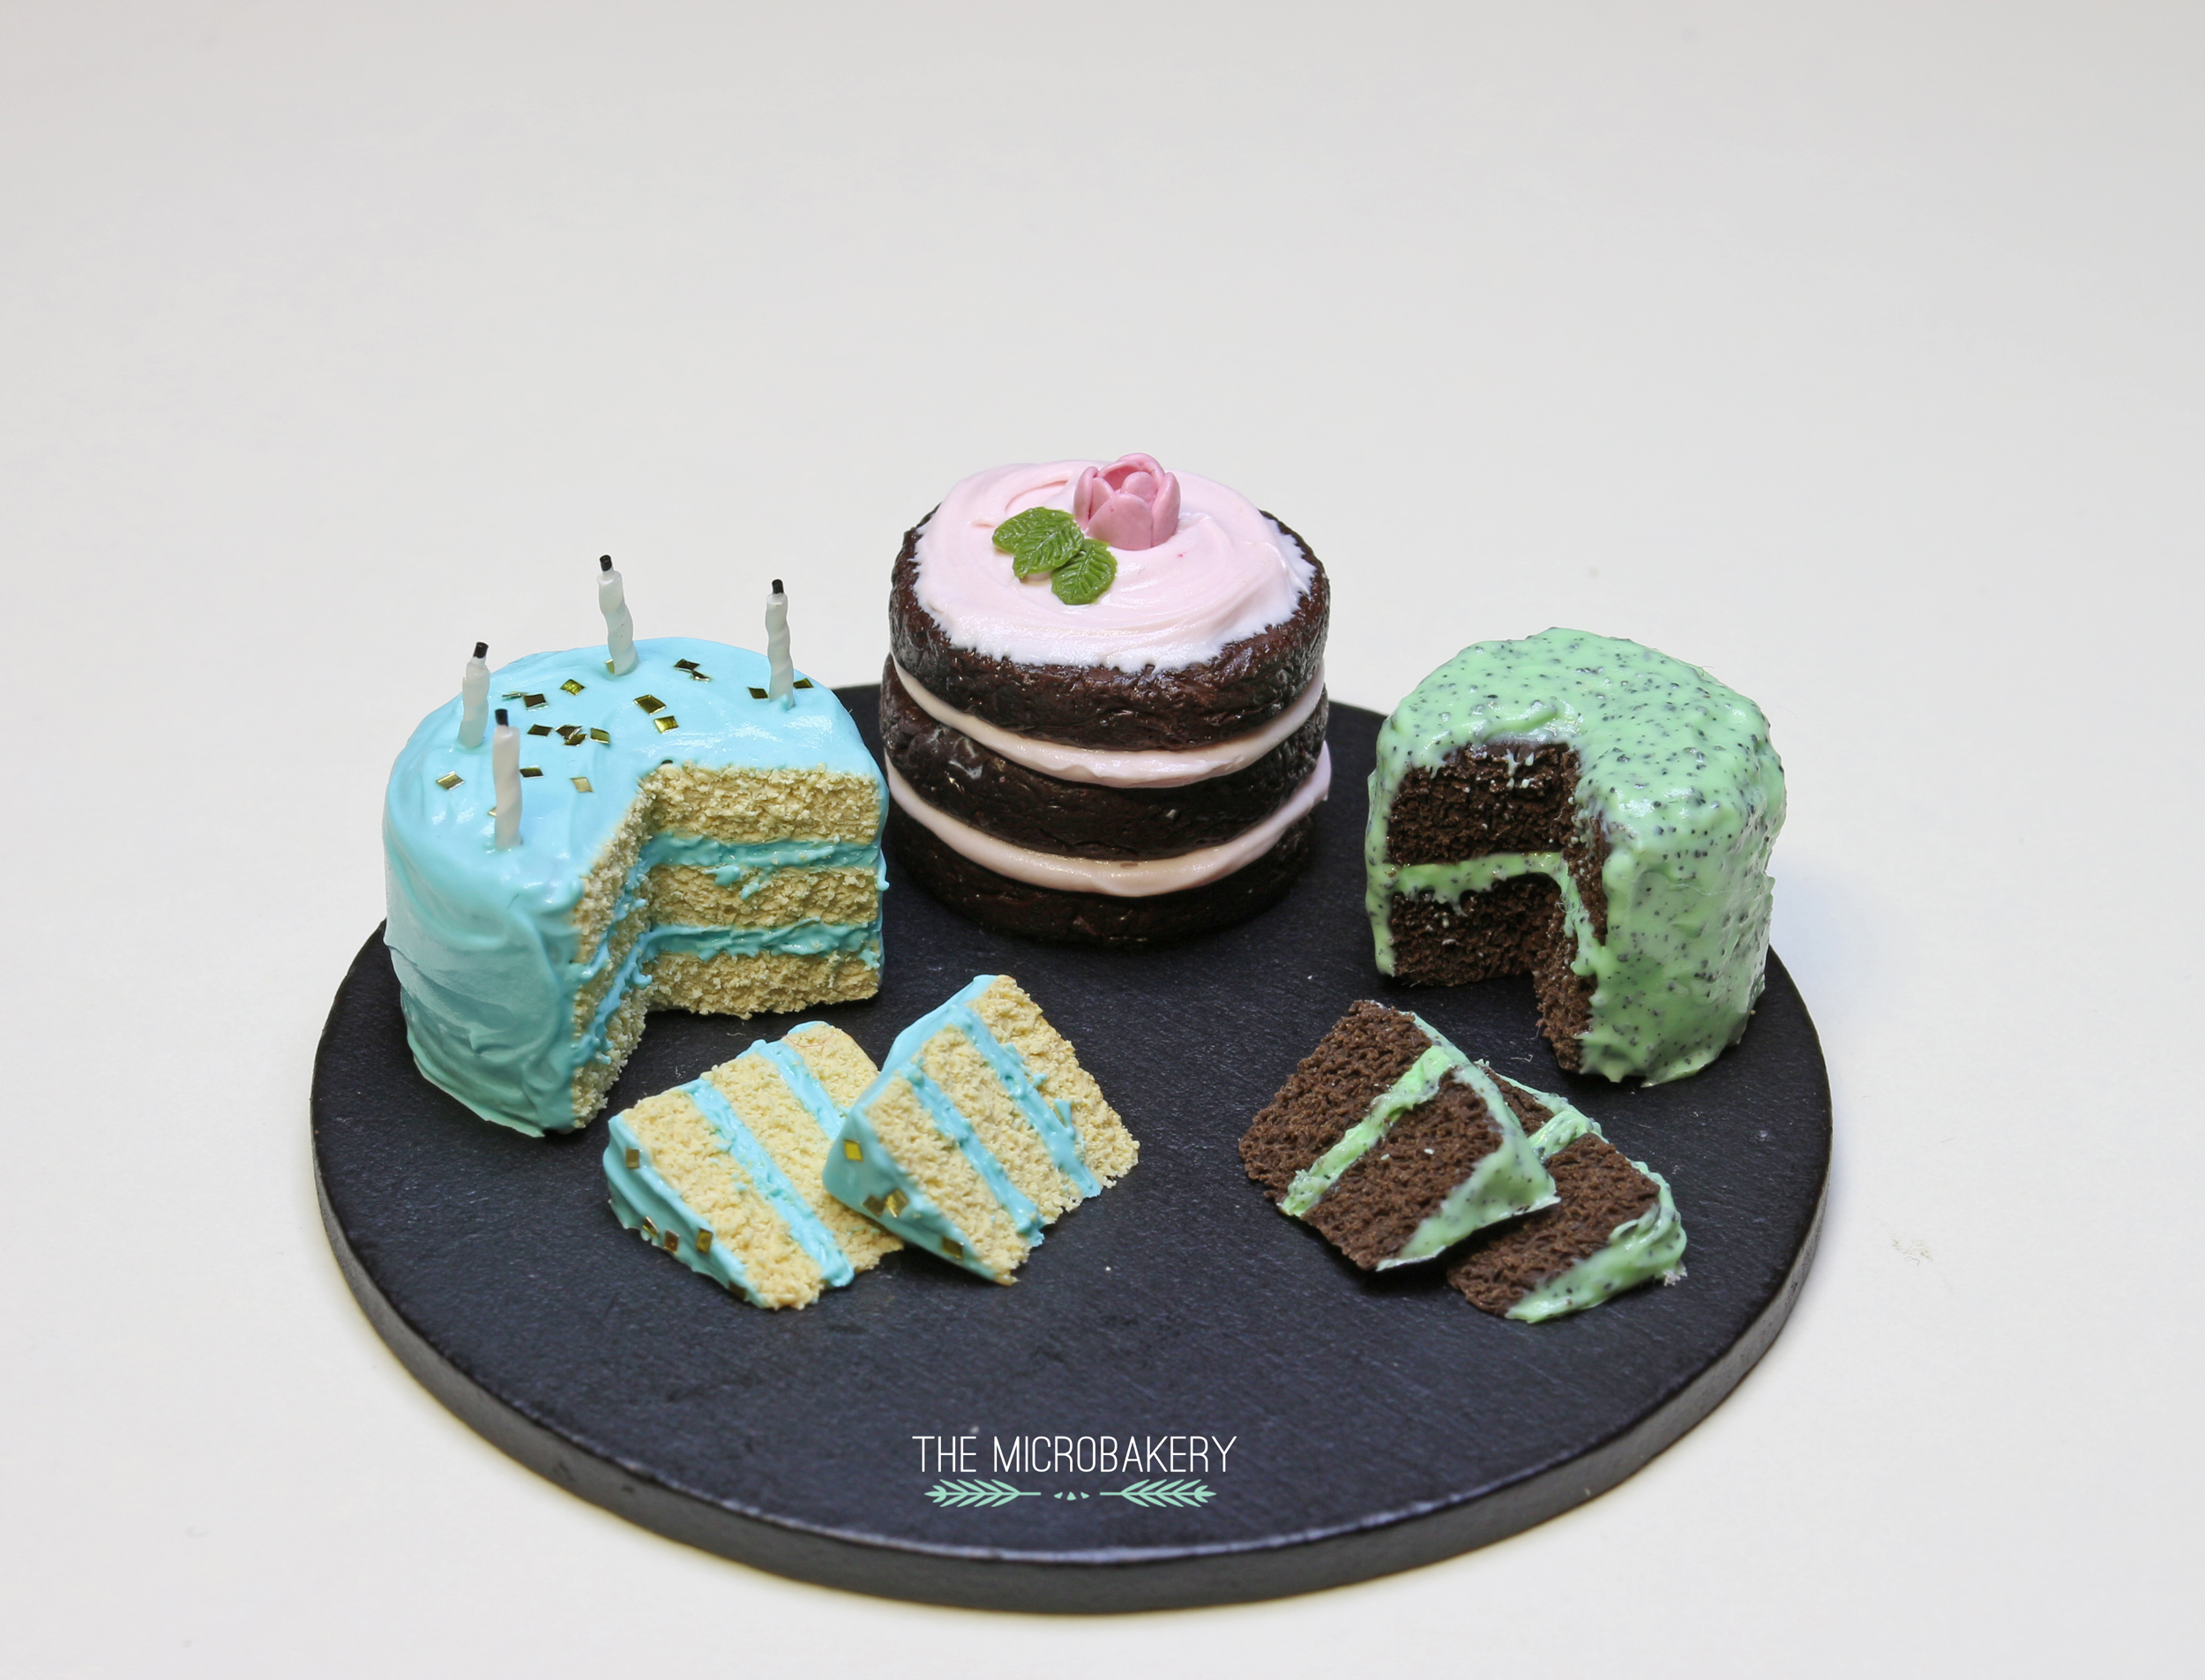
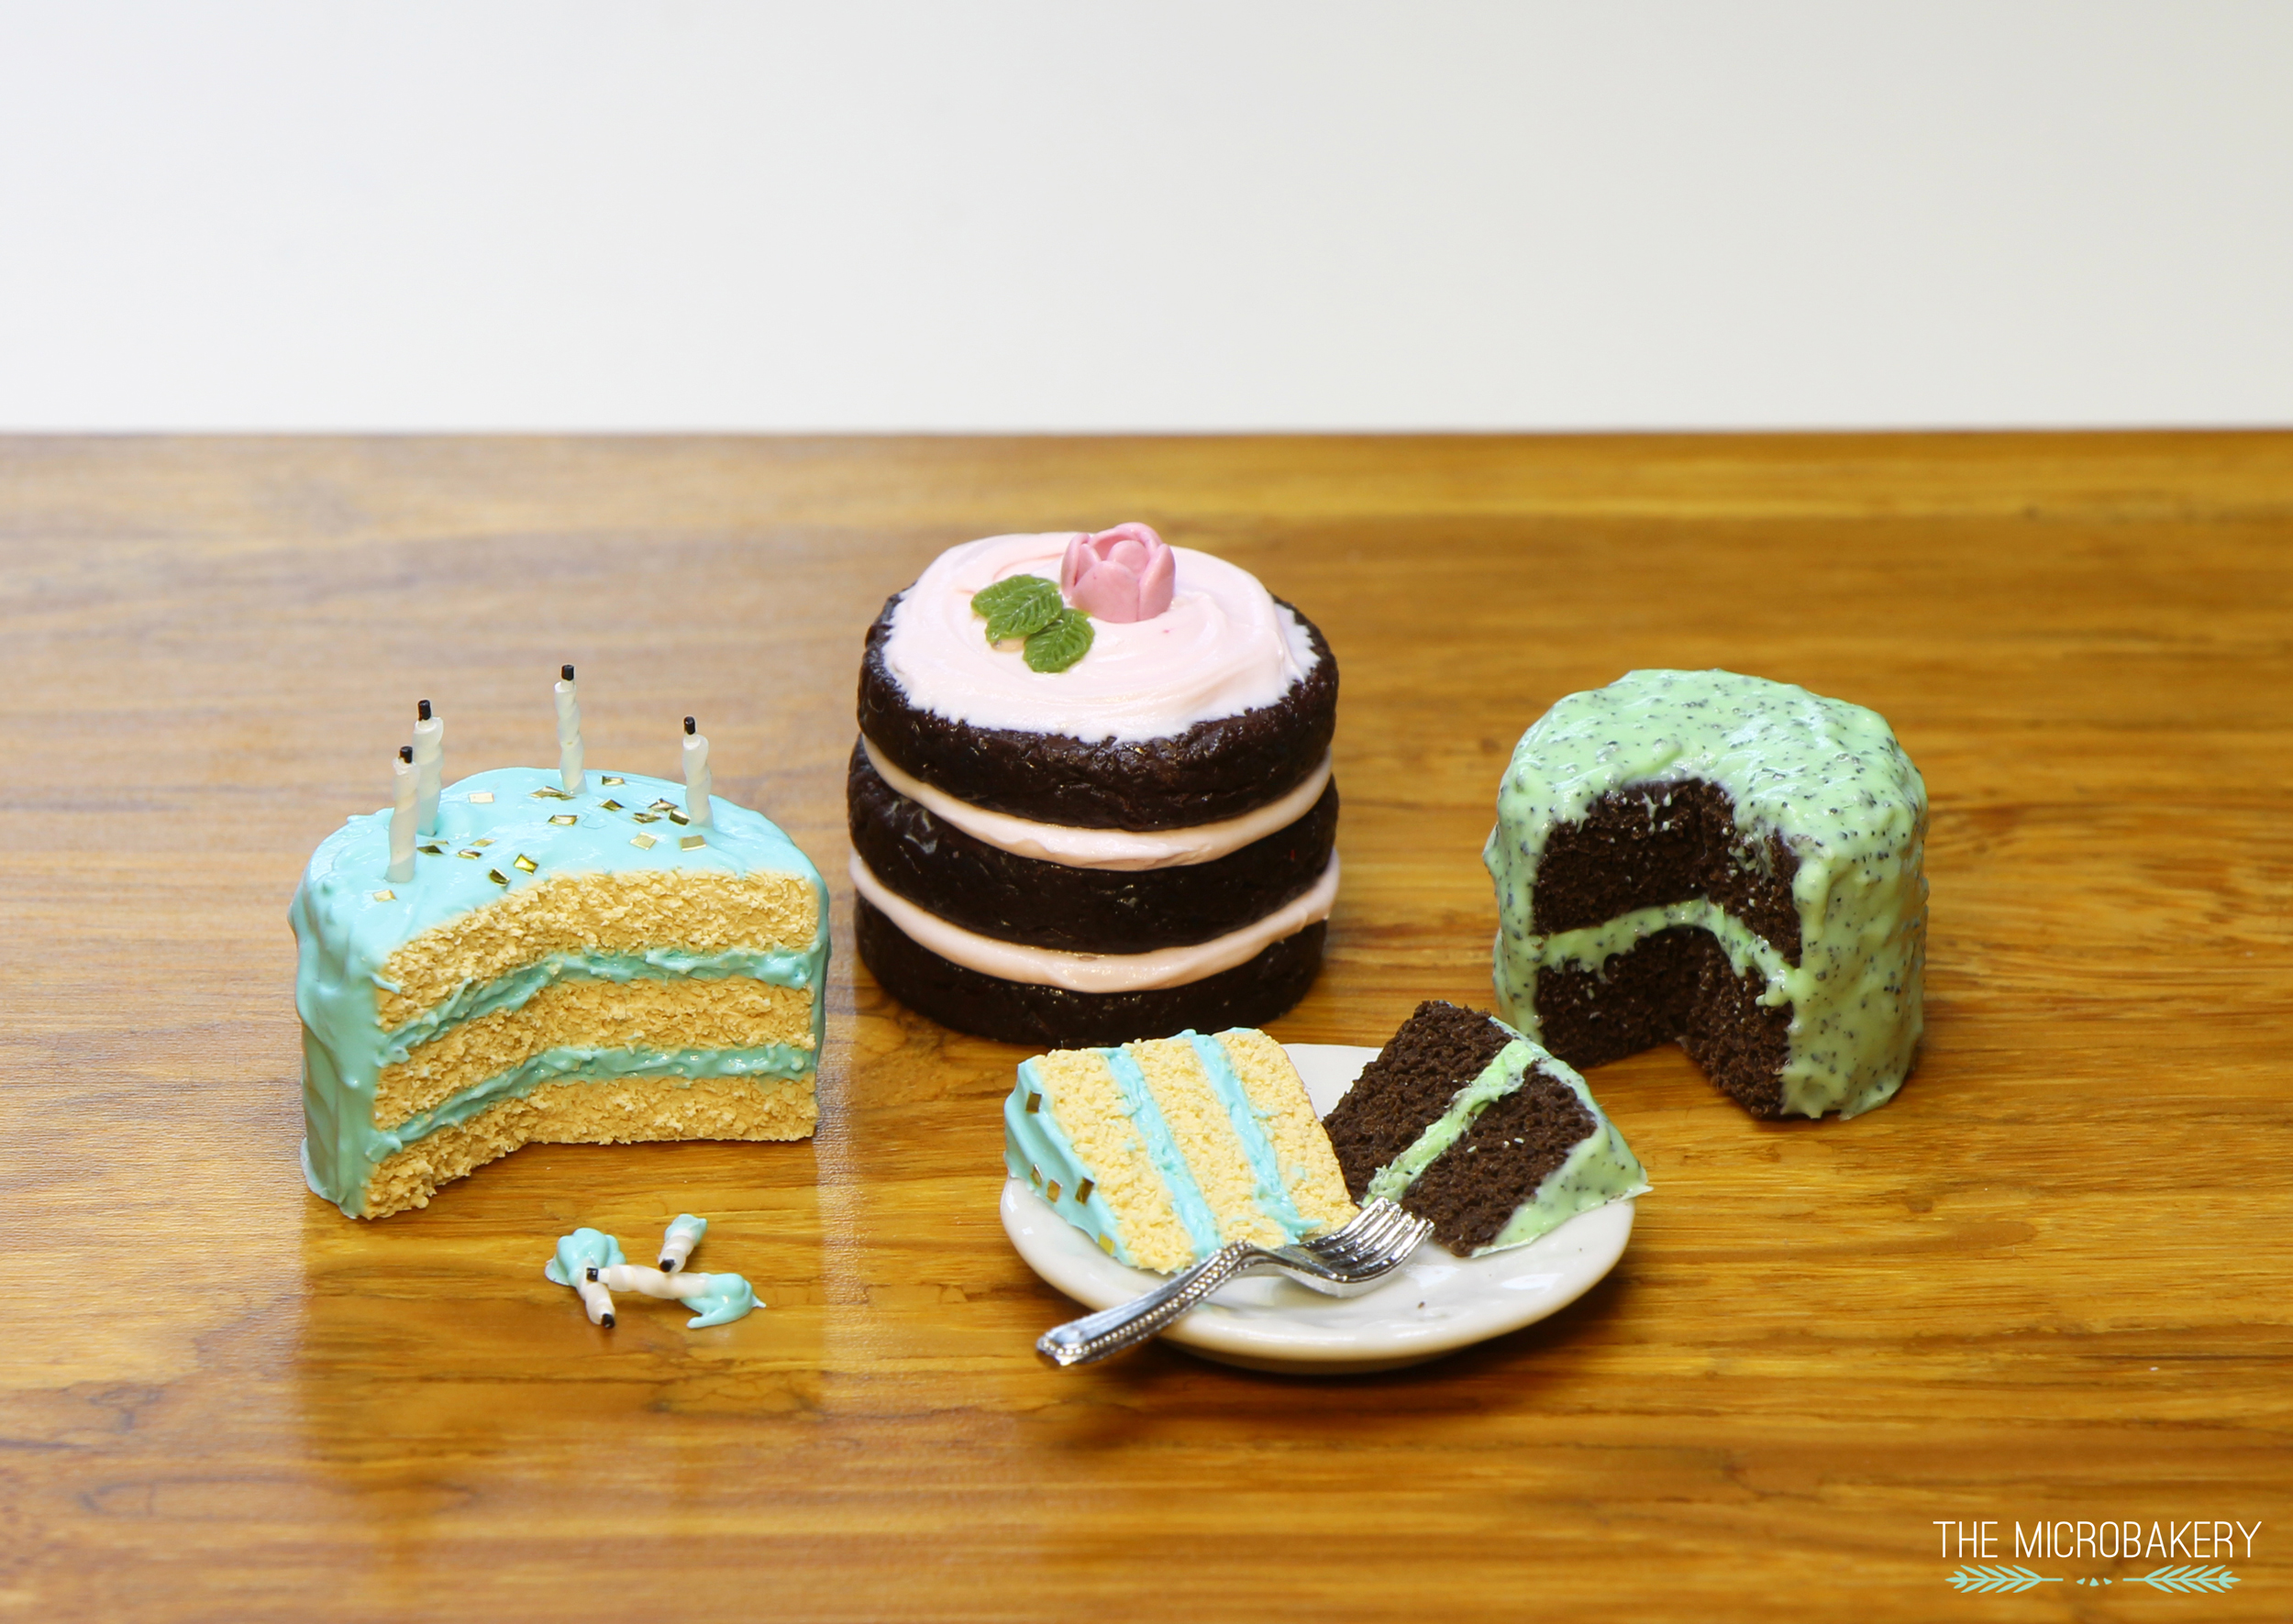
After a few disastrous attempts at a funfetti cake and burnt candles (documented on my Instagram account) I was finally able to create a few decent cakes.  They're probably the most fun food item to make because they are so darn pretty looking!  I wanted to do a few more with sprinkles and possibly funfetti, but I got too lazy and only made these :P 

I actually made duplicates of the blue vanilla and mint chocolate chip cakes along with a few extra slices and will be selling them soon.   Watch out for my next post which will go into more detail about opening an online store.

Cakes2(W)

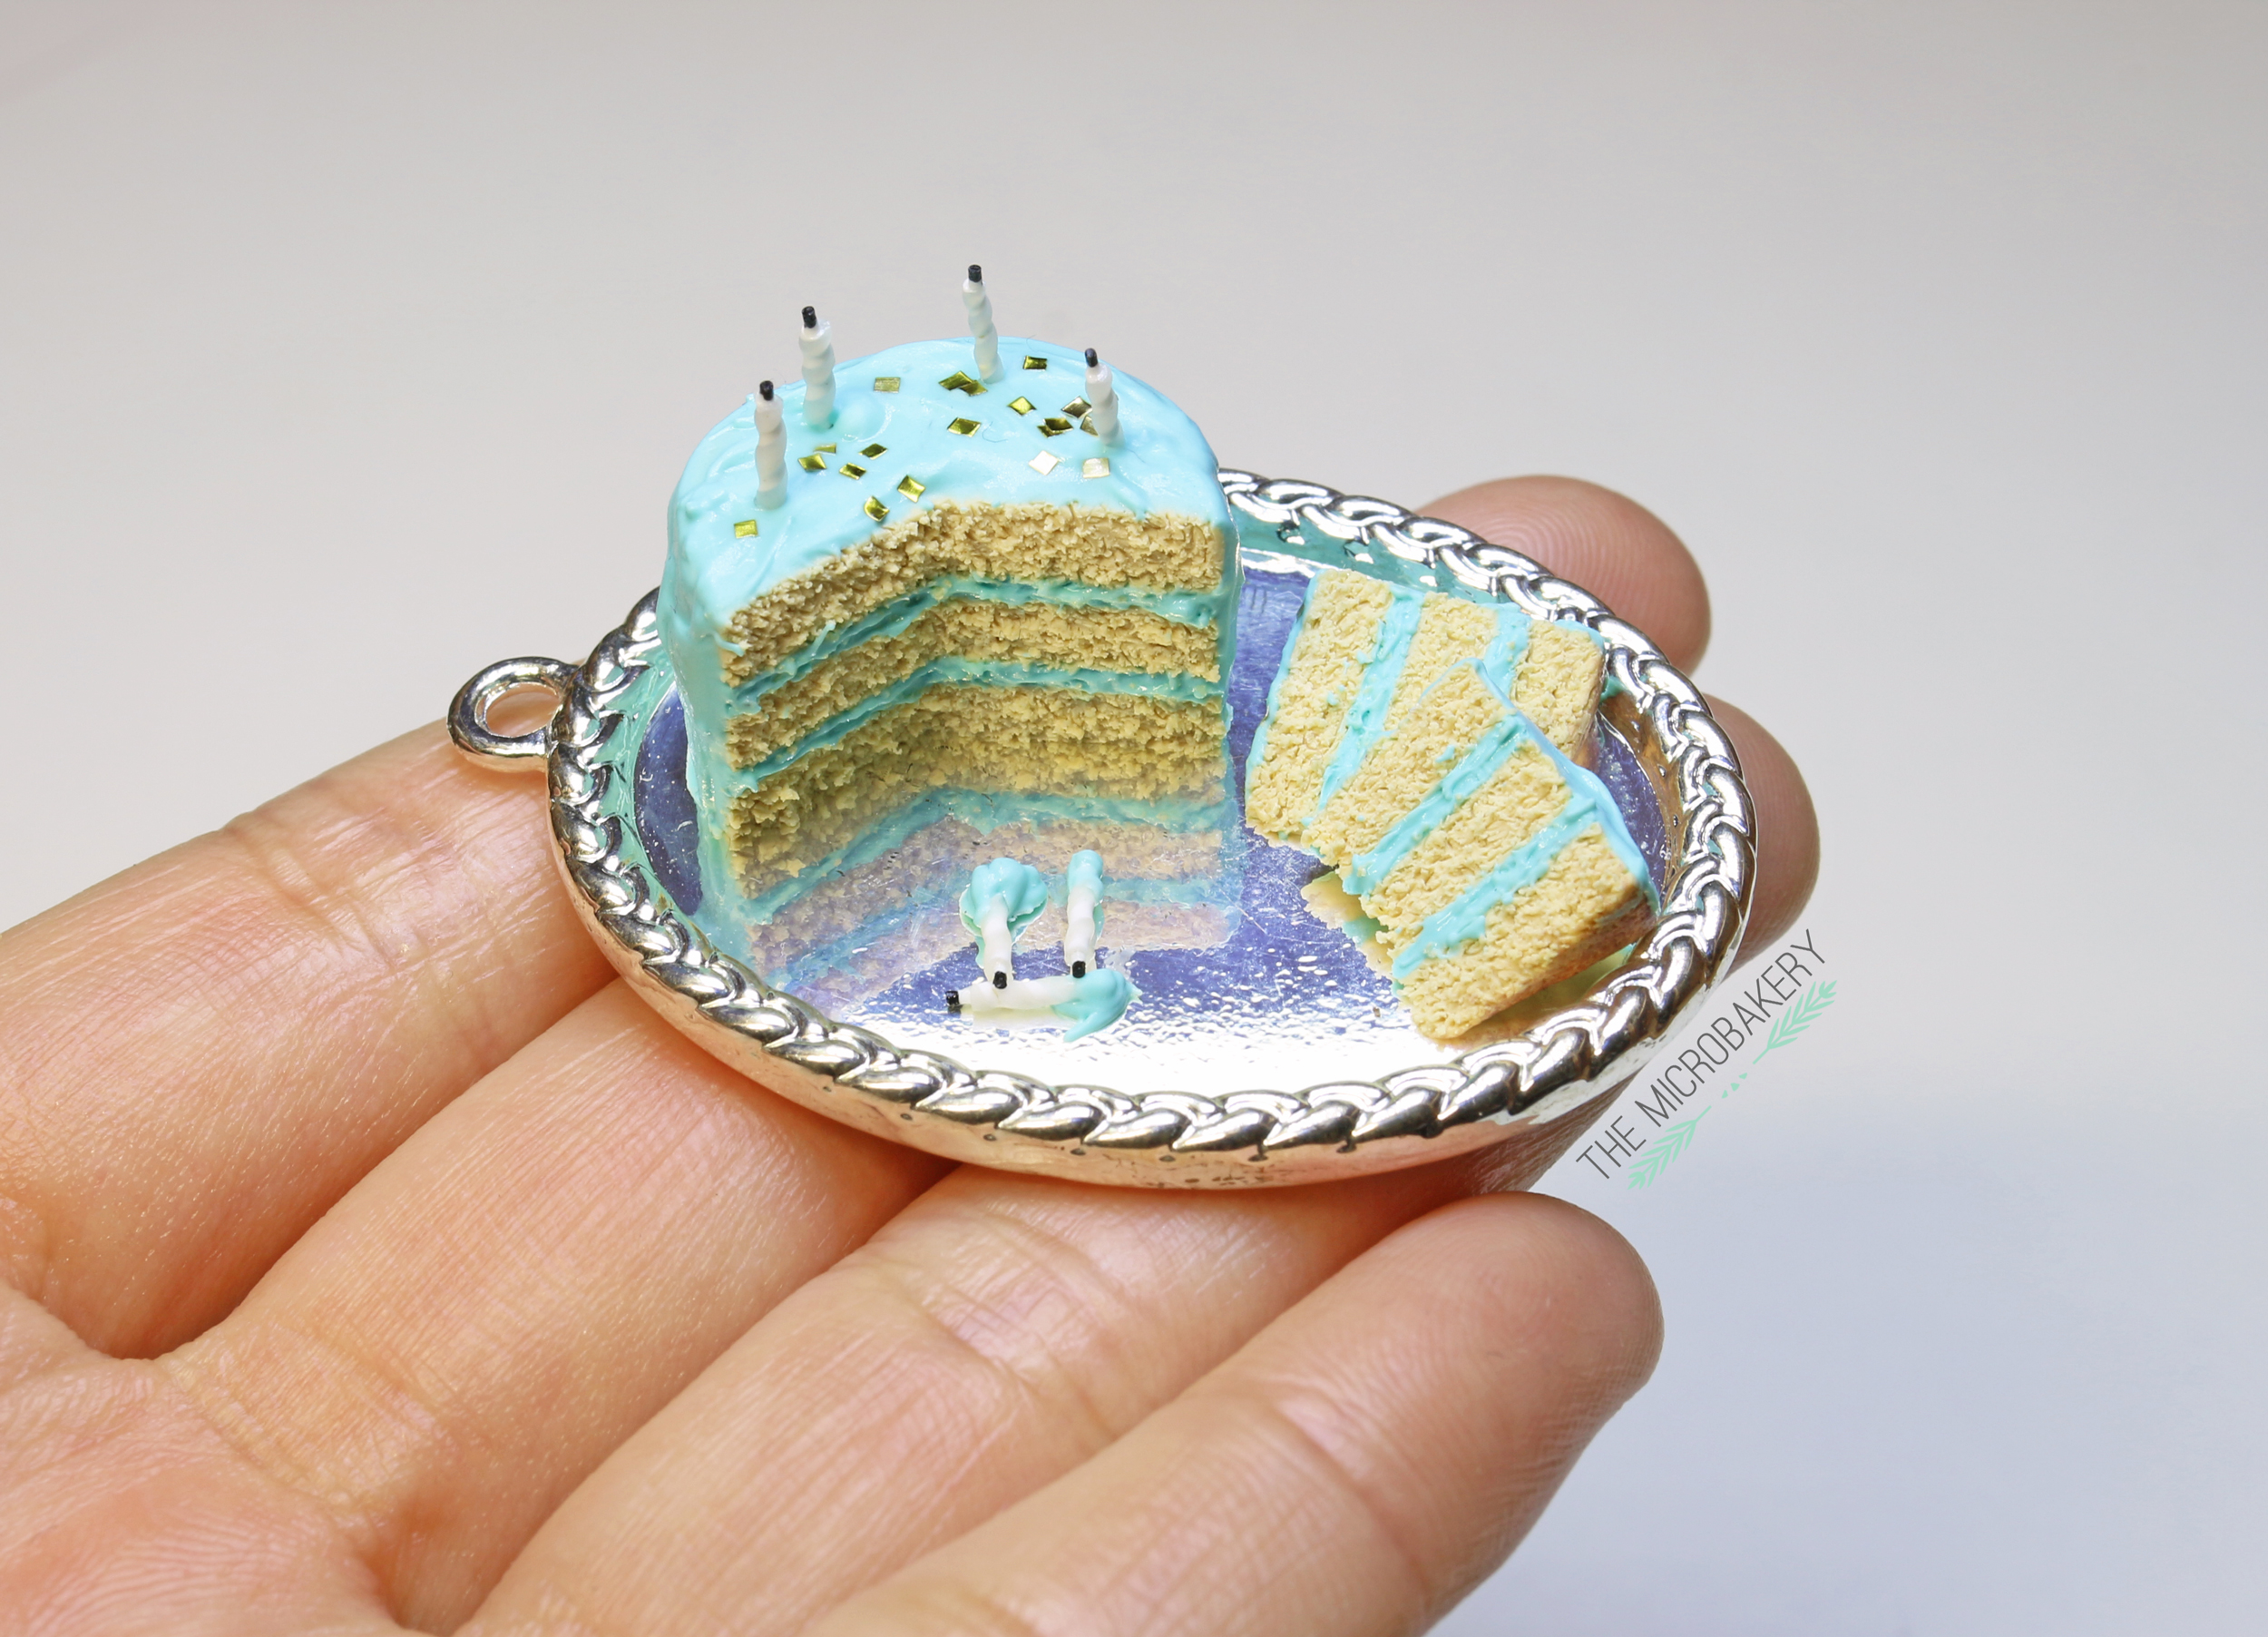
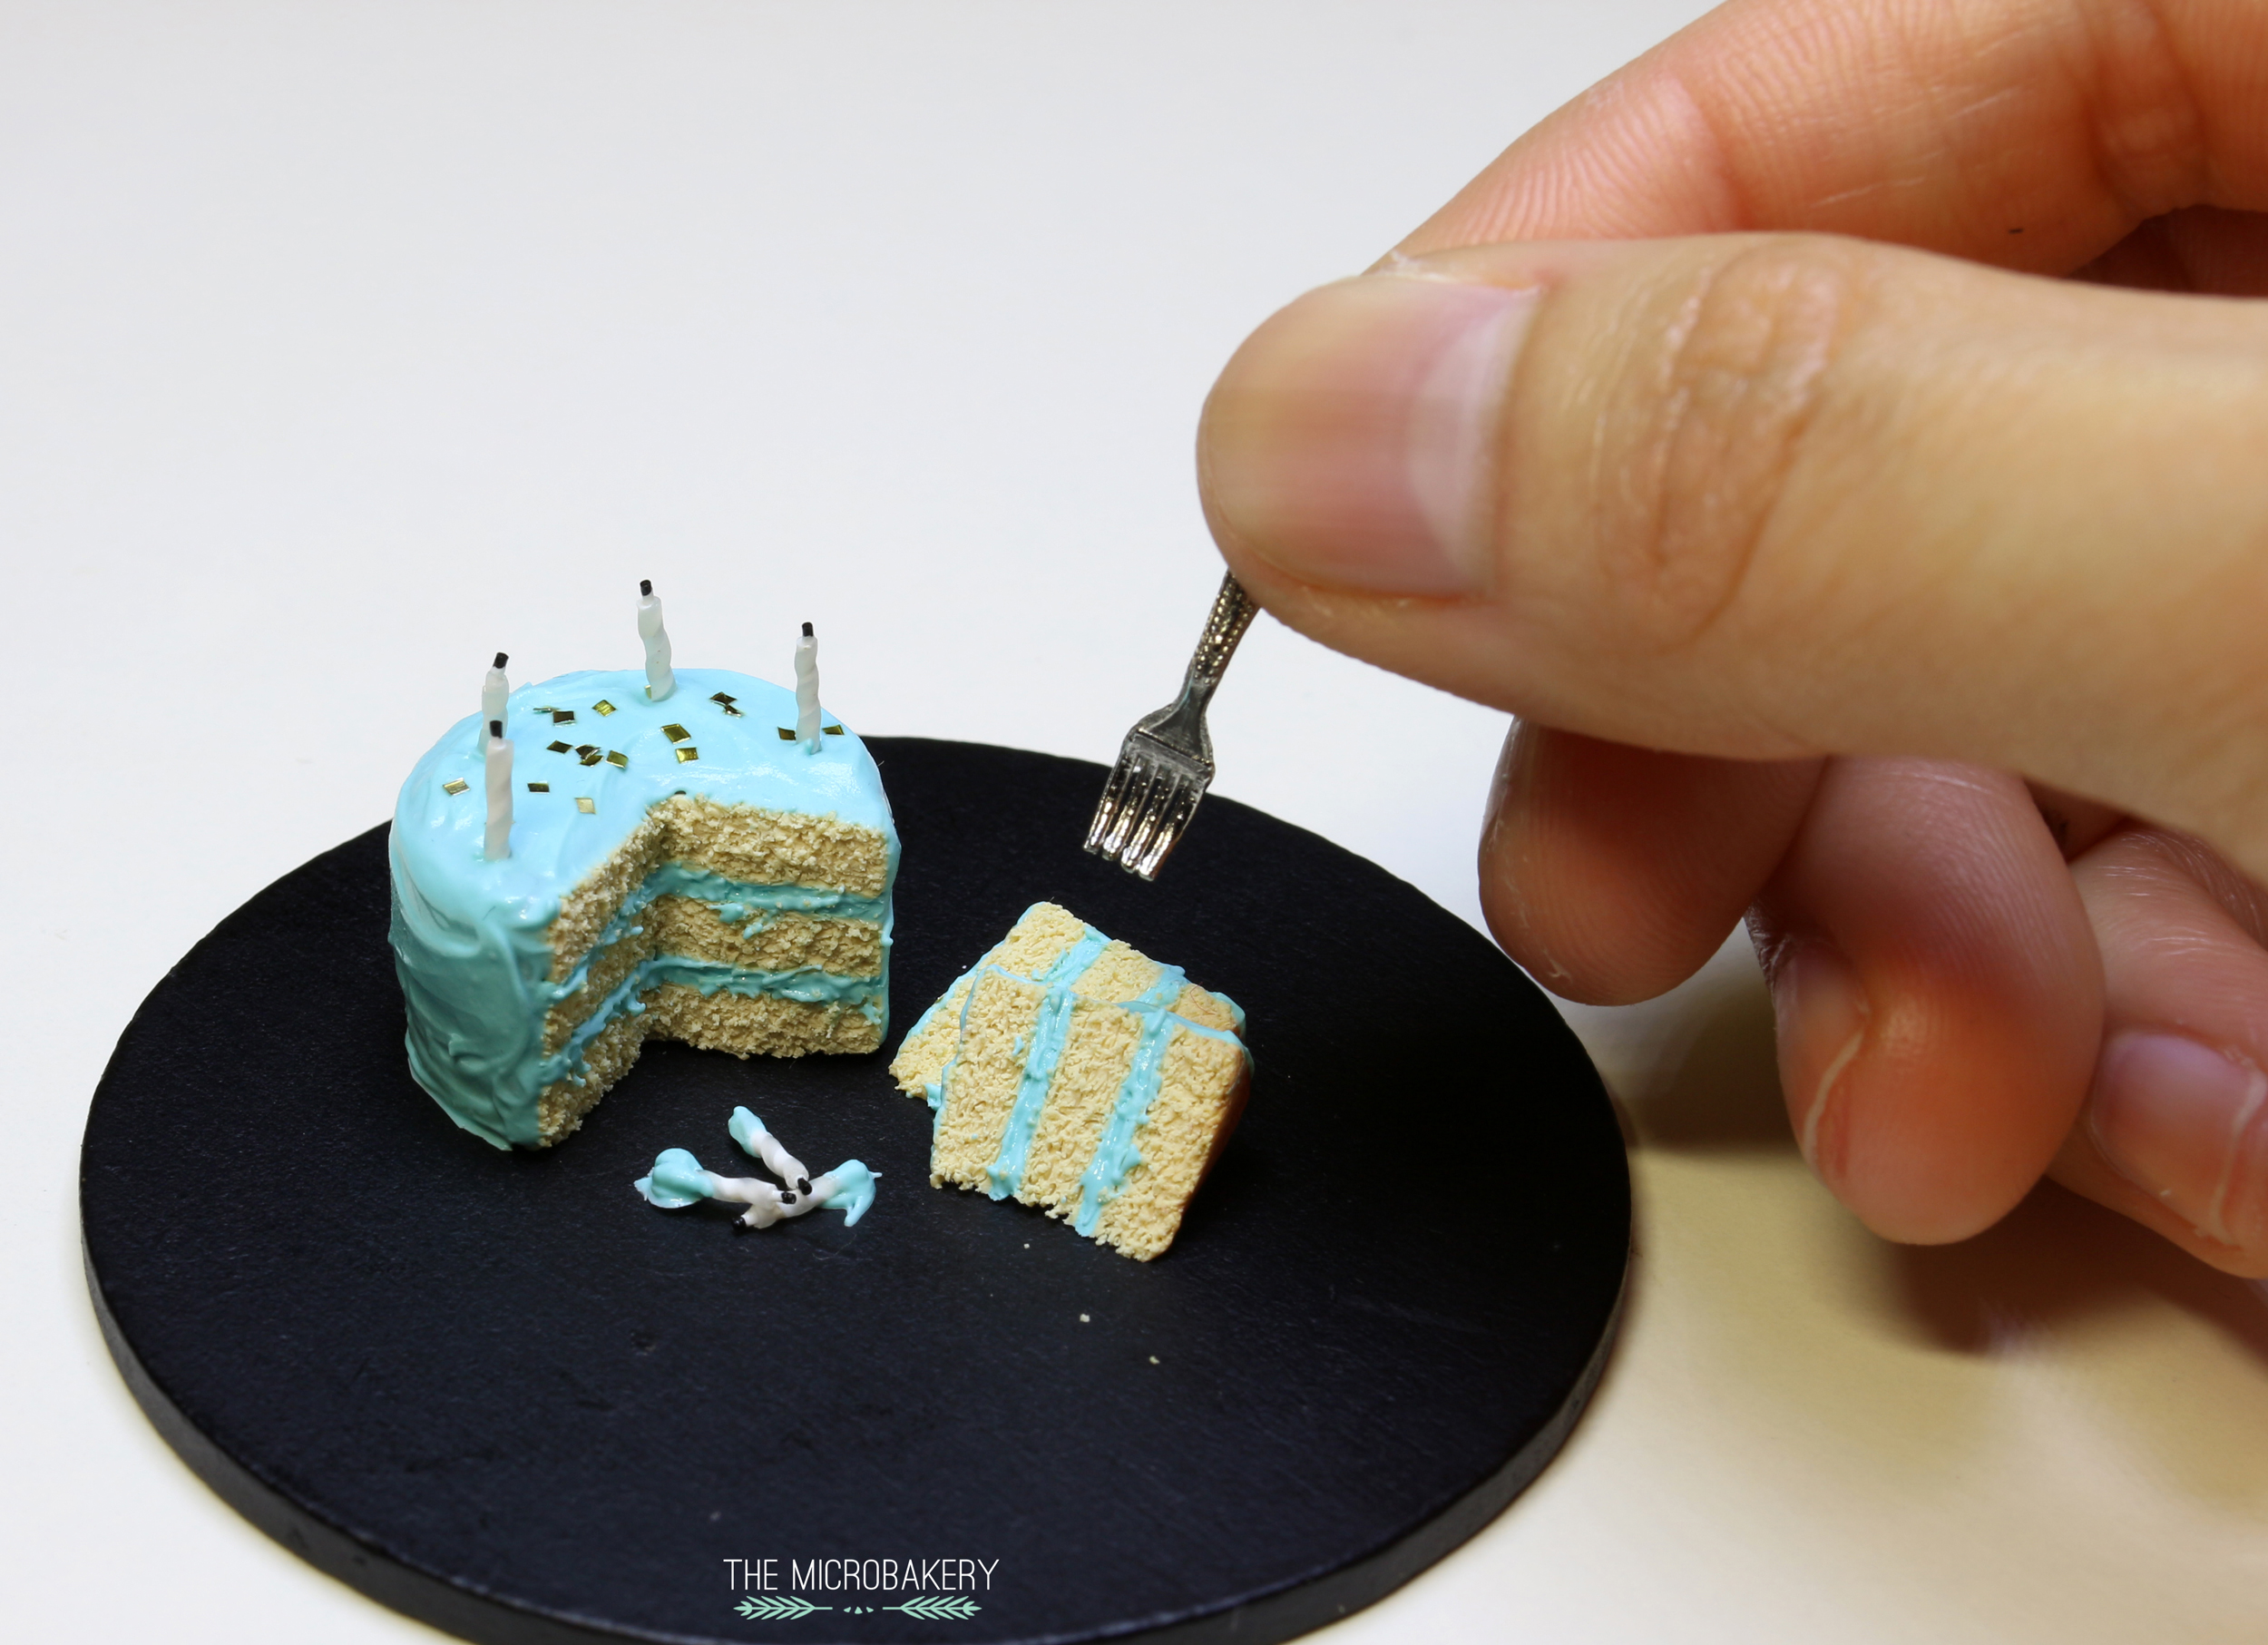
Ugh, those candles were a pain!  However, I think the end result looks nice :)  I twisted white and translucent Premo together for a classic spiraled candle and pre-baked them before placing them in the raw clay cake.  I highly suggest using Premo for the candles since they will be baked twice.  Unlike Sculpey III, Premo becomes flexible when baked for longer periods of time instead of becoming brittle.

To help prevent any further burning when baking the entire cake, I placed an aluminum foil tent around the pieces.  Once finished, I made burnt candles wicks by glueing super thin pieces of clay to the top of the candles and painted it with black acrylic.  

Cakes8(W)
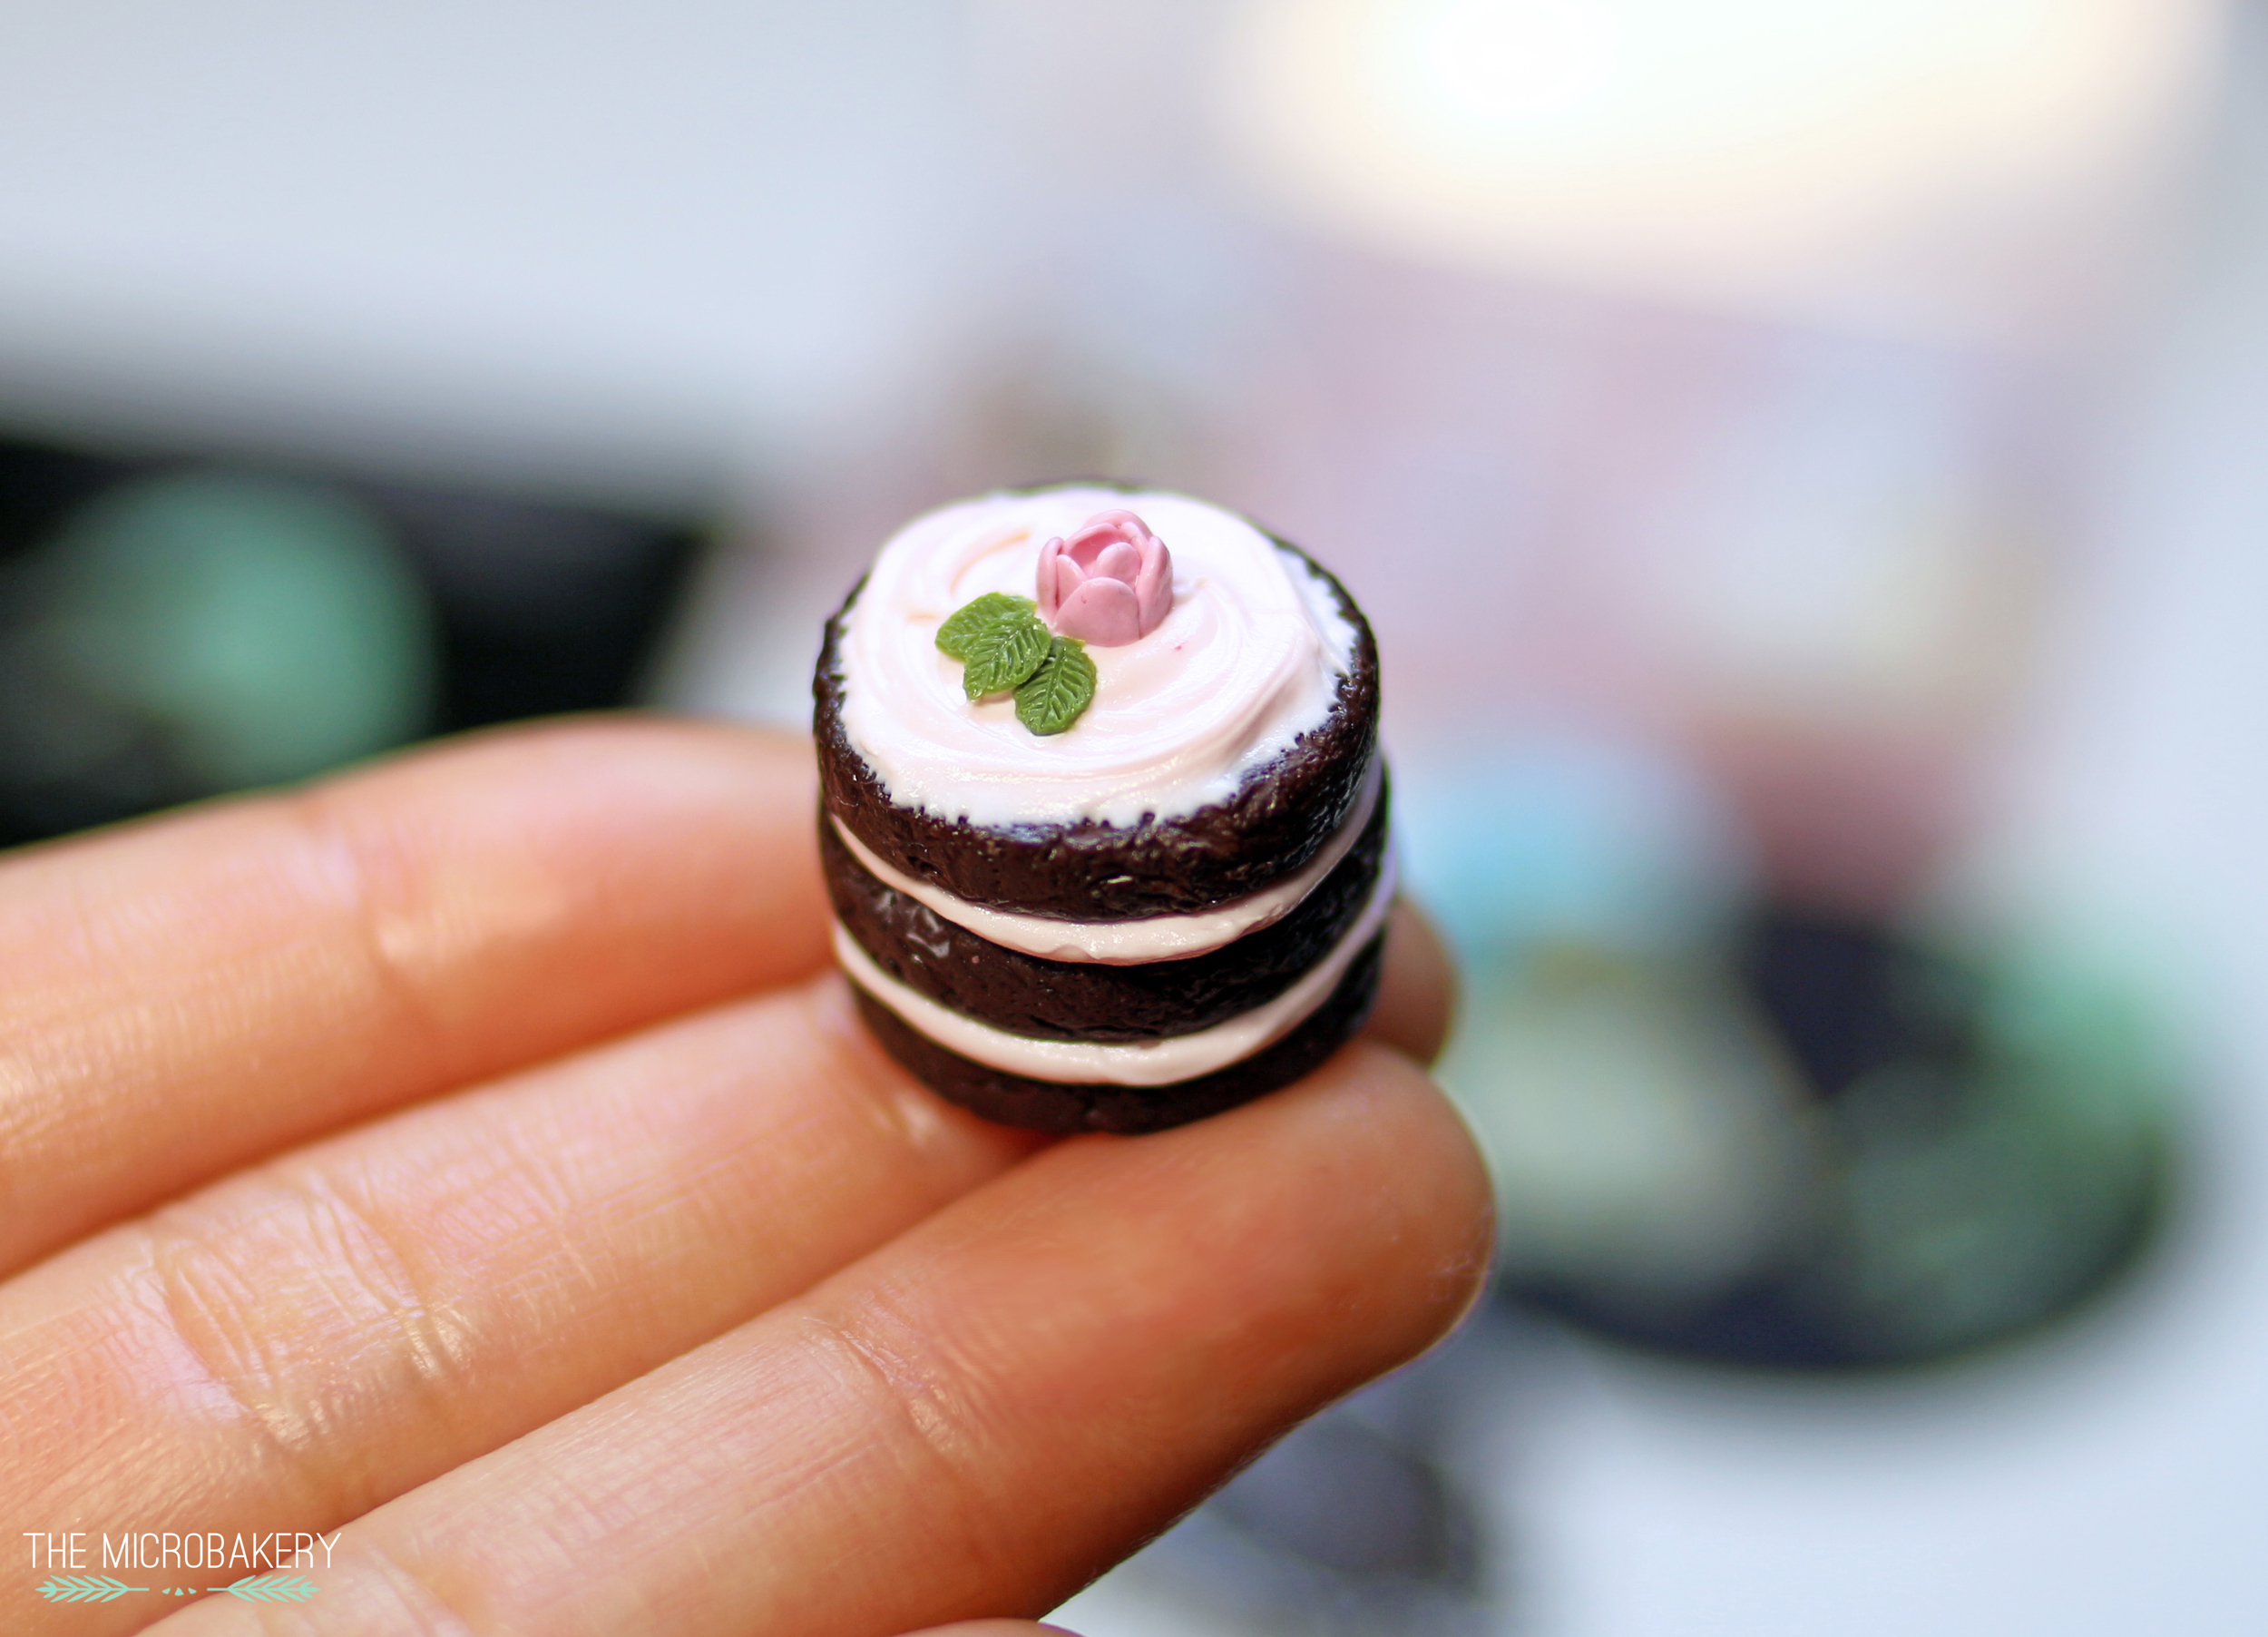
Chocolate cake with mint chocolate chip icing!
Cakes4(W)

Cakes6(W)

Cakes5(W)

Wednesday, February 18, 2015

Hamantaschen, Pickles, & Pastrami on Rye

Pastrami-on-rye2-(W)

If you know me, then you'll know I'm a huge fan of Jewish delicatessens. It's unfortunate there's no good one around here. Perhaps it's a blessing in disguise because I'd probably gain lots of weight. But really, who am I kidding, I'M DESPERATE FOR A GOOD JEWISH DELI AROUND HERE!  If only Katz's was next door...

The craving reached an all-time high this past holiday season; so much so that I ended up making pastrami.  It took two weeks to brine and marinate (let's not even talk about all the time it took to find specific spices!) and a whole lot of painful waiting.  While it didn't quite have the melt-in-your-mouth deliciousness that Katz's has, it still was pretty tasty.

Ok ok, I bet you're tired of hearing (reading?) me blab so I'll get on with the pictures.  I made hamantaschen, pickles, and pastrami on rye with a touch of deli mustard.  I first created the hamantaschen cookie by creating a shell and then filled it with a mix of fimo deko gel, chalk pastel, and small chunks of clay.

Hamantaschen-WIP-(W)

Hamantaschen-(W)

Next up was the pastrami on rye!  For the pastrami's pepper crust, I coated fimo deko gel over a chunk of meat colored clay and then rolled it in black sand.  Then I sliced and textured the meat.  Similarly I did the same for the rye bread.  I made an oval shape of dough colored bread, shaded and textured the outside, sliced it, and then created the bread texture on the inside.  You can't quite see from the photos, but I was playing around using different techniques to texture the bread because I don't like how I usually texture it.  Still haven't found a texture I like... 

Pastrami-on-rye-WIP2-(W)

To texture the pastrami, I used a sharp needle tool (a sewing needle or safety pin would also work well) and made a crosshatch pattern.  Then dragged the needle in random directions to make it look better haha I'm not sure what the technical term is, all I know is it makes the meat look more realistic!

Pastrami-on-rye-WIP3-(W)

Pastrami-on-rye-WIP4-(W)

Keep piling on the meat!
Pastrami-on-rye-WIP5-(W)

Don't be fooled, that is definitely NOT cheese, it's deli mustard.
Pastrami-on-rye-WIP6-(W)

Pastrami-on-rye1-(W)

You can't serve pastrami on rye without pickles! I made two different colored pickles; this photo only shows one.  Ugh, it was such a pain to mix the colors to get a realistic looking green! The center of the pickles are the peel color mixed with a whole lot of translucent clay.
Pickles-(W)

Pastrami-on-rye3-(W)

Wednesday, January 21, 2015

Roasting Pans

In preparation for my next set of foods, I wanted to make a copper roasting pan.  At first I was only going to make one, but quickly decided if I was going to put in the effort I might as well make an assembly line and make a few more.  The process of making these pans were quite simple; I used what I already had lying around at home.

I used an oval template to trace and cut the bottom oval part of the pan on card stock.  Then played around with the height of the pan walls until it looked proportional.  You could also use a manila folder, thin cardboard, or any sort of paper that is thicker than standard letter paper.

miniature roasting pan

There were two sizes of wire and I decided to go with the smaller gauge, plus, it was much easier to bend.  I pinched the ends of the handles so that it had a flattened surface to attach better to the card stock.  It would have been perfect if I had a gauge in between the thick and thin one, but...oh well?

miniature roasting pan

miniature roasting pan

I used FolkArt metallic acrylic paint and applied two thin layers on every surface to increase opacity.  Just note if using card stock, let the paint dry well between layers.  If you paint the paper too soon, the paper begins to warp because it is too saturated with liquid.

miniature roasting pan

Tada! Here are the finished roasting pans :) I'm sure there are a million other ways I could have made the pans, but I was itching to try making them using card stock paper.  Maybe next time I'll try sculpting them with polymer clay.  

miniature roasting pan

miniature roasting pan

miniature roasting pan

Sorry for my lack of posting on all forms of social media and this blog.  For the past week and a half I have been sick and suffering from a stiff neck, which makes it hard for me to hunch over and miniaturize. Anyway, if you make any cooking pans feel free to share them and let me know how the process went!  Or if you have other ideas about how to make cooking pans then please share, I would love to read them.